So, which embroidery product is right for you? We’ve put together this comparison to help guide you to the right solution.
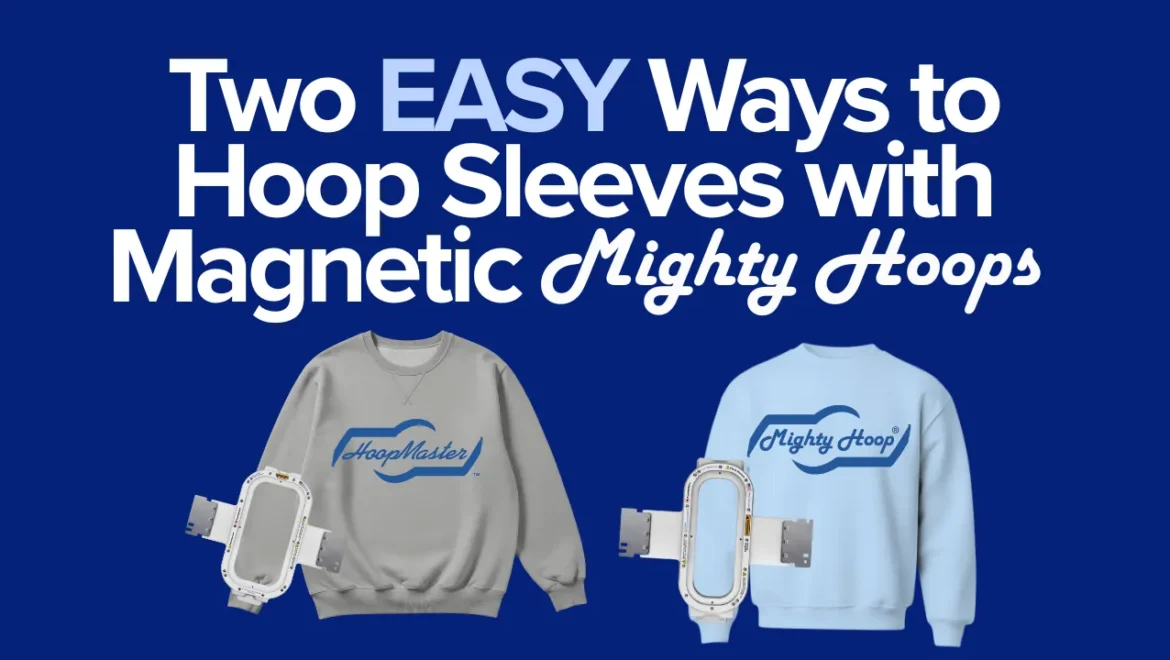
Two Easy Ways to Hoop and Embroider Sleeves with Magnetic Hoops
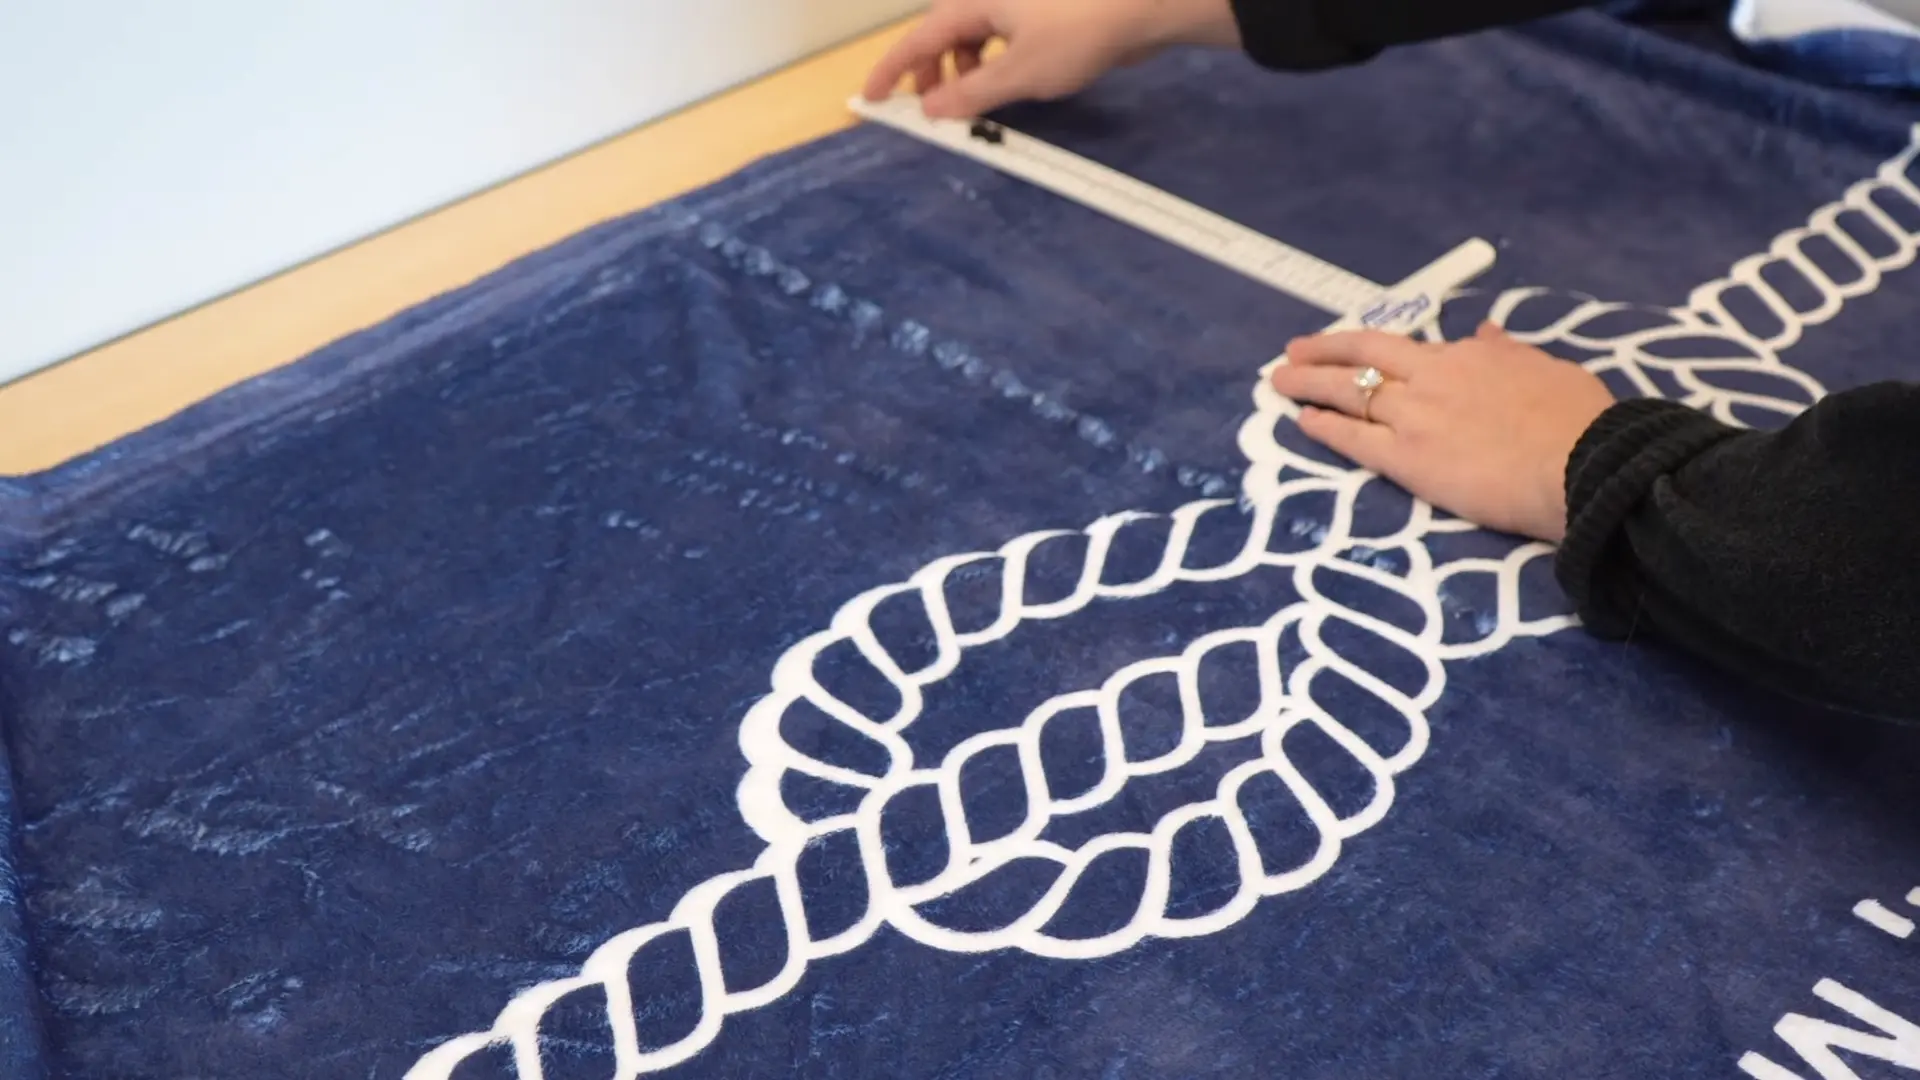
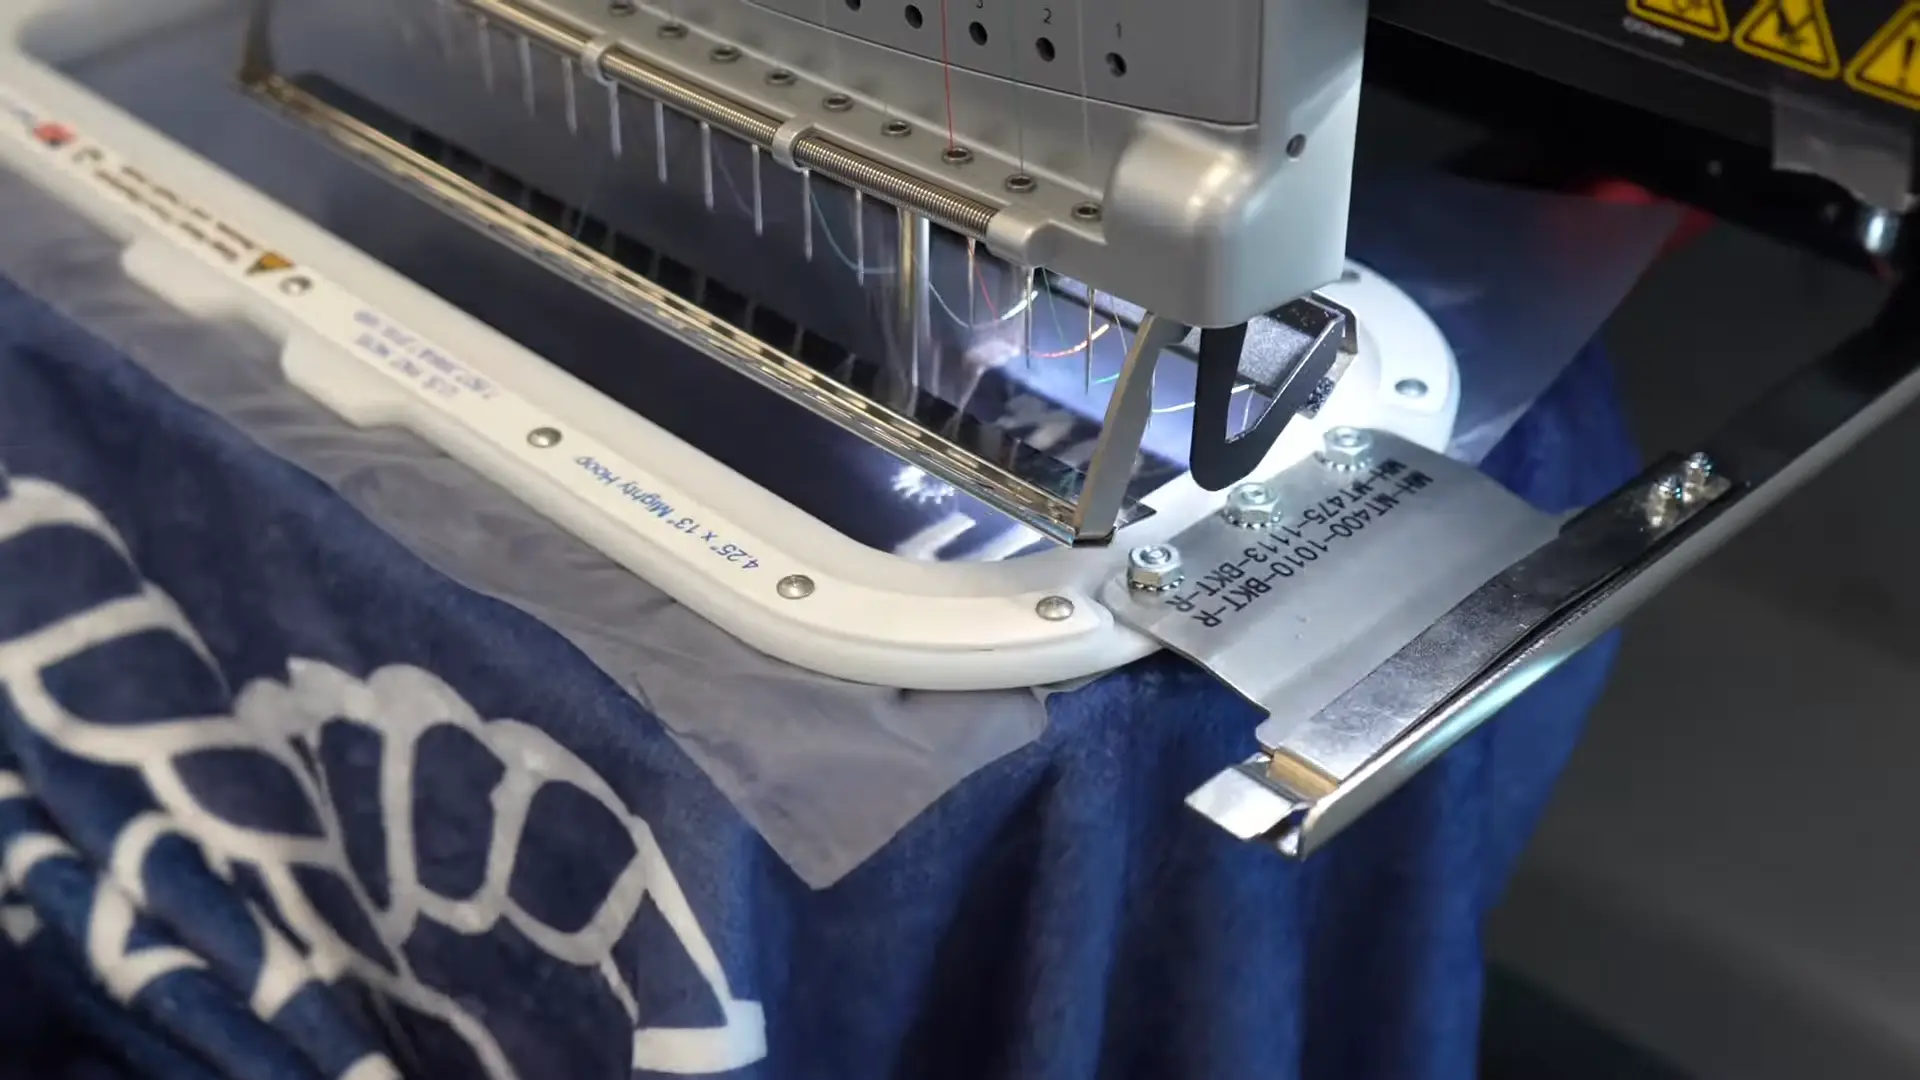
Hooping sleeves can be tricky, but the right tools make the process simple, especially when you’re working with magnetic Mighty Hoops. Mighty Hoops allow an easy process of hooping inside a narrow sleeve and gives you better control of the stabilizer in tight spaces. We are going to walk through two different methods of how to hoop sleeves with the help of the Mighty Hoop with the Adjustable FreeStyle Fixture or the Mighty Hoop Backing Holder.
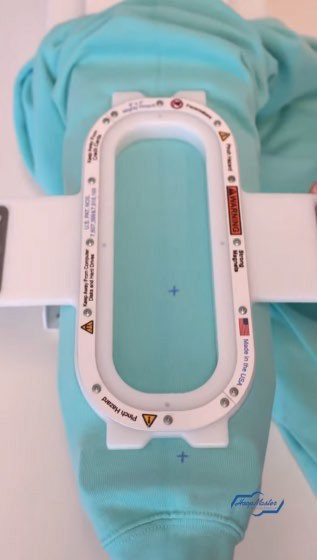
Note: In the examples below, we use the 9×3” Mighty Hoop and 9×3” Backing Holder. However, the 4.25×13”, 12×3.25”, and 9×4.25” Mighty Hoops and Backing Holders are additional sizes available for sleeve embroidery. Be sure to choose a Mighty Hoop that will fit your embroidery machines sewing field. This information is available on our website.
Mighty Hoop and Adjustable FreeStyle Fixture Hooping Option
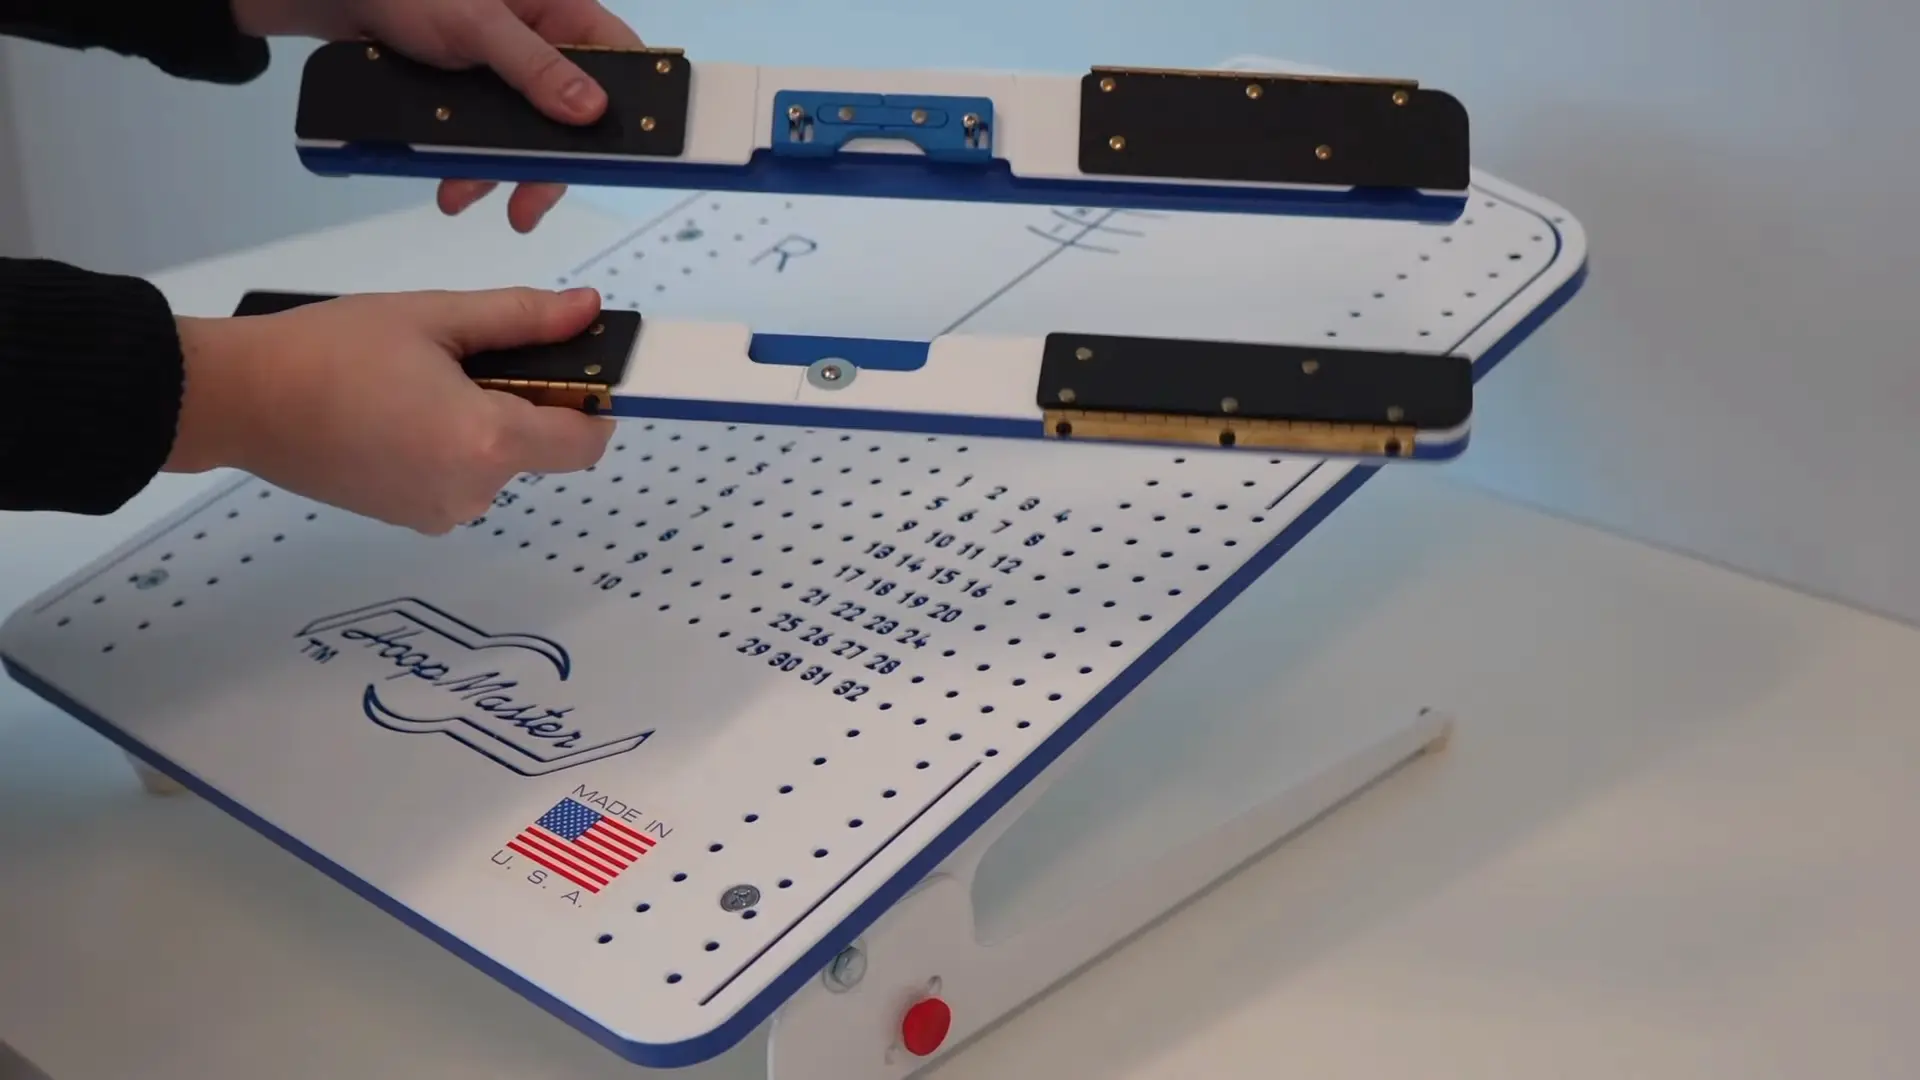
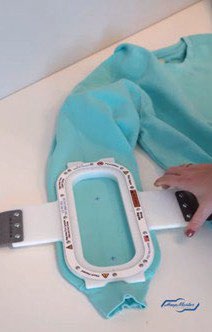
First, place the bottom ring of the Mighty Hoop onto the Adjustable FreeStyle Fixture. Then clip in the stabilizer with the magnetic stabilizer holding clips.
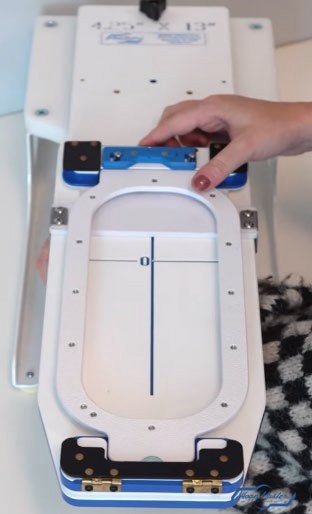
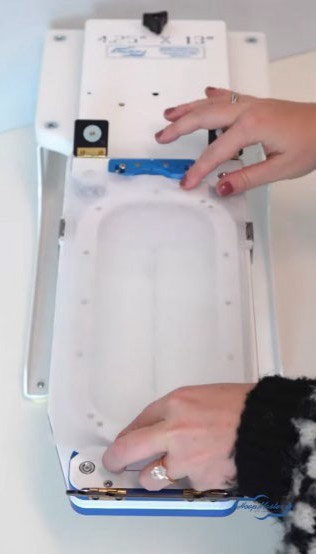
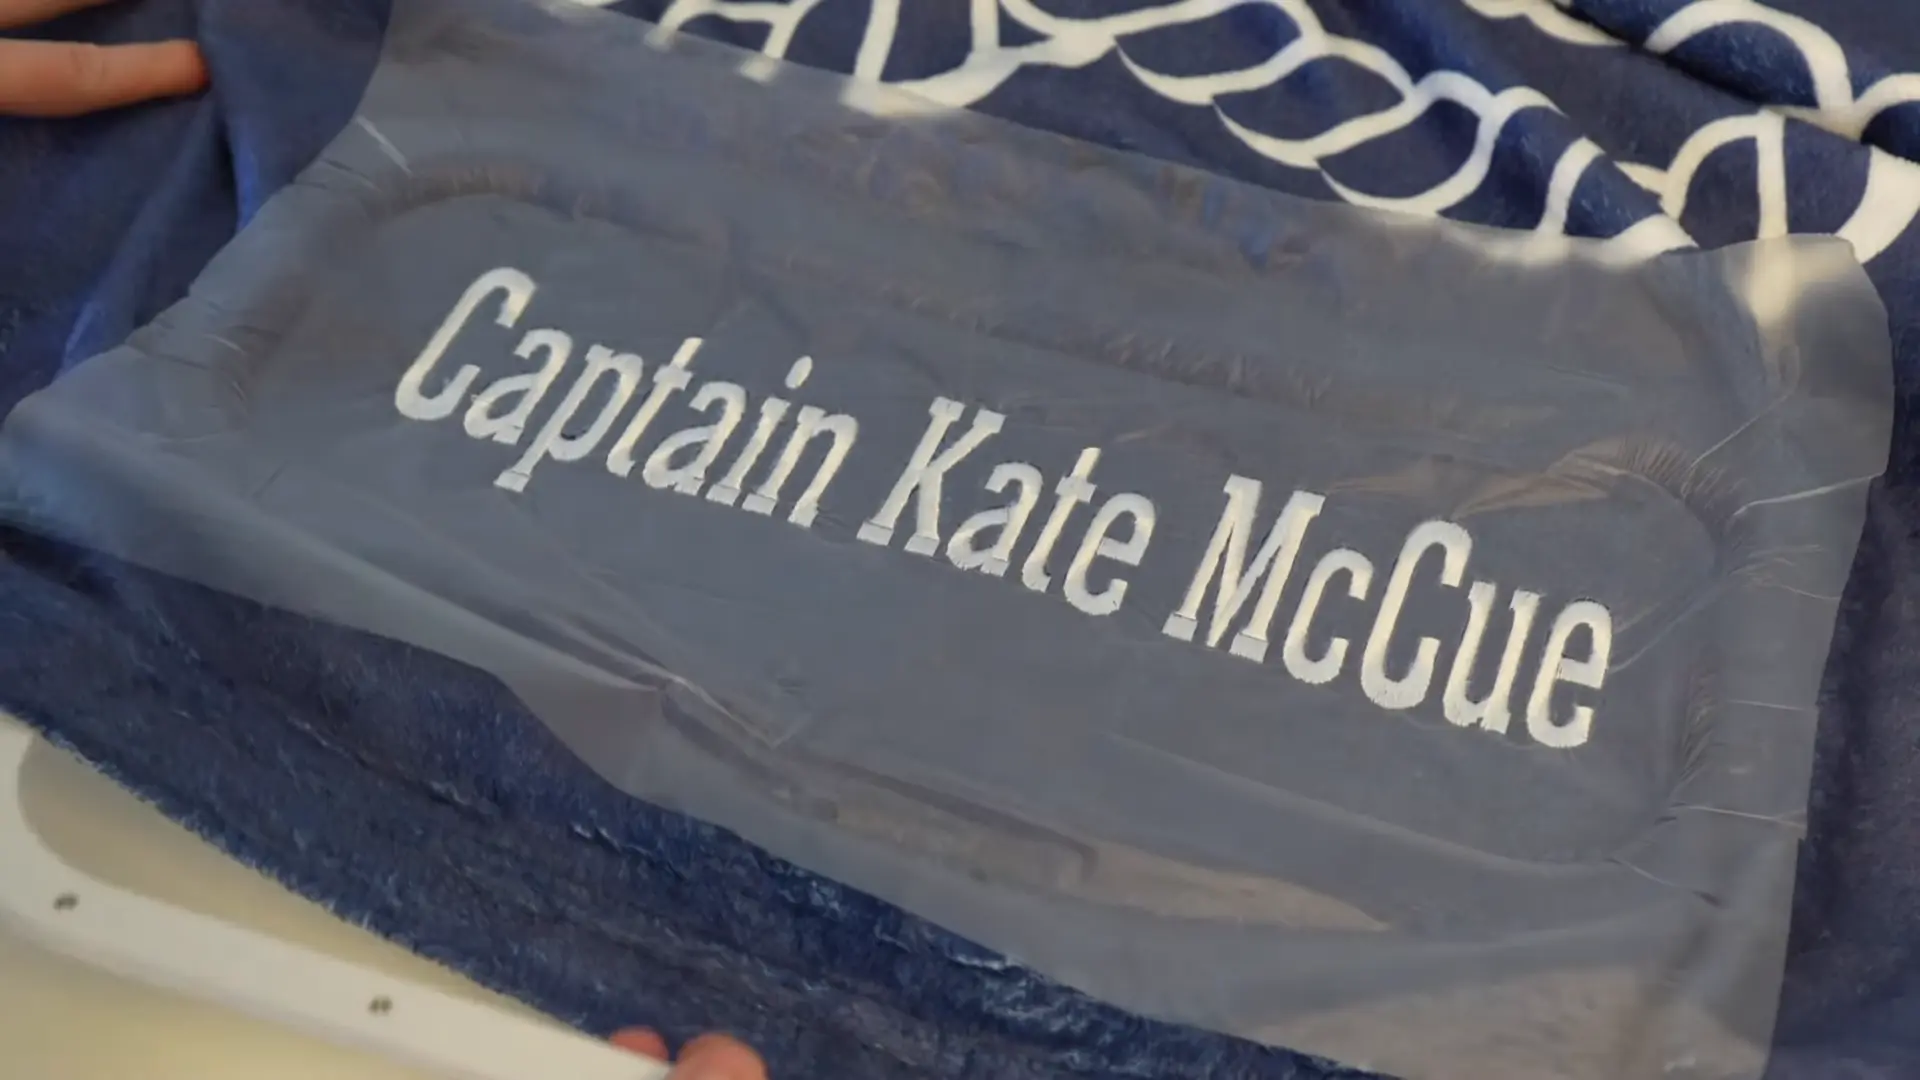
Next, pull the sleeve onto the hooping Fixture, aligning the center of the sleeve with the center line of the Adjustable FreeStyle Fixture shown above. If you cannot see the centerline, you can feel it through the garment as it is engraved in the Fixture. Hoop the sleeve, and you’re ready to embroider.
*Note: Using the Adjustable FreeStyle Fixture is recommended when hooping larger sleeves or the upper area of a sleeve. Smaller sleeves may have a difficult time fitting over the Adjustable FreeStyle Fixture. This is when the Mighty Hoop Backing Holders are particularly helpful.
Mighty Hoop and Backing Holder Option
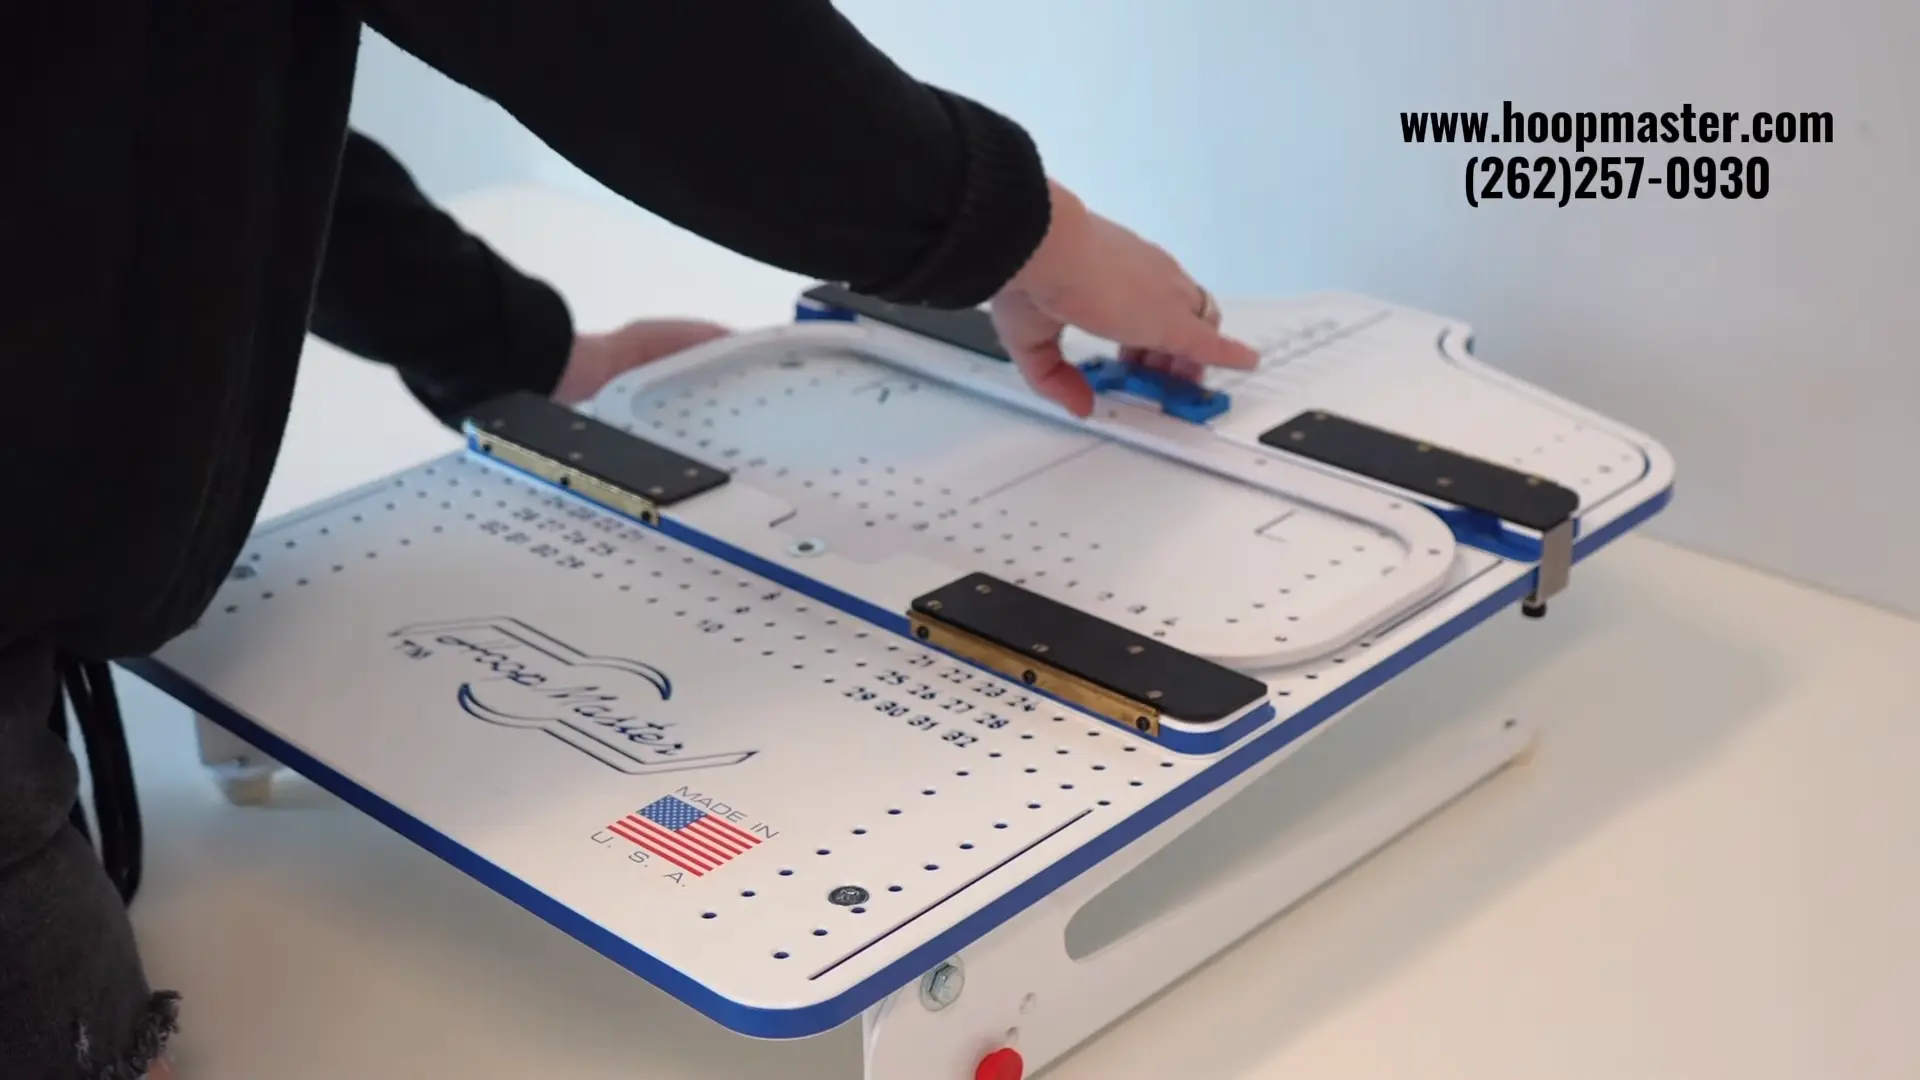
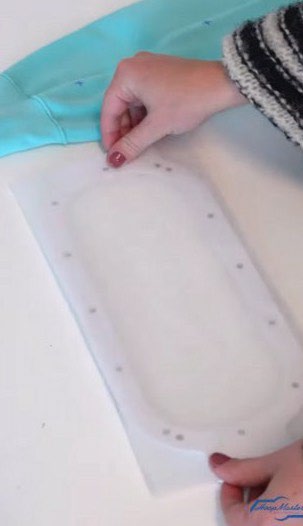
Using Mighty Hoop Backing Holders are extremely helpful when hooping in smaller sleeves or near the cuff. First, lay your embroidery stabilizer onto the bottom ring. Place the Backing Holder on top of the stabilizer and bottom ring and sandwich them together.
Using a 1.8oz-2.5oz stabilizer works best with the Backing Holders. When using thinner stabilizer, add a piece of medical or electric tape to opposite sides of the Backing Holder to keep the Backing Holder snug to the bottom ring.
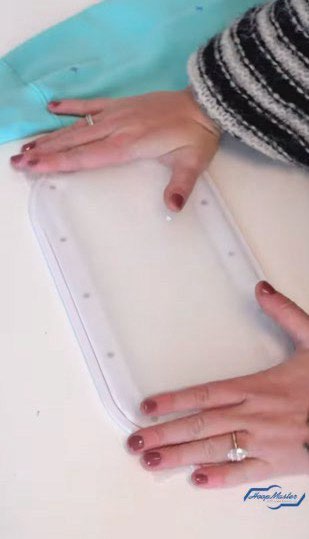
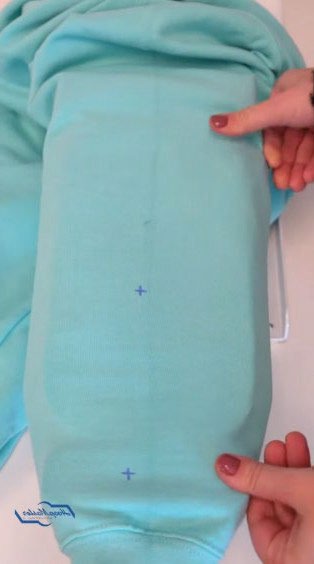
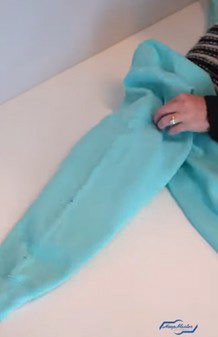
Slide the bottom ring into the sleeve through the collar and position it for the embroidery placement. Then remove the backing holder and you’re ready to embroider.
*ALWAYS remember to remove the Backing Holder before placing the Mighty Hoop on the machine. Only one Backing Holder is necessary per hoop size, as they are removed before embroidering.
Click HERE to watch the tutorial!