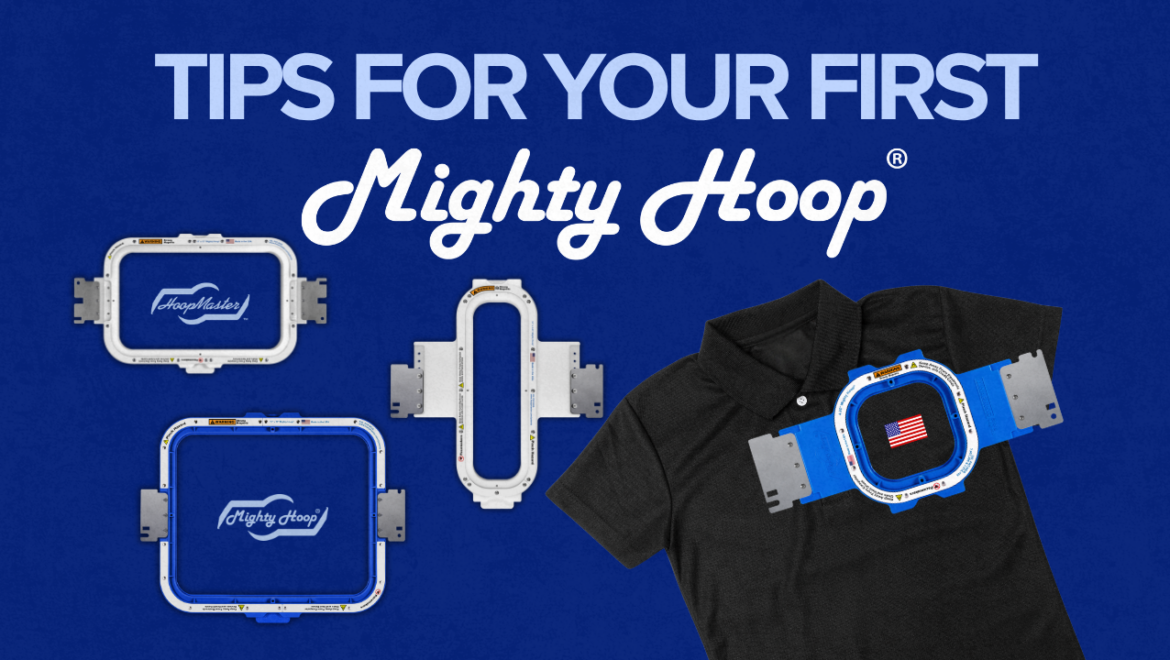
So, which embroidery product is right for you? We’ve put together this comparison to help guide you to the right solution.
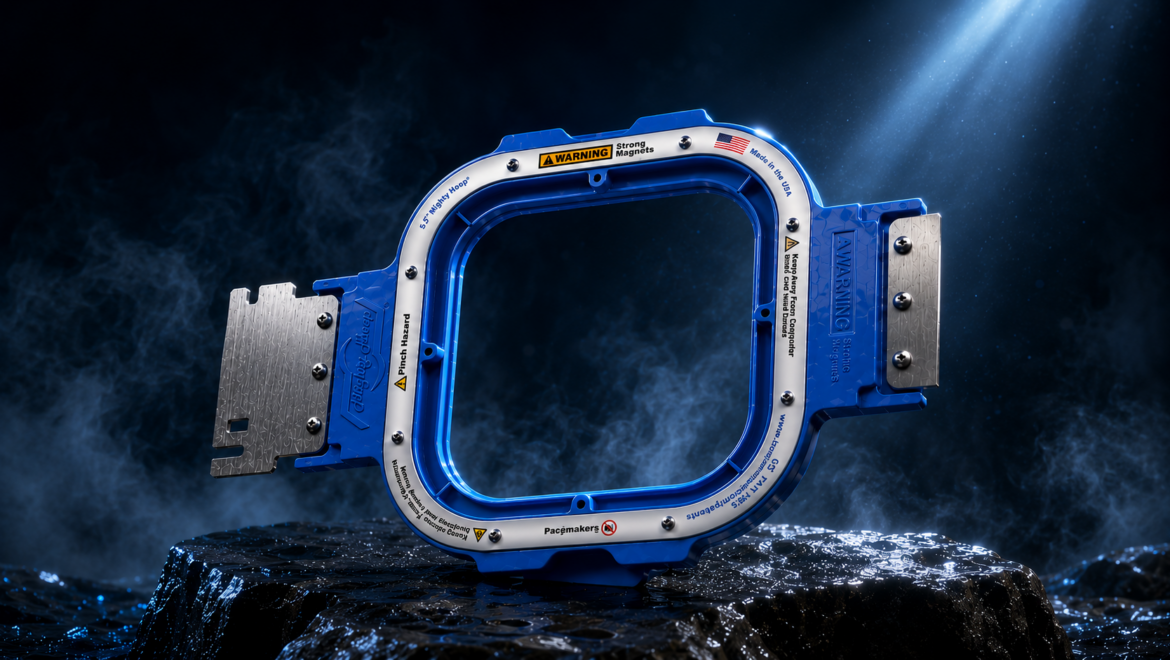
Magnetic Hoops vs Traditional Embroidery Hoops: Which Is Right for Your Machine?
If you’re weighing magnetic embroidery hoops against traditional manual hoops, the honest answer is that both work, and the right choice depends on what you embroider, how efficient you need to be, and what problems you’re actually trying to solve. There’s no single winner here.
At HoopMaster, we have a unique perspective on this comparison. We invented the magnetic embroidery hoop (the Mighty Hoop) and hold nine patents across our product lines, but we also still design and manufacture the HoopMaster Hooping Station, which works with traditional hoops. We started as a contract embroidery shop in 1983, producing embroidered goods for McDonald’s, Coca-Cola, Briggs & Stratton, and the Olympic Games. The hooping problems we experienced firsthand on the production floor are the reason both products exist.
This article breaks down the practical differences between magnetic and regular hoops so you can make the right decision for your commercial or home embroidery business.
How Regular Embroidery Hoops Work
Traditional embroidery hoops use an inner ring and an outer ring with a tension adjustment mechanism (usually a screw or clamp). You start by manually adjusting the outer ring to the size that you think it will hold the fabric securely. You then place the outer ring under the fabric, press the inner ring over the top until the hoops are together. After the fabric is hooped, you check to see if the fabric is taut enough for embroidery, if not, you start over.
This design has been the standard for decades. Most commercial embroidery machines ship with at least one set of traditional hoops, and they’re available in a wide range of sizes for virtually every machine on the market.
Traditional hoops get the job done for most standard embroidery work, but they have limitations that become more obvious as your production volume increases or as you start working with a wider variety of garments and materials.
How Magnetic Embroidery Hoops Work
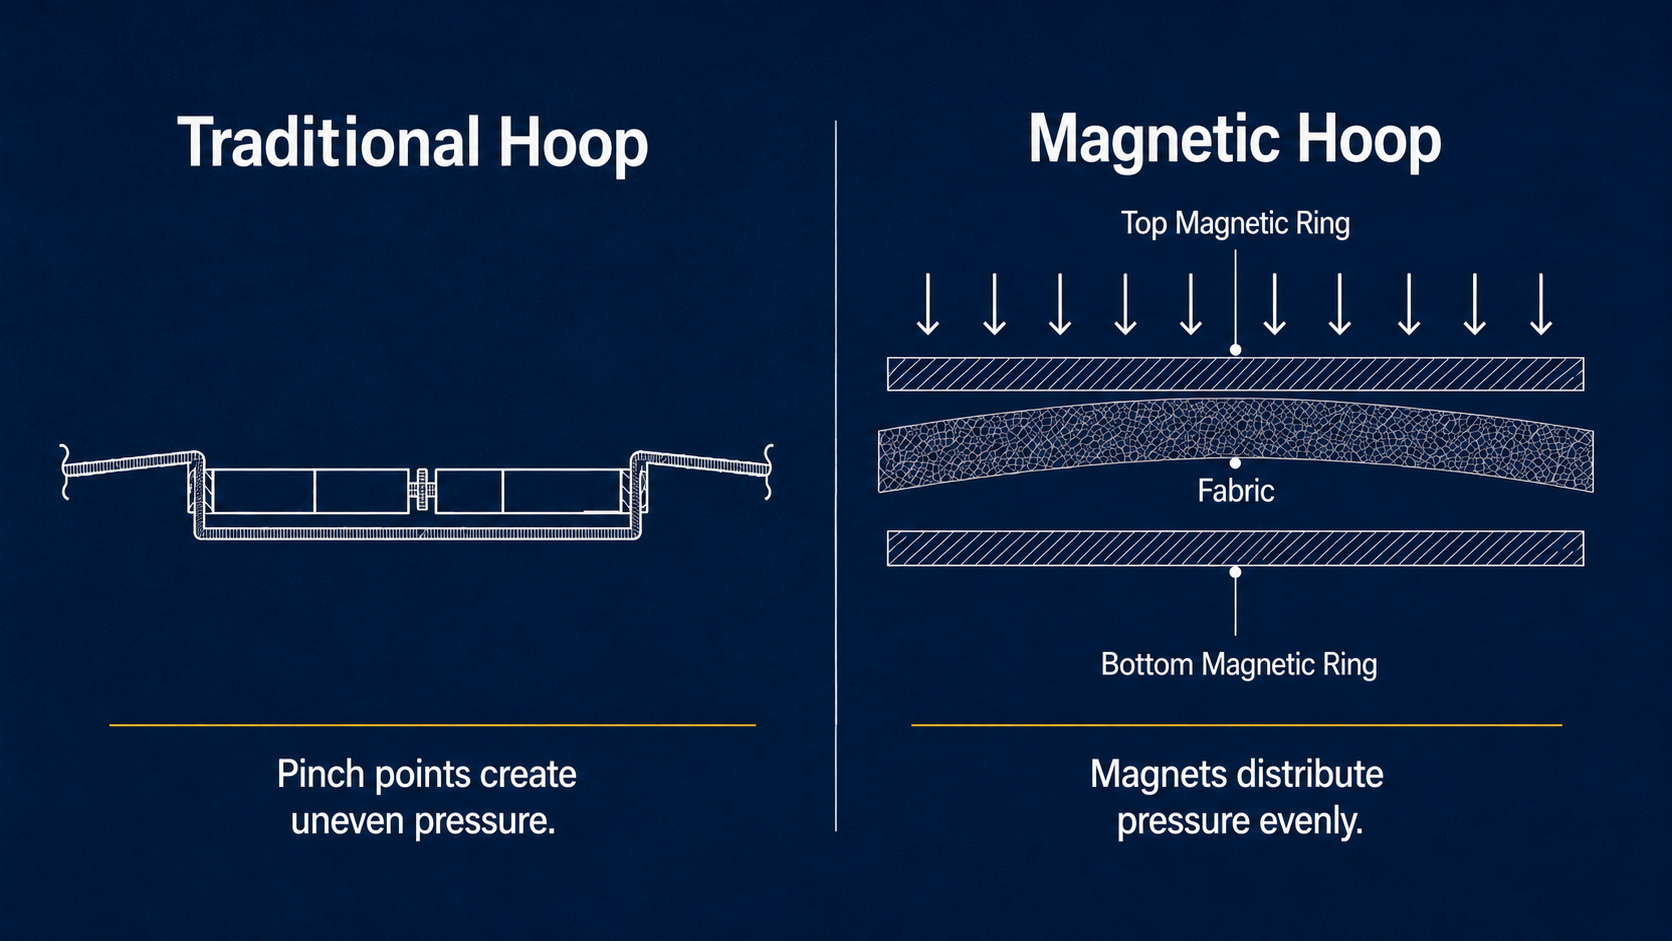
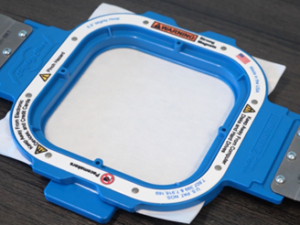
Magnetic embroidery hoops replace the traditional adjustable ring mechanism with powerful rare earth magnets embedded in both the top and bottom rings. You lay the garment over the bottom ring, place the top ring on top, and the magnets grip the fabric with even, consistent force. There is no outer ring to tighten and no adjustment needed for different fabric thicknesses. As we like to say, “Let the Magnets do the Work!”
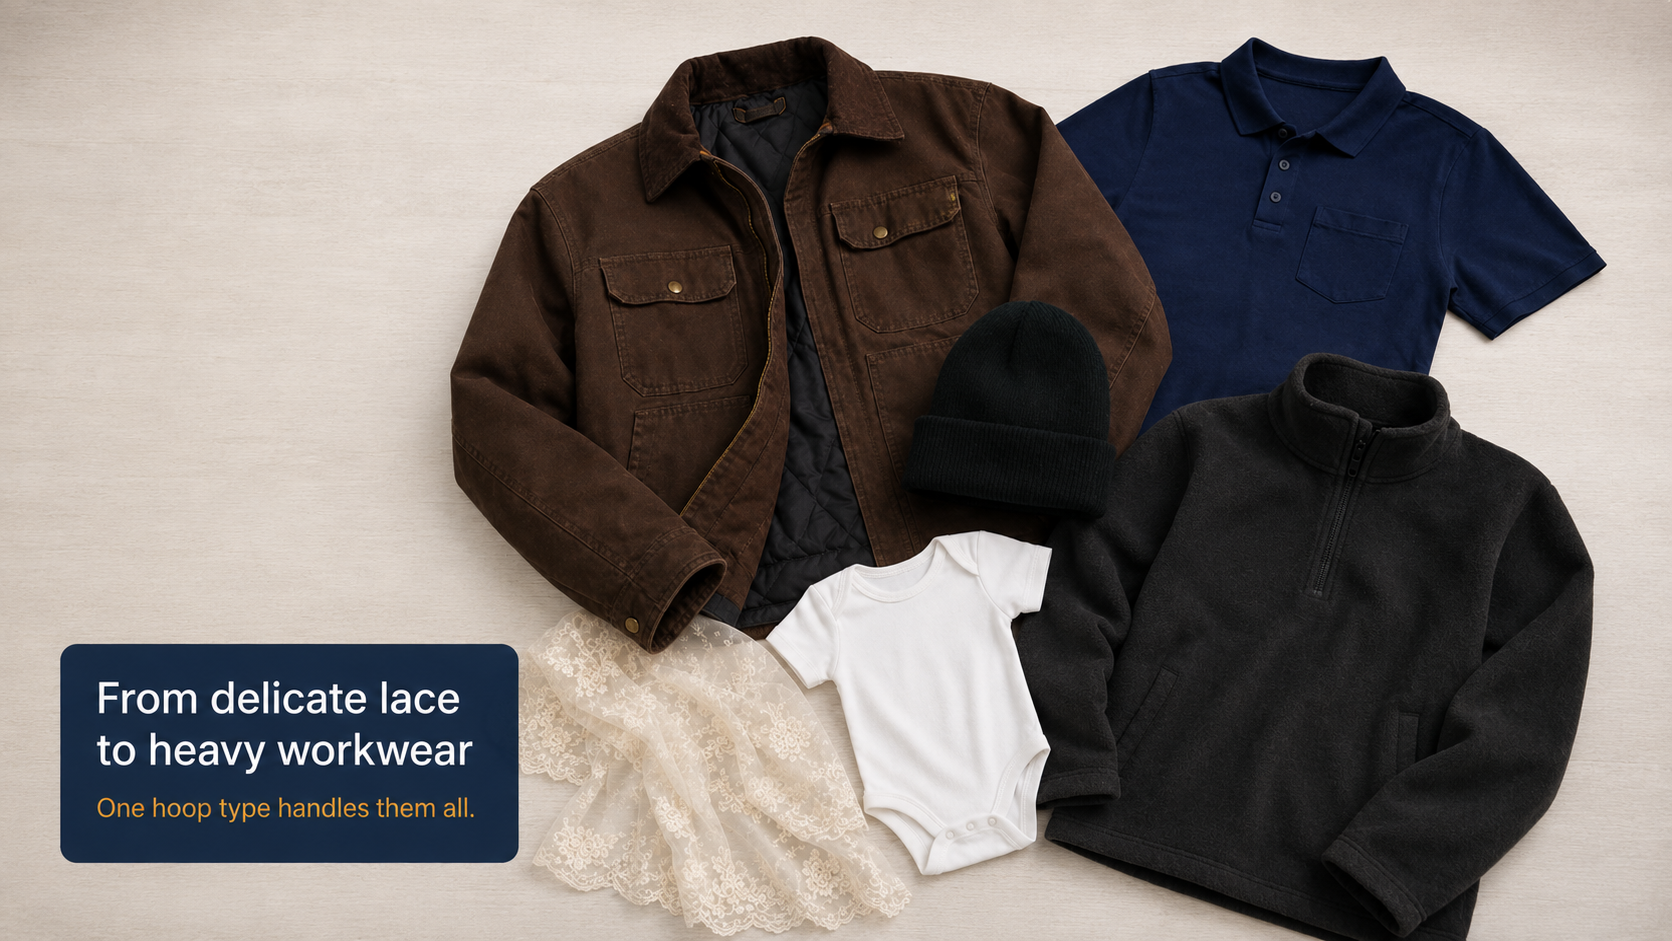
The magnets automatically accommodate everything from thin dress shirts to thick Carhartt jackets and workwear. Neodymium magnets are permanent, losing only a small fraction of their magnetic performance every 100 years under optimum conditions.
Magnetic vs Regular Embroidery Hoops: Key Differences
Here’s a side-by-side comparison of the factors that matter most in daily production:
| Factor | Traditional Hoops | Magnetic Hoops |
|---|---|---|
| Hooping speed | Slower. Requires manual tensioning and outer ring adjustment for each garment. Different fabrics need different tension settings. | Faster. No adjustment between garments. Lay fabric over the bottom ring, place the top ring, done. |
| Hoop burn risk | Higher. The concentrated pinch of the inner and outer rings can leave visible indentation marks or damage the fibers in fabric. | Lower. Magnetic grip distributes pressure evenly without a concentrated pinch point. On thicker or plush materials, a temporary pressure ring may appear but fades on its own or disappears with a quick steam. |
| Material thickness capacity | Limited. Thick workwear, canvas, leather, and heavy materials are difficult or impossible to hoop with adequate tension. | Handles thick materials with ease. Carhartt jackets, leather goods, horse blankets, canvas bags, and other heavy items that traditional hoops cannot grip. |
| Hooping over obstacles | Restricted. Zippers, seams, button plackets, and pockets create problems for traditional hoops. | Can hoop over zippers, seams, pockets, and button plackets without damage, because there is no pinch point. |
| Physical strain on operator | Higher. Manual tightening causes wrist, hand, and back strain, especially during longer production runs. | Significantly lower. Even thick garments require very little pressure to apply. |
| Tension consistency | Varies. Tension depends on how tightly the operator adjusts the outer ring, which can differ from garment to garment. | Consistent. Magnets provide the same grip force every time, regardless of operator. |
| Upfront cost | Lower. Machines ship with standard hoops included. Replacement hoops are relatively inexpensive. | Higher. Individual magnetic hoops run from $125 to $219. Starter kits start at $541. |
| Adjustment between fabrics | Required. The outer ring must be loosened or tightened for different fabric thicknesses. | None. Magnets automatically adjust to the garment. |
When Regular Hoops Work Fine
Traditional hoops are a perfectly acceptable choice in several situations:
- You primarily embroider standard-weight garments. If most of your work involves t-shirts, polos, and medium-weight items, traditional hoops handle the tension requirements without issue.
- Your production volume is relatively low. When you’re running smaller orders, the extra time spent adjusting the outer ring and tensioning each garment isn’t as costly.
- You’re keeping startup costs low. If you’re just getting started and already have the hoops that came with your machine, there’s no immediate need to upgrade. Traditional hoops can carry you until your business demands more efficiency.
- You use a hooping station for consistent placement. A system like the HoopMaster Hooping Station works with traditional hoops, so you can get placement accuracy and documented positioning without switching to magnetic hoops.
When Magnetic Hoops Are the Right Upgrade
Magnetic hoops solve specific problems that traditional hoops can’t. If any of these describe your situation, it’s worth making the switch:
- You embroider thick or heavy materials. Carhartt jackets, canvas, leather, horse blankets, fleece, and other heavy-duty fabrics are where magnetic hoops really separate themselves. Traditional hoops simply cannot grip these materials with enough tension for clean embroidery. With a Mighty Hoop, you can hoop thick jackets that would be impossible with standard hoops.
- You need to embroider near zippers, seams, or pockets. Because magnetic hoops have no pinch point, they can grip fabric securely over zippers, seams, button plackets, and pockets without damaging them. This opens up placement options that traditional hoops restrict.
- Hoop burn is damaging garments. If you’re seeing indentation marks from your hoops and losing finished goods to hoop burn, the even magnetic grip greatly reduces the concentrated pressure that causes those marks.
- Physical strain is becoming an issue. High-volume hooping with traditional hoops takes a toll on wrists, elbows, and hands. We hear this constantly from customers who have been in the business for years. One of our customers reported that most of her wrist and elbow issues were from hooping, and that switching to the Mighty Hoop solved the problems with her wrists, elbows, and hands.
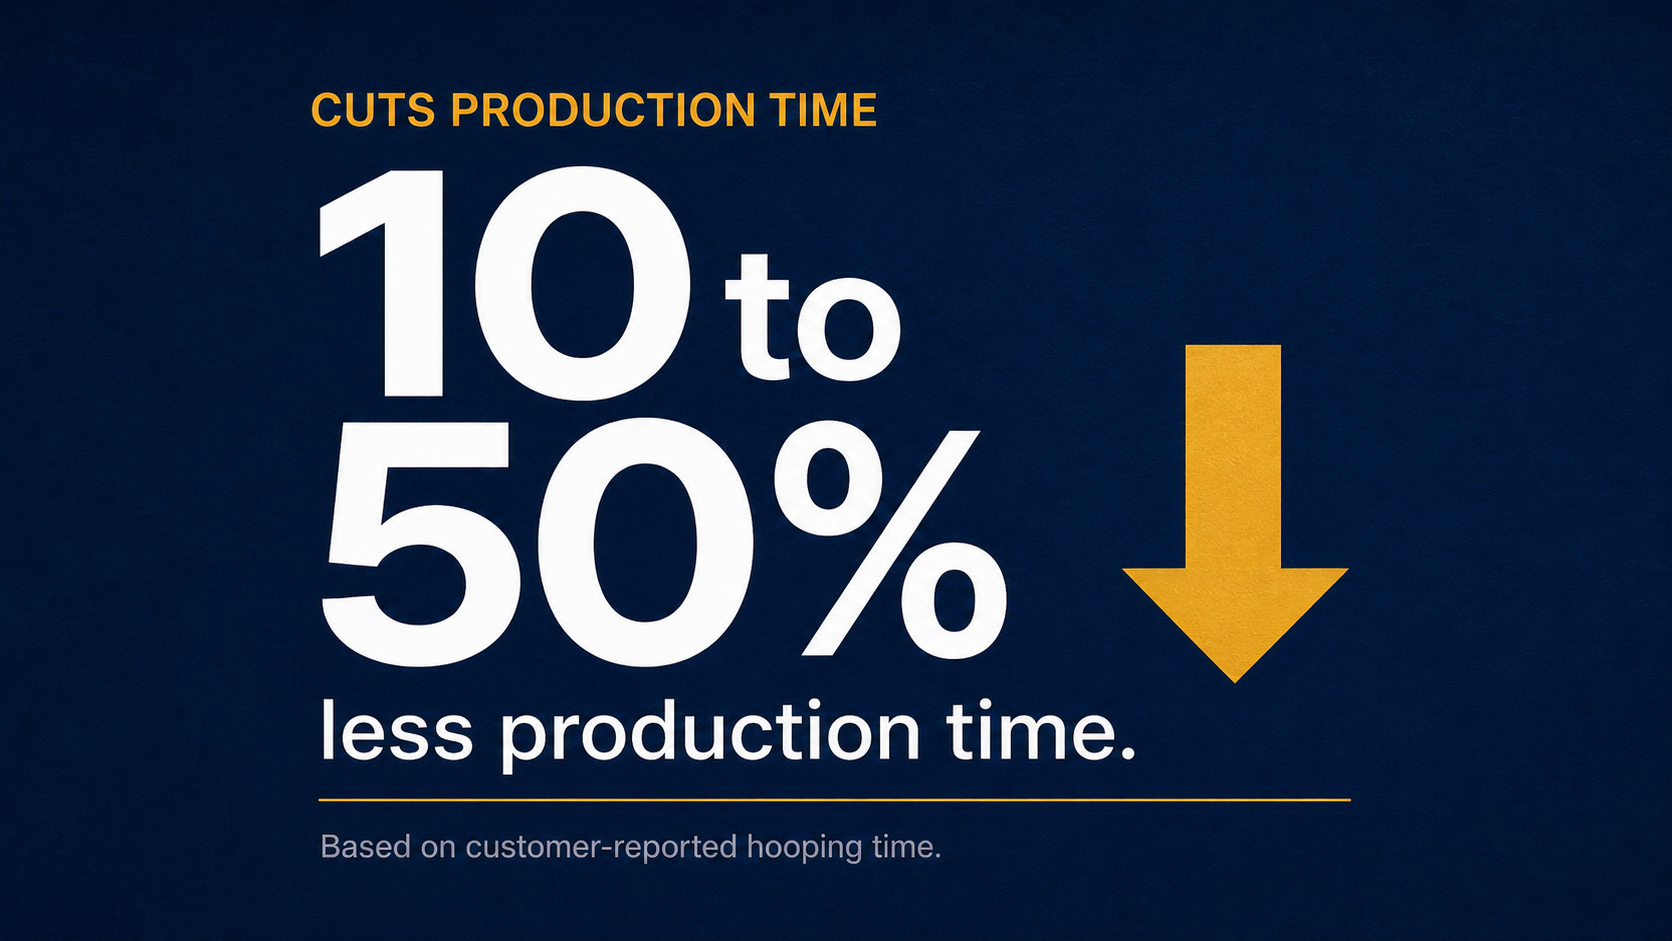
- You’re spending too much time hooping. If hooping is your production bottleneck, magnetic hoops speed up the process significantly. Customers consistently tell us that it greatly reduces hooping time.
- You embroider a wide variety of garment types. Switching between thin shirts and thick sweatshirts means constantly adjusting the outer ring on traditional hoops. Magnetic hoops eliminate that step entirely, because the magnets grip any thickness the same way.
What About Specific Materials and Garments?
The type of embroidery you do should drive this decision. Here’s how each hoop type performs across common applications:
Left and right chest logos on polos and t-shirts: Both hoop types work well for this. It’s the most common embroidery placement, and traditional hoops handle standard-weight garments without issue. Magnetic hoops are faster but not strictly necessary for this application alone. The average left chest design is between 3″ and 4.5″.
Sweatshirts and hoodies: This is where magnetic hoops start to pull ahead. Sweatshirts are thicker than t-shirts, and adjusting the outer ring on a traditional hoop to accommodate that thickness adds time. Magnetic hoops grip sweatshirts without any adjustment. For larger designs on sweatshirts (including applique work), an 8×13″ hoop provides plenty of sewing area.
Thick workwear and jackets: Magnetic hoops are the clear winner. Traditional hoops cannot adequately grip heavy Carhartt jackets, canvas workwear, or similar materials. If you’re turning down these orders because you can’t hoop the garments, magnetic hoops let you take that work and increase your profitability..
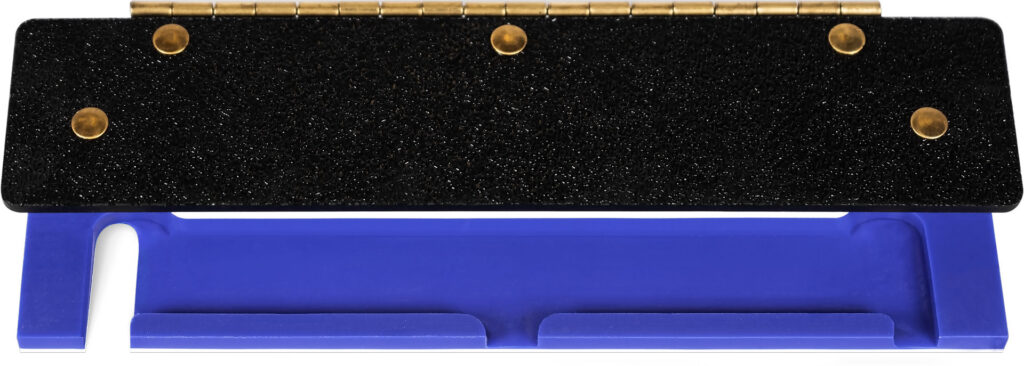
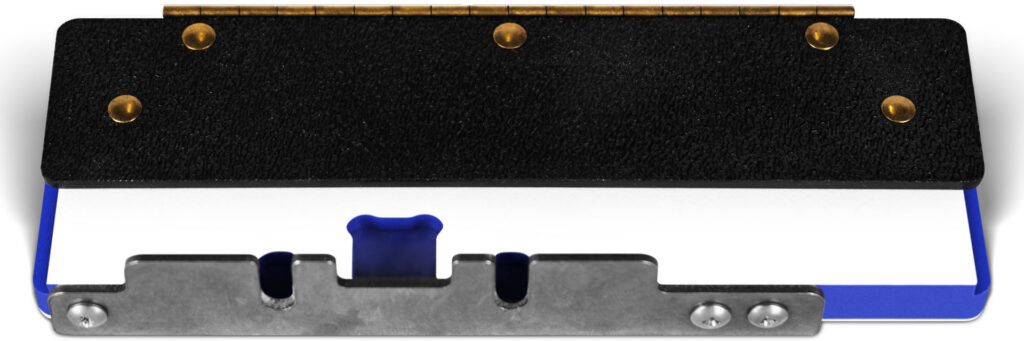
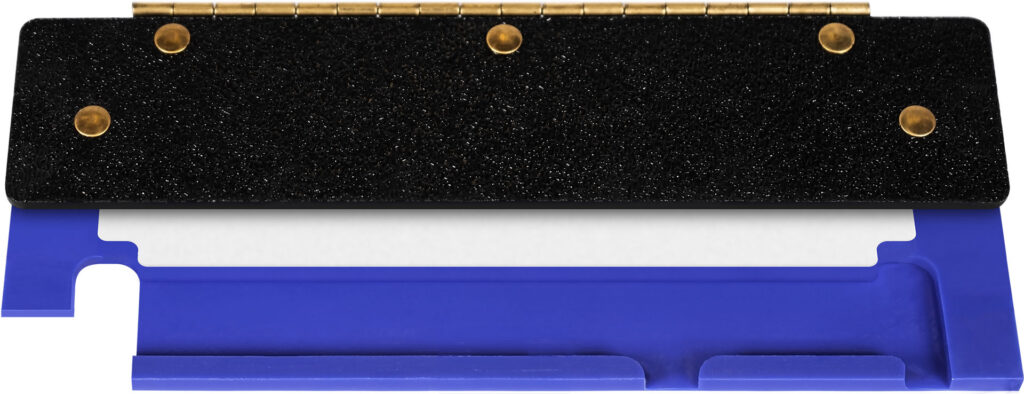
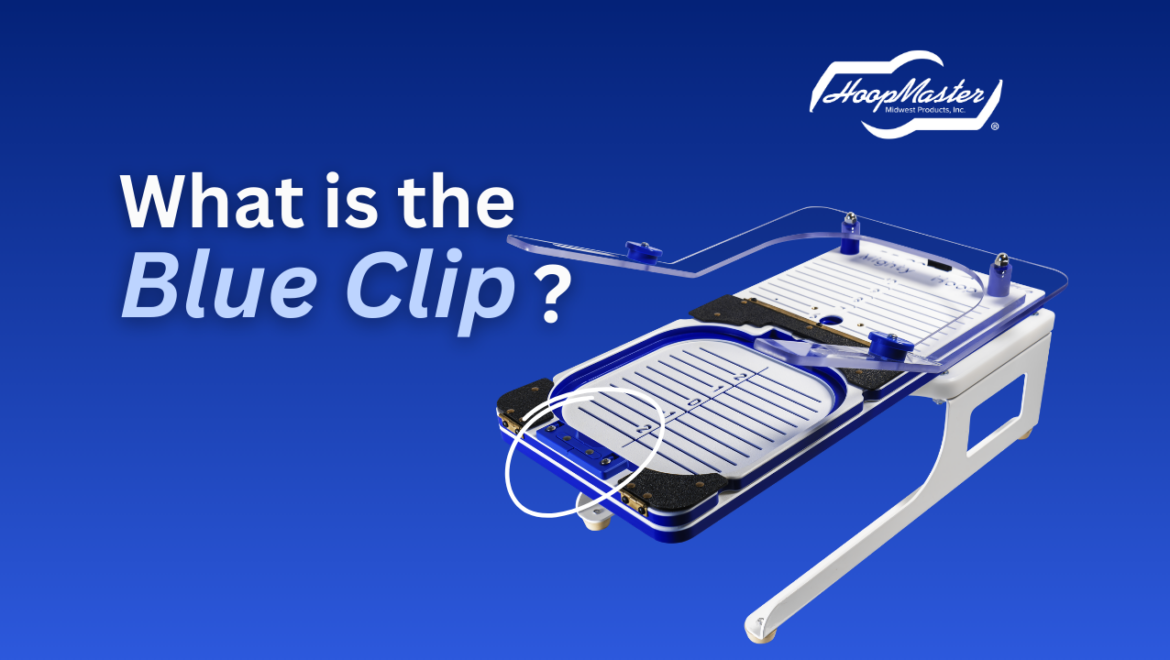
Delicate and lightweight fabrics: Both types work, but magnetic hoops have an advantage here too. We designed and patented the Mighty Hoop Blue Clip system specifically for working with lightweight garments on the HoopMaster hooping system. The Blue Clip holds the bottom ring of the Mighty Hoop in the fixture while you position the garment, preventing the magnets from snapping together and shifting lightweight fabric. This allows faster hooping over traditional hoops while still allowing you to use the HoopMaster for consistent, accurate, and efficient results.
Sleeves: Sleeve embroidery requires narrow hoops that fit the garment without stretching it. Both traditional and magnetic hoops come in slim sizes for sleeves. The 9×3″ and 12×3.25″ Mighty Hoops are popular choices for sleeve work.
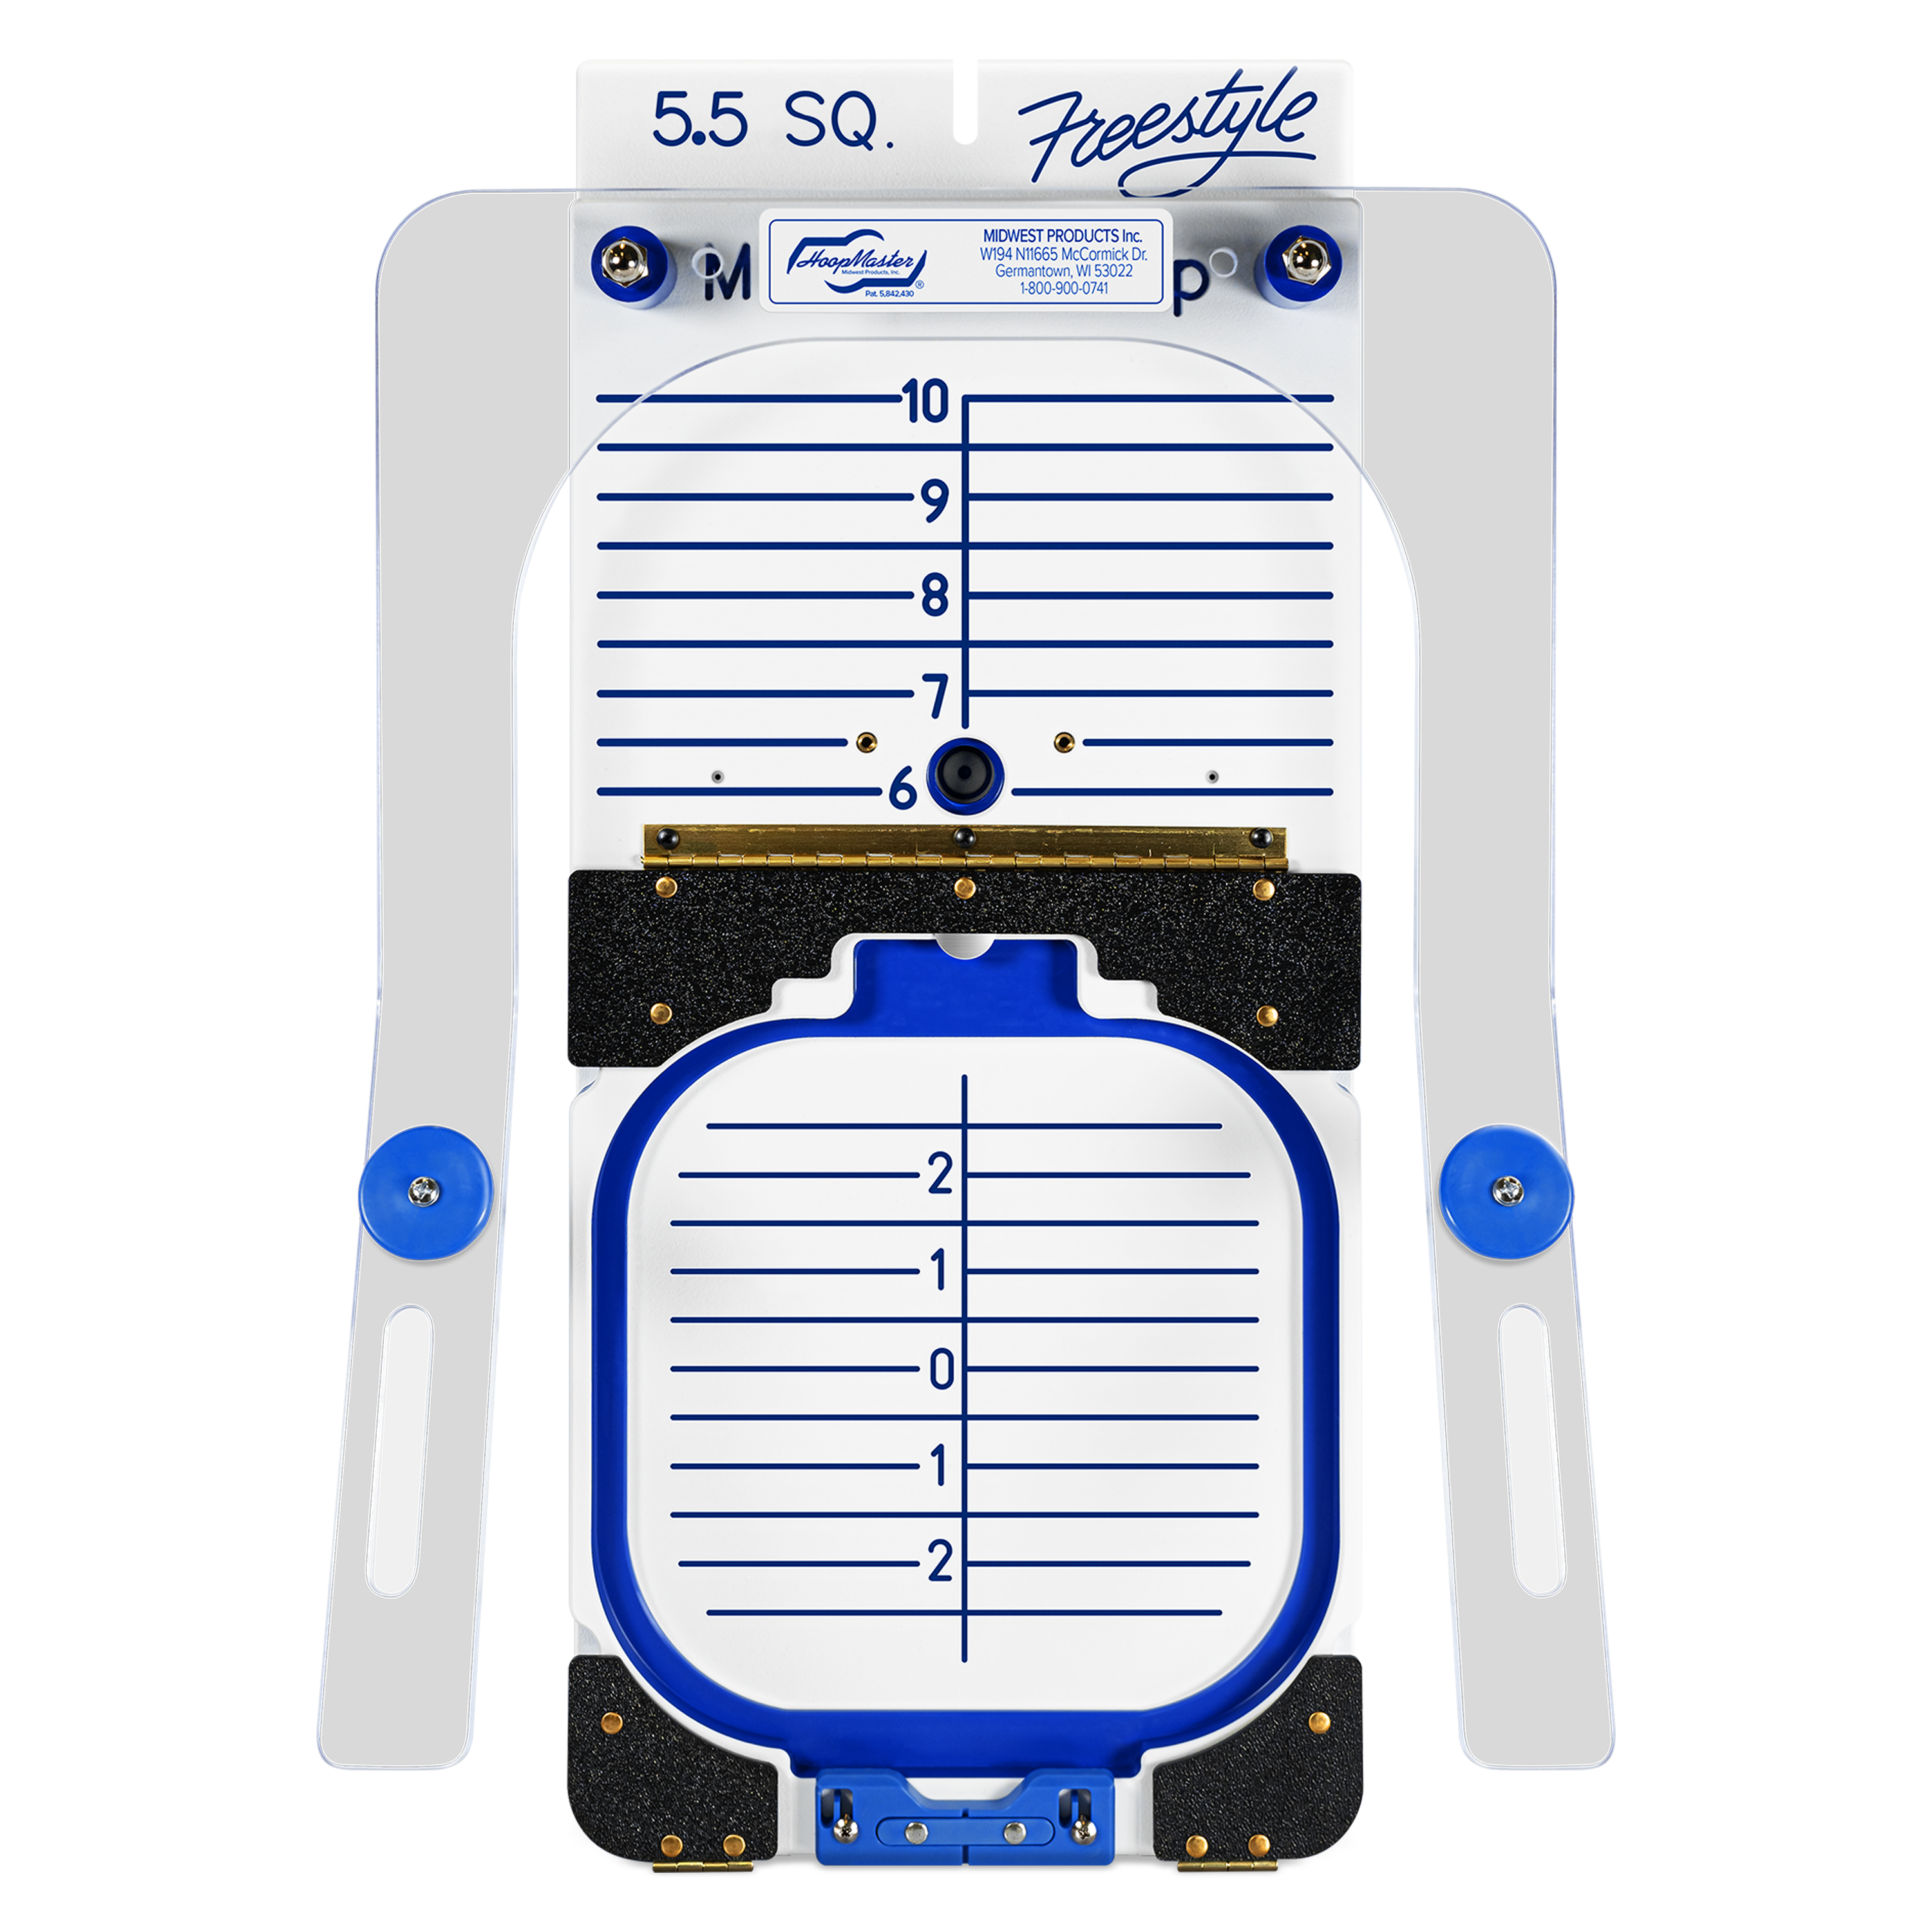
Beanies, napkins, and small items: Both types work. For unique tubular items like beanies and infant items, a FreeStyle Arm with a Portable Mounting Base helps with hooping regardless of which hoop type you use.
Velveteen blankets, fleece, tote bags, backpacks, and plush materials: Magnetic hoops. These materials are too thick or textured for traditional hoops to grip cleanly. A temporary pressure ring may appear on plush fabrics after extended hooping, but it fades on its own or disappears with a quick steam.
Machine Compatibility
One concern embroiderers have when considering magnetic hoops is whether they’ll work with their machine. Here’s the breakdown:
Regular hoops are machine-specific and universally available. Your machine came with hoops designed for it, and replacement hoops for your brand and model are easy to find.
Mighty Hoops are compatible with almost all tubular embroidery machine brands, including Tajima, Barudan, , Baby Lock, Brother (PR and Commercial), Melco, Ricoma, SWF, Janome, Bai, Smartstitch, Happy, ZSK, and many more. Each Mighty Hoop comes with brackets specific to your machine model.
If you’re not sure whether a magnetic Mighty hoop will fit your machine, you can use our Brand selection page to check compatibility.
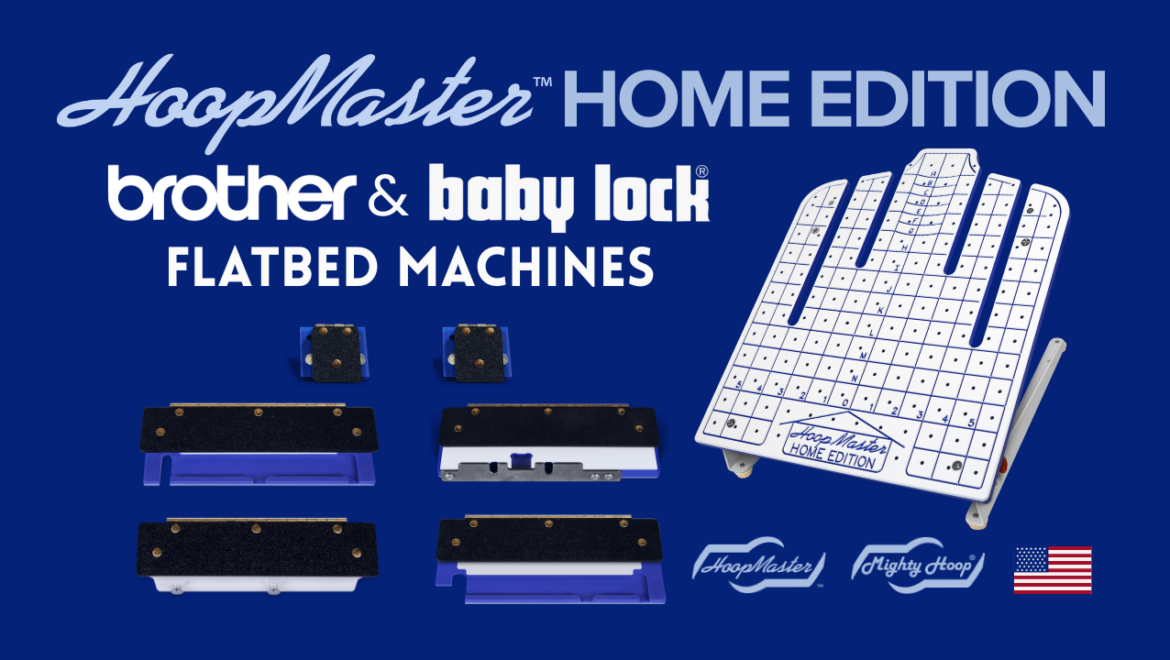
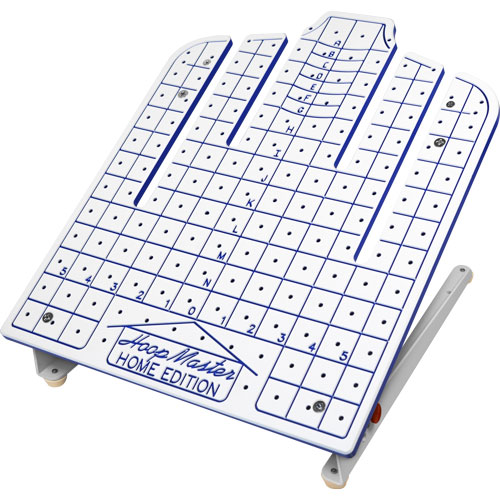
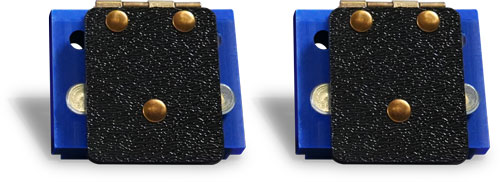
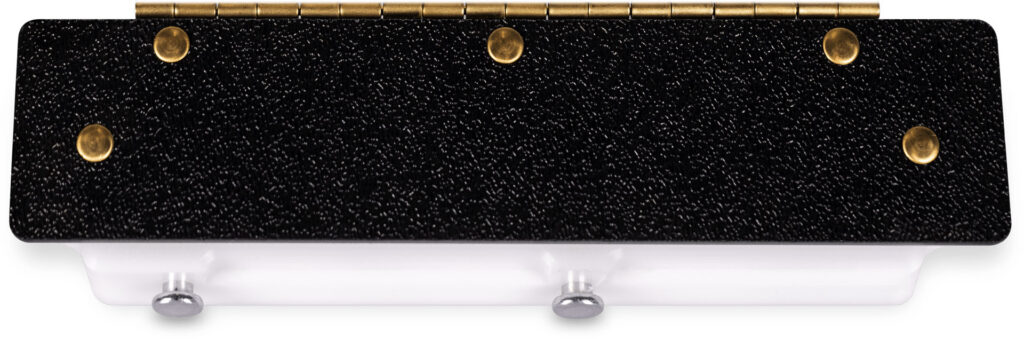
For home embroiderers using flatbed Brother and Baby Lock machines, the HoopMaster Home Edition is designed specifically for your setup and uses your machine’s original OEM hoops with a precision alignment station.
The Cost Question
Let’s address this directly. Traditional hoops are cheaper upfront. Your machine came with them, and replacements don’t cost much.
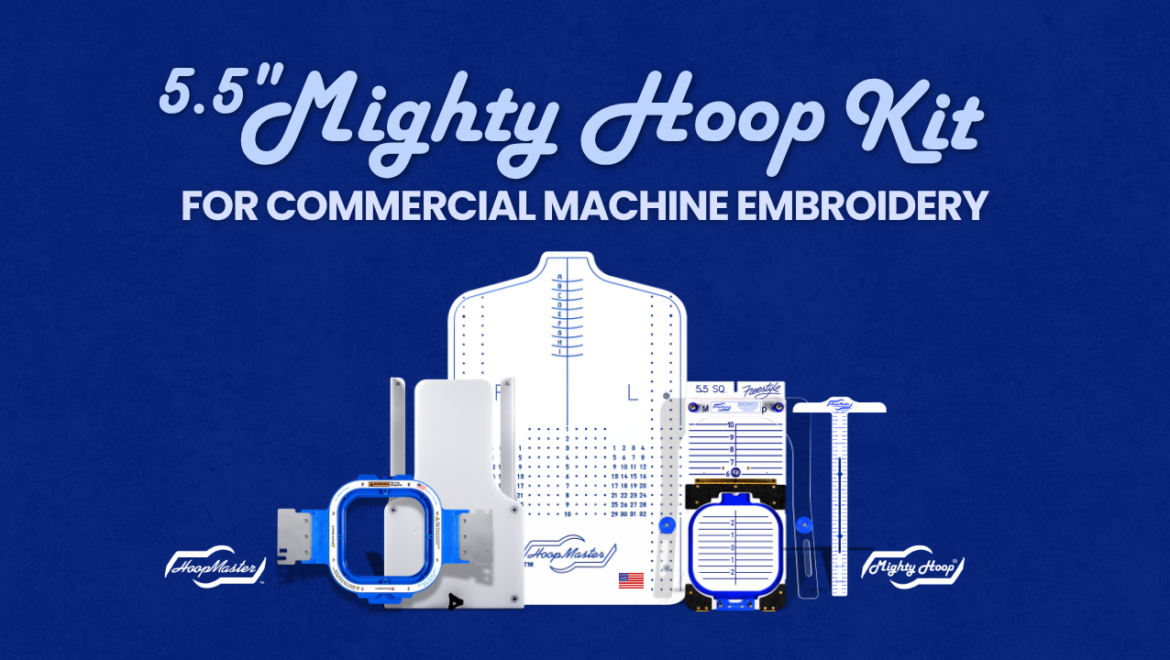
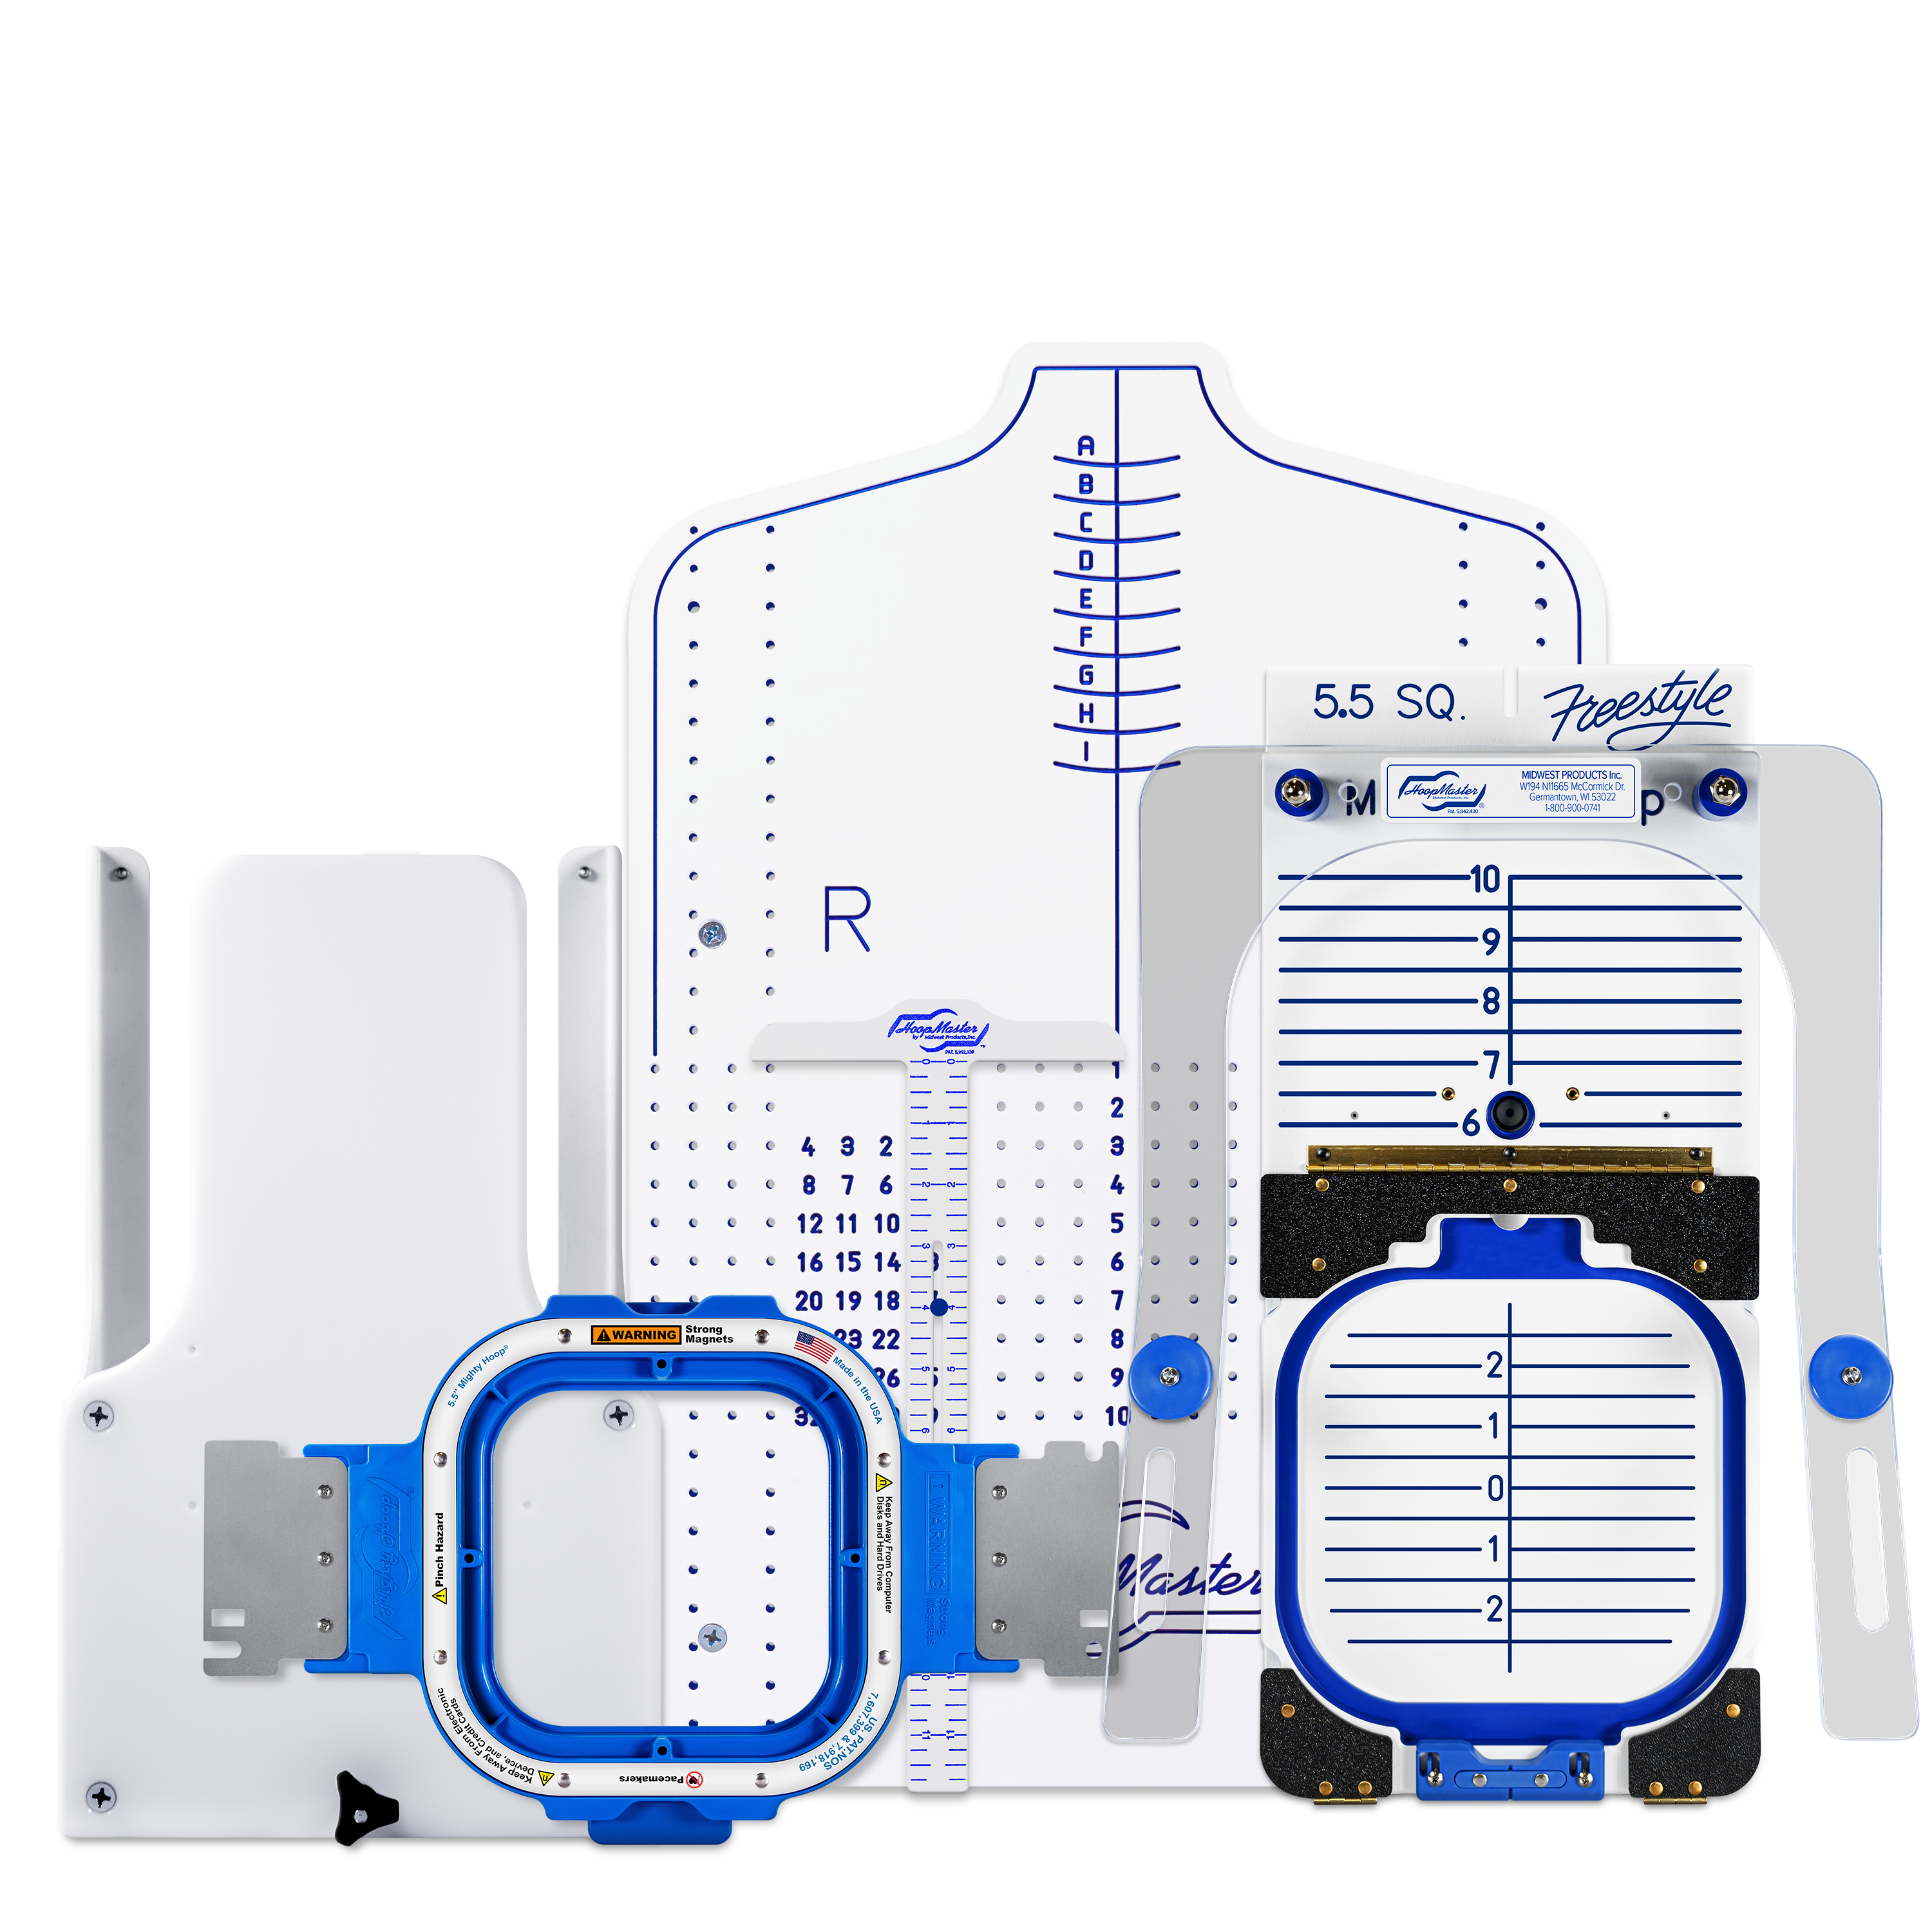
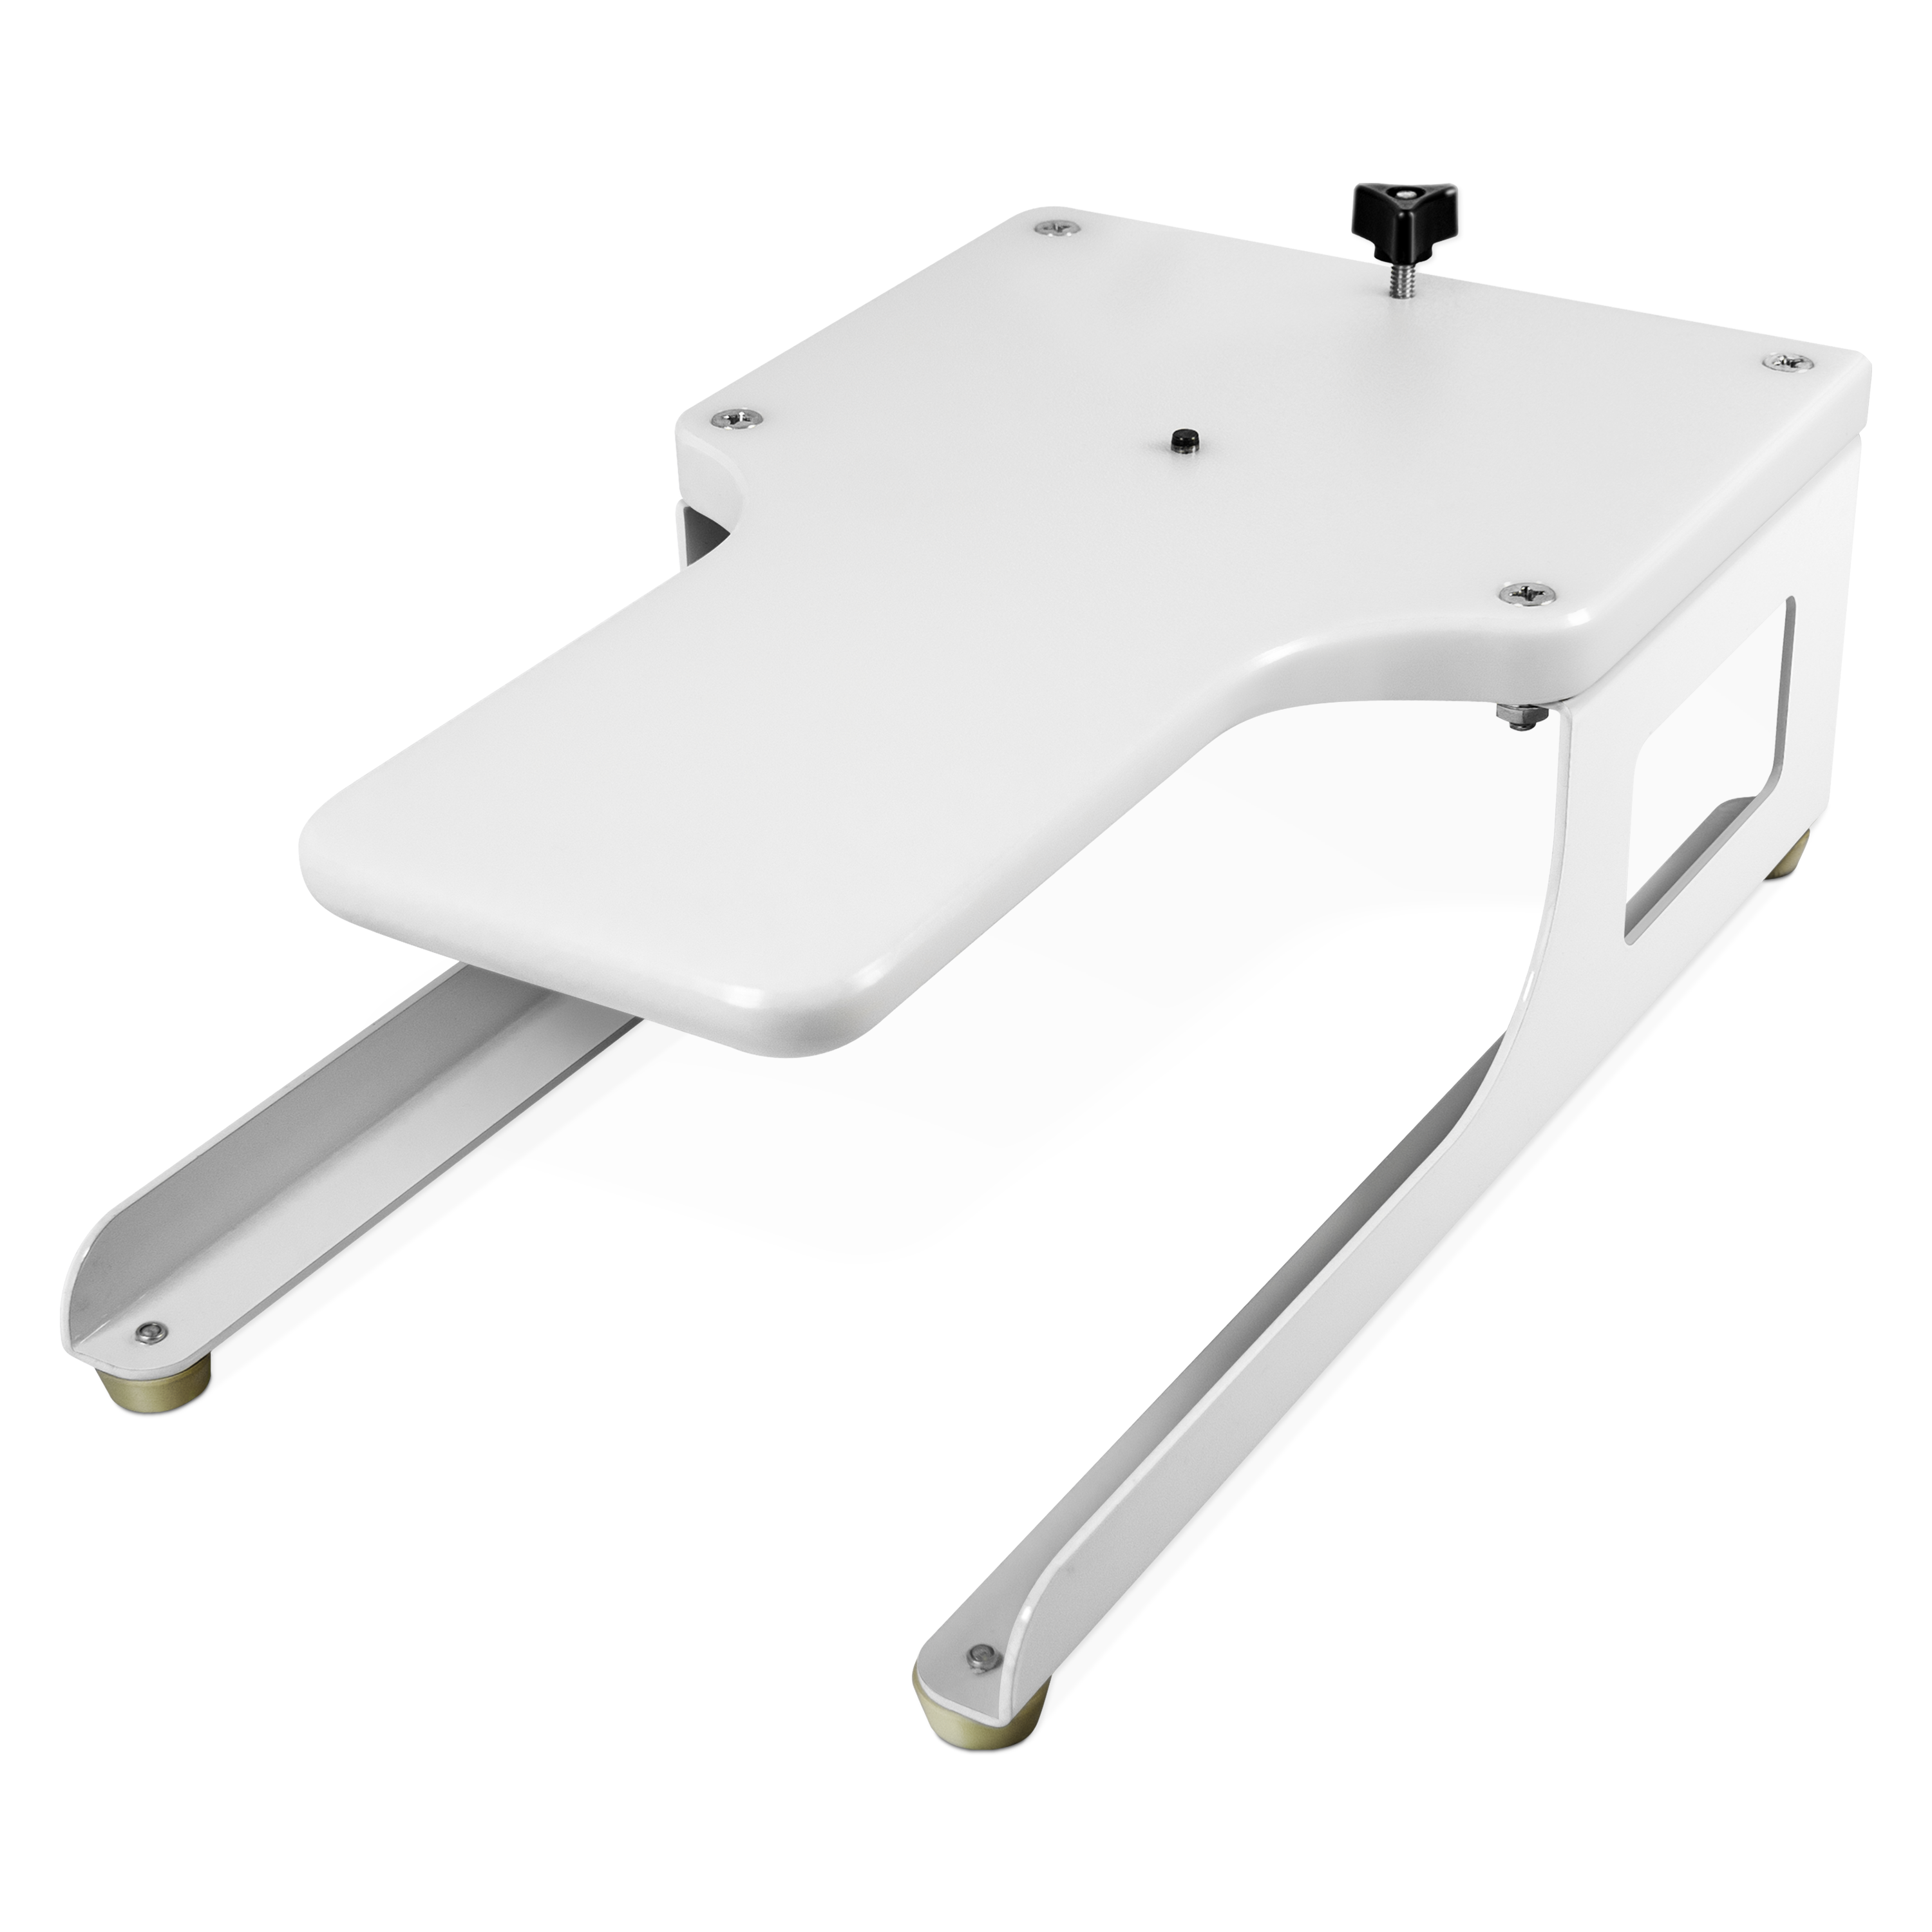
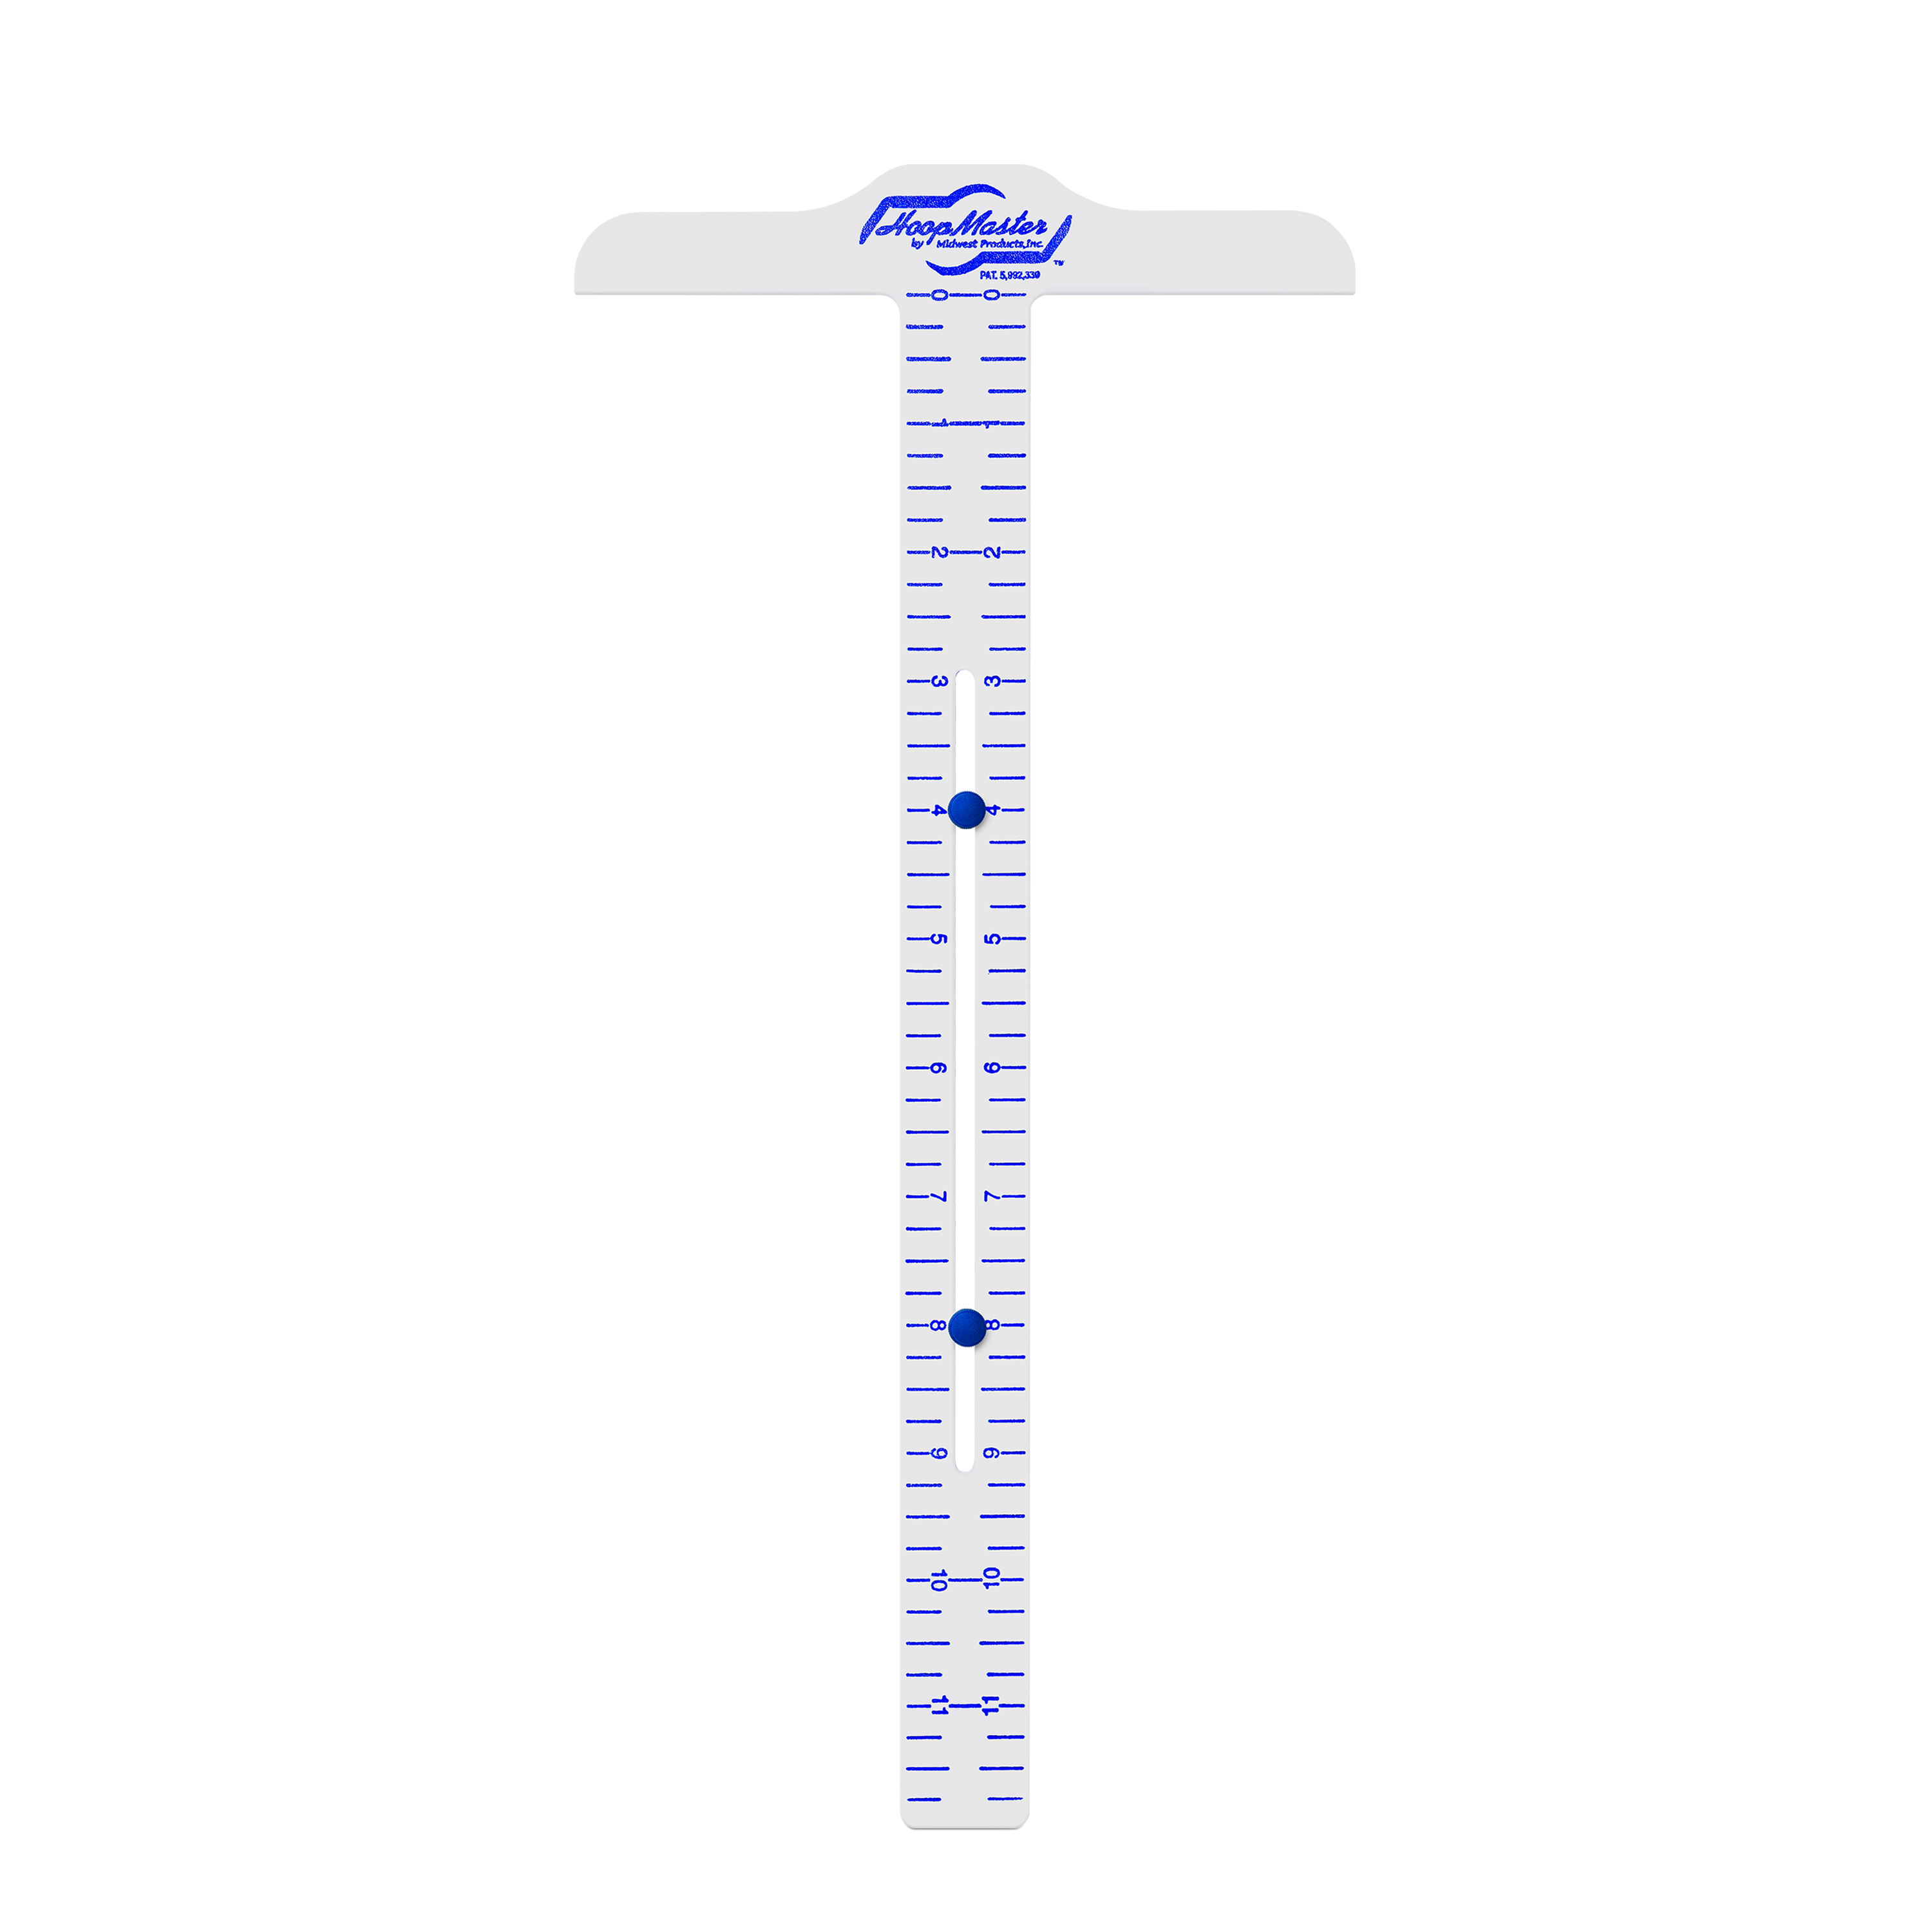
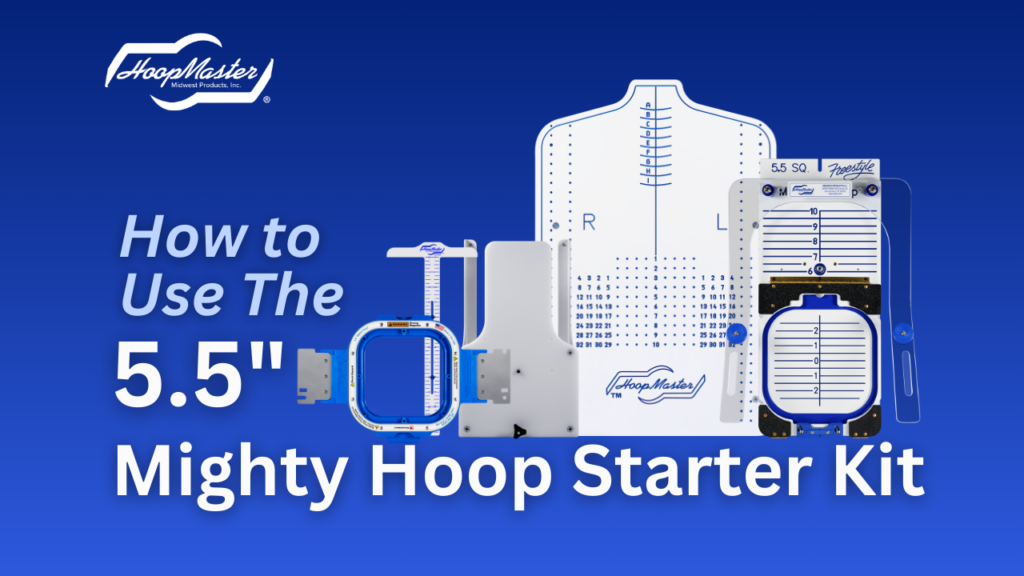
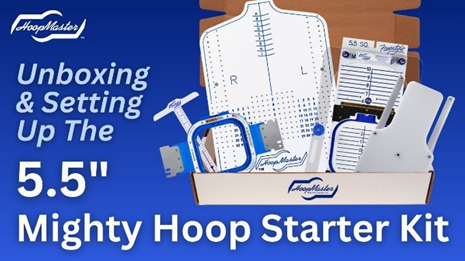
Individual Mighty Hoops run $125 to $219 depending on size. A starter kit (which includes a HoopMaster Station, a 5.5″ Mighty Hoop with fixture, T-Square, Portable Mounting Base, and accessories) is $541. Upgraded kits with additional hoop sizes are also available at an increased cost.
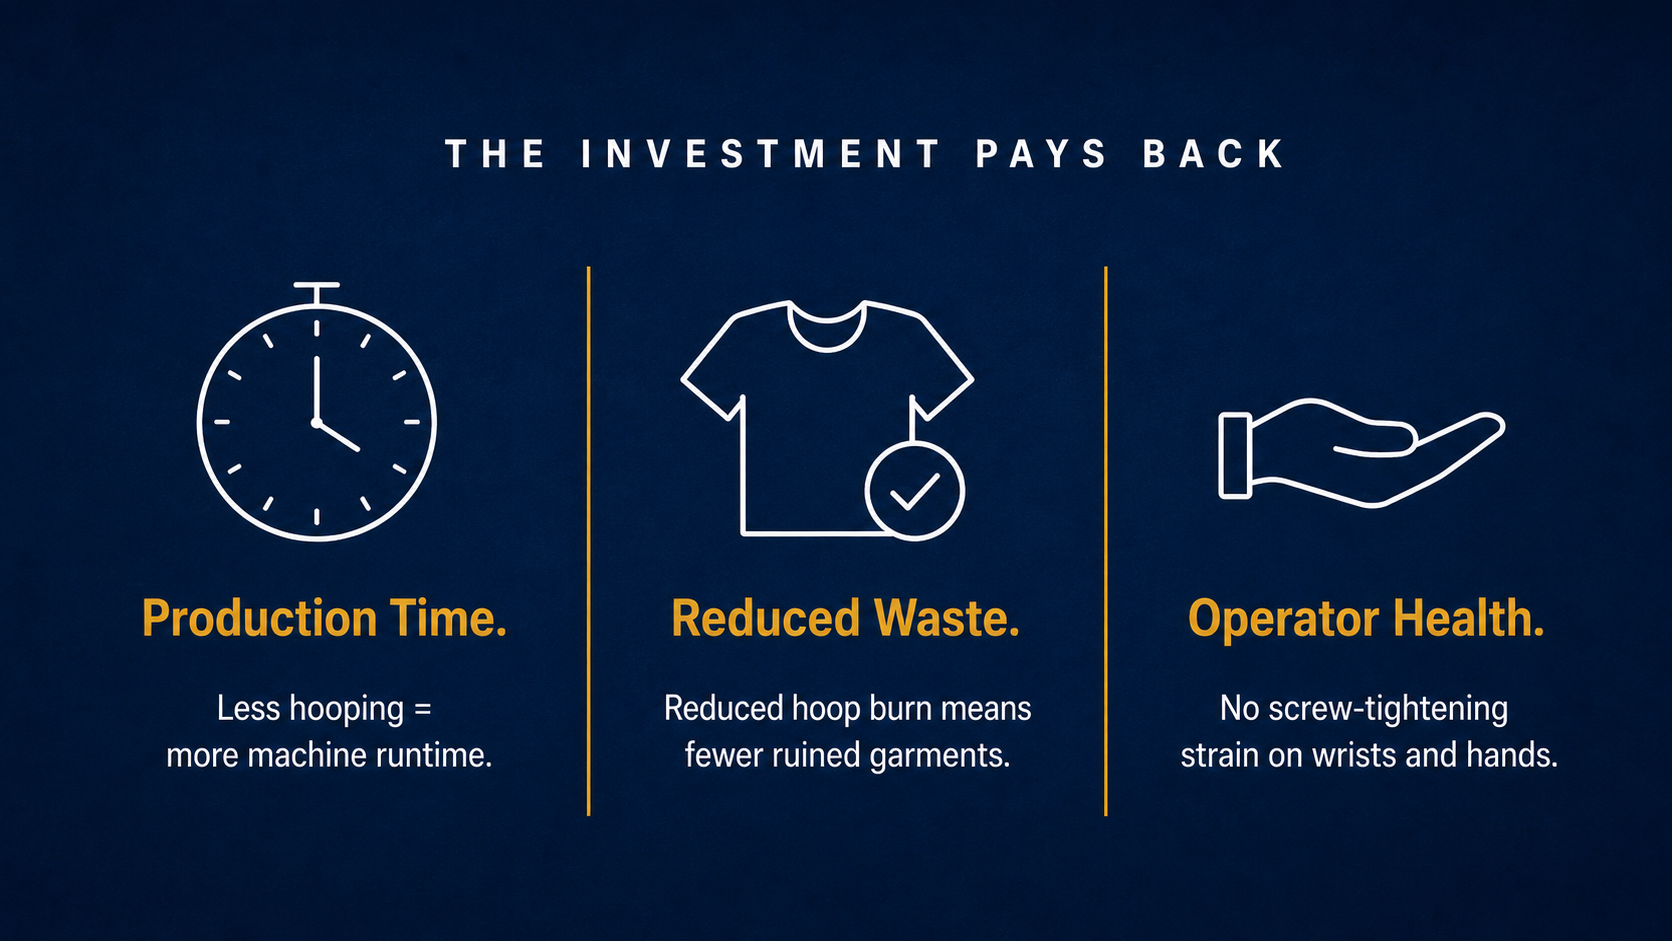
That’s a real investment. But there are three ways magnetic hoops pay for themselves:
Production time. Whether you’re hooping one, dozens, or hundreds of garments per day, the time savings from eliminating outer ring adjustments add up fast. Also, magnetic Mighty Hoops provide taut, even tension hooping as the magnets pull the fabric equally around the hoop. This means less rehooping for loose fabric which can cause puckering and flagging when embroidering. Every minute spent tensioning or rehooping using a traditional hoop is a minute your machine isn’t running.
Reduced waste. Hoop burn from traditional hoops can ruin finished garments. Each garment you don’t have to redo, spend time steaming, or discard because of hoop marks is money saved.
Physical health. This one is harder to put a dollar figure on, but it’s real. Chronic wrist, elbow, and hand strain from manual hooping affects your ability to work. Customers have told us that switching to magnetic hoops was the difference between continuing in the business and needing to stop.
Using Both Together
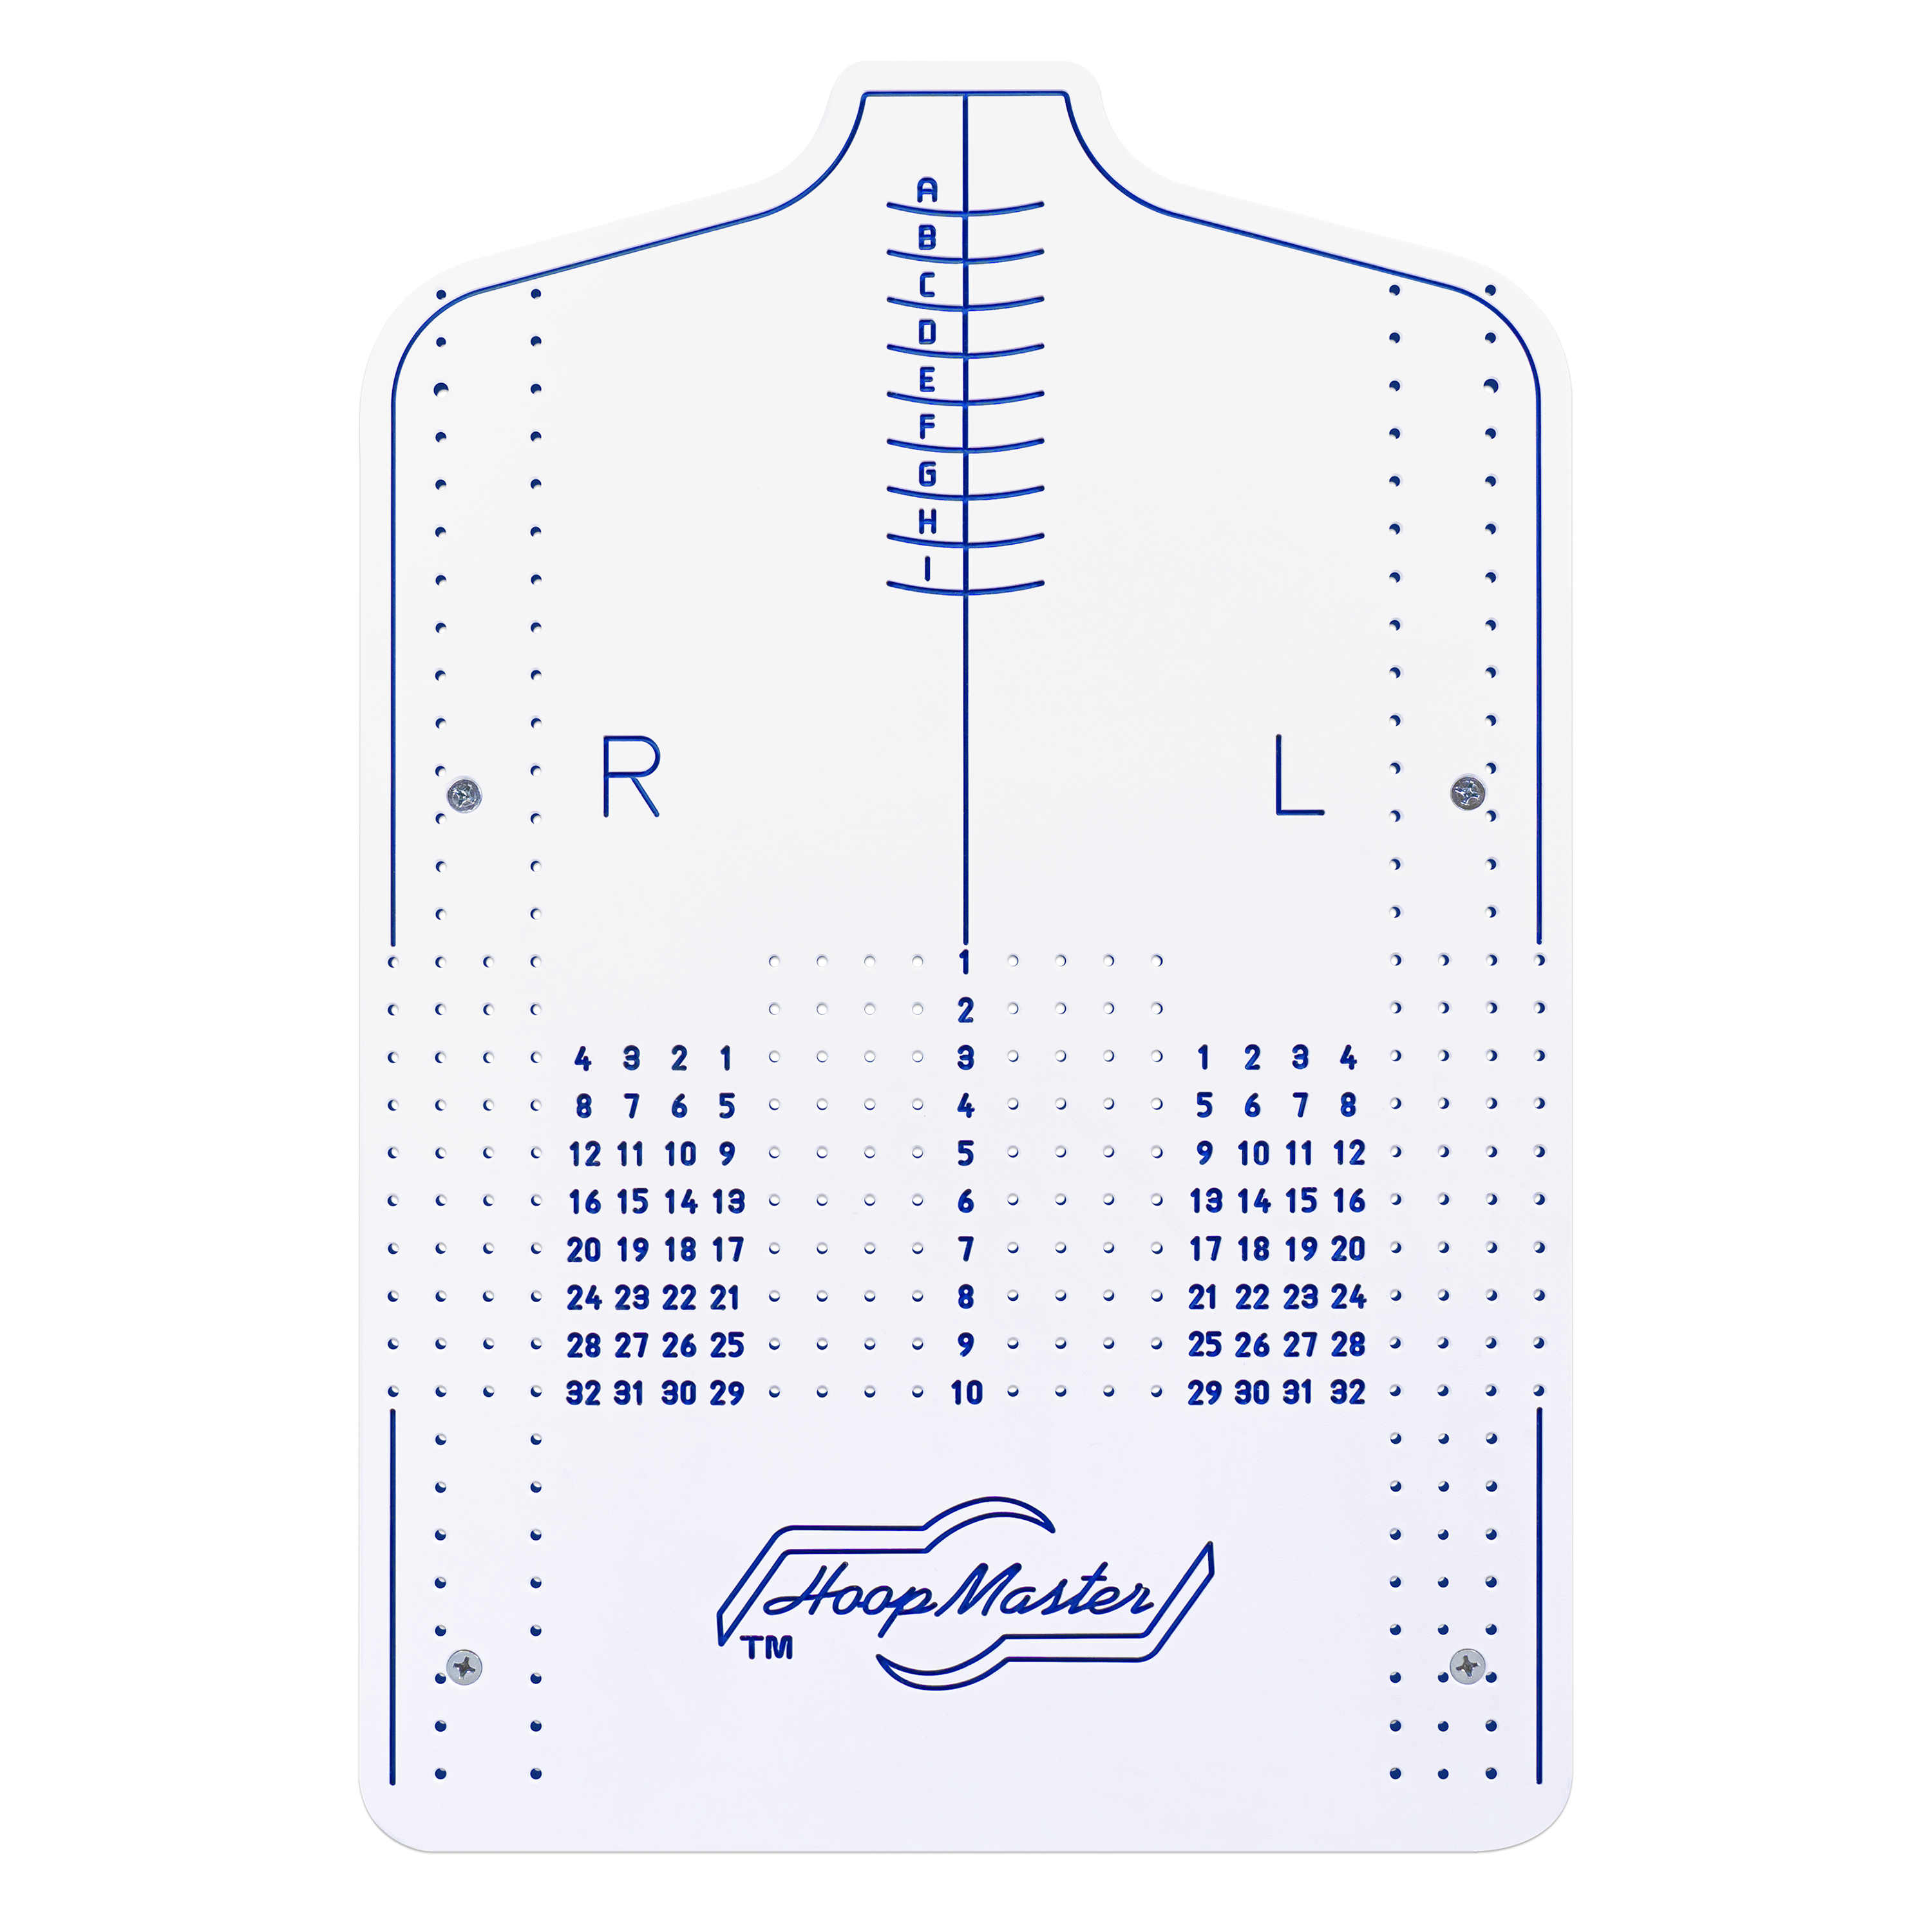
Because we manufacture both the HoopMaster Hooping Station and the magnetic Mighty Hoop, we designed them to work as a system. The HoopMaster handles placement (using its alphanumeric grid to document the exact design position for repeat orders). The Mighty Hoop handles grip (using magnets instead of manual ring adjustment).
Used together, you get documented, repeatable placement and strong, even magnetic grip in one workflow. New employees can produce accurate, consistent results on their first day, because the hooping station tells them where to position the garment and the magnetic hoop handles the tensioning automatically.
If you’re interested in understanding how the two products complement each other, our HoopMaster vs Mighty Hoop comparison page breaks down when to use each one and how they work together.
Which One Should You Choose?
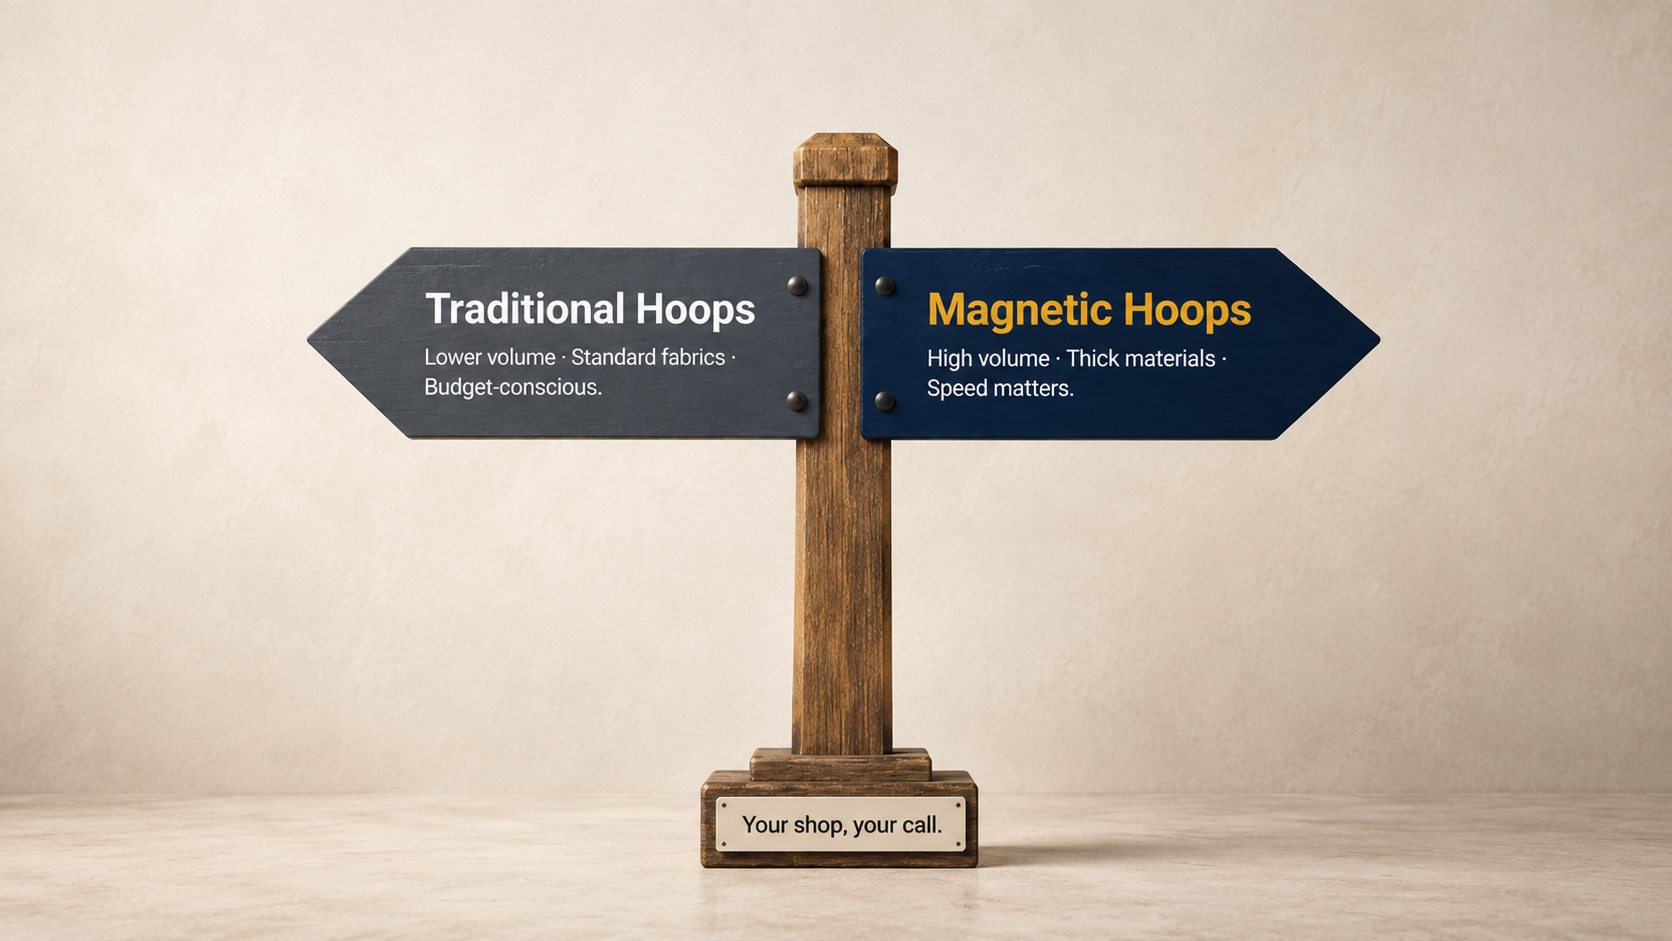
Here’s a simple framework:
Stick with regular hoops if:
- You primarily embroider standard-weight garments (t-shirts, polos, dress shirts)
- Your production volume is manageable with manual hooping
- You have extra time to manually tension hoops for different garment thickness
- You don’t regularly work with thick, delicate, or difficult materials
Switch to magnetic hoops if:
- You embroider thick materials (workwear, canvas, leather, heavy fleece)
- You need to hoop over zippers, seams, or pockets
- Hoop burn is an ongoing problem
- Physical strain from hooping is affecting your body
- Production speed matters (high volume, time-sensitive orders)
- You want consistent tension without manual adjustment
Invest in both (HoopMaster Station + Mighty Hoops) if:
- You run production orders where every garment needs the same placement
- You have multiple operators who need to reproduce the same results
- Repeat orders are a significant part of your business
- You want the fastest, most consistent hooping workflow possible
Find the Right Fit for Your Machine
If you’re ready to try magnetic hoops, start by confirming compatibility with your machine. Our Brand selection page allows you to choose your brand of machine and will show you all of the Mighty Hoops that will fit your machine, and our recommended Mighty Hoop sizes guide helps you pick the right size for your most common placements.
Need help deciding? Our customer support team in Germantown, Wisconsin is available Monday through Friday, 8:00am to 4:30pm CT at 262-257-0930 or info@hoopmaster.com. We’ll help you figure out the right setup for your machine, your materials, and your production needs.
You can also browse the full Mighty Hoop lineup on our magnetic embroidery hoop product page and find the right embroidery hoop for your needs.
Happy Hooping!