
So, which embroidery product is right for you? We’ve put together this comparison to help guide you to the right solution.
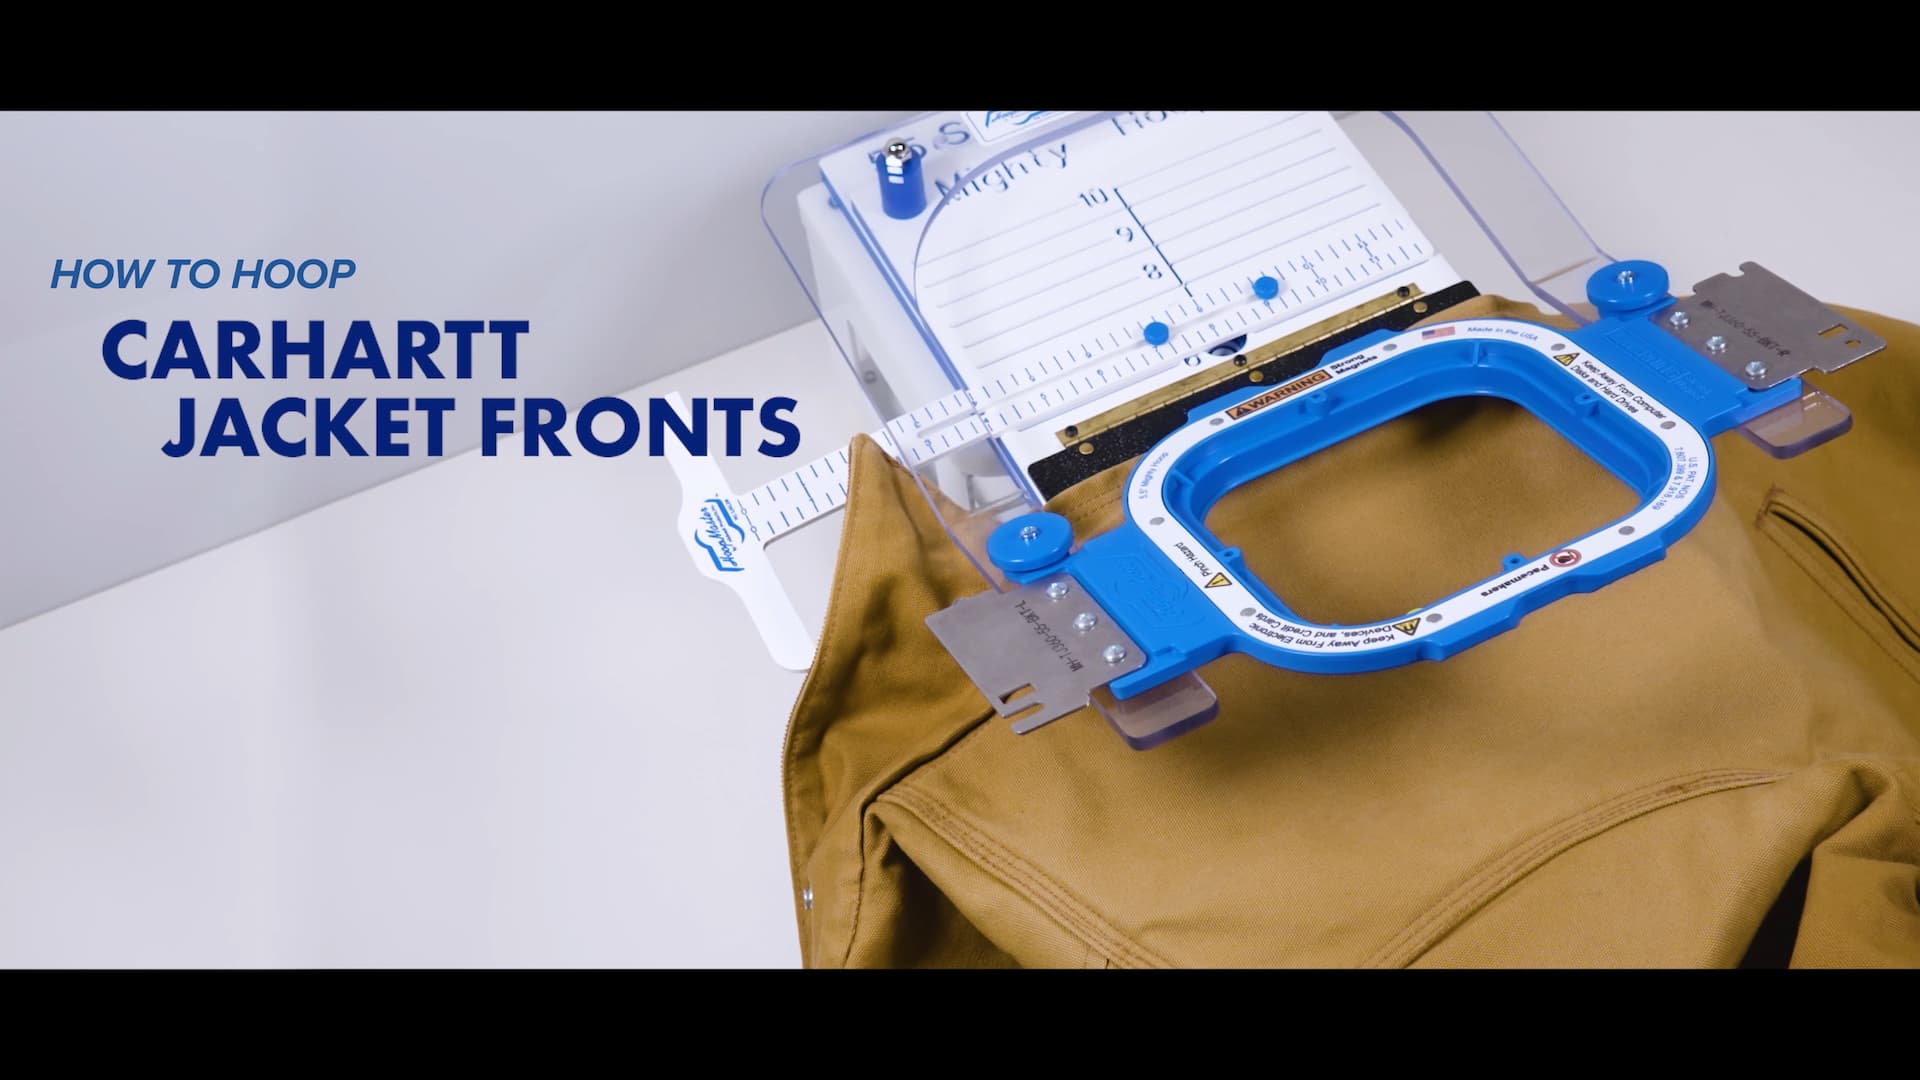
How to Hoop Thick Jackets with Magnetic Hoops
May 15, 20250
Embroidering thick jackets like Carhartt, canvas, and insulated workwear can be one of
the trickiest jobs in commercial embroidery. Traditional hoops often struggle with the
bulk, and misalignment is common.
But with the magnetic Mighty Hoop and the HoopMaster System, hooping thick
garments becomes consistent, accurate, and far less frustrating.
In this step-by-step guide, we’ll show you how to properly hoop heavyweight jackets
using the 5.5″ Mighty Hoop, the 5.5″ Fixture with FreeStyle Arm, and other helpful
accessories.
What You’ll Need to Hoop a Thick Jacket With Magnetic Hoops
Using the right tools makes all the difference. Here’s the setup we recommend when
hooping thick or insulated outerwear:
5.5″ Mighty Hoop® – A strong magnetic hoop that can clamp over seams,
zippers, and heavy fabrics without excessive pressure.
5.5″ Fixture with Freestyle Arm – Holds the hoop steady and allows for
consistent placement.
Portable Mounting Base – A lightweight, compact surface to stabilize the
Fixture during the hooping process.
T-Square Attachment – Helps ensure exact placement from garment to
garment, using fixed reference points.
These tools are designed to work together, making hooping not just possible—but fast
and repeatable.
These tools are designed to work together, making hooping not just possible—but fast and repeatable.
Step 1: Marking Placement for Repeatability
If you’re hooping the left or right chest area, start by determining logo placement on
the first jacket of each size. Getting this step right means you won’t have to measure
again for every jacket.
Here’s how to mark and measure efficiently:
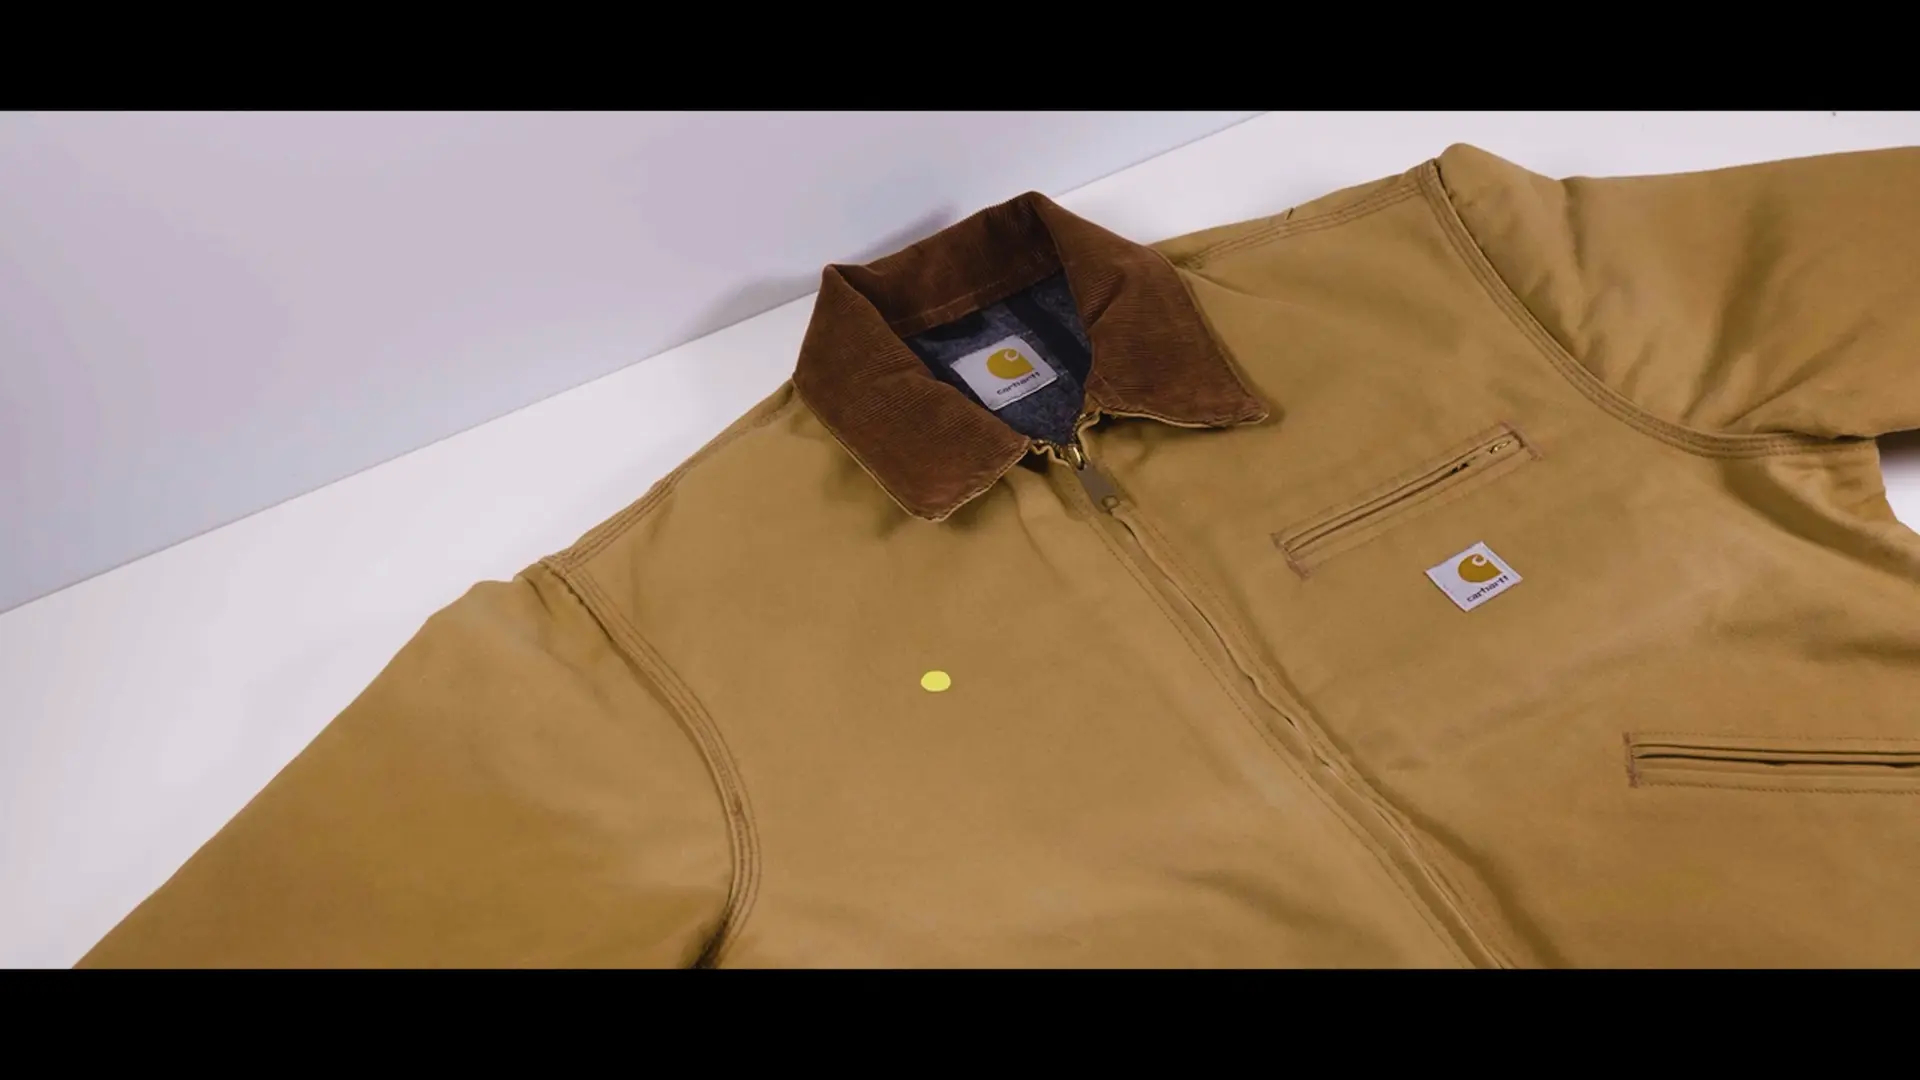
- Pick repeatable reference points—for example, the base of the collar or the
edge of the pocket. - Unzip or unbutton the jacket so it lays flat.
- Place it sideways on the fixture so the left or right chest is accessible.
- Mark the logo placement using a washable fabric pen or placement sticker.
- Use the placement mark to align your T-square and Fixture measurement
lines so you can repeat this placement on future jackets of the same size.
By locking these placements in, you reduce human error and save significant time when
hooping large orders of multiple garments.
Step 2: Adjust the Fixture for Heavy Fabrics

The HoopMaster Fixture includes a blue sliding clip that affects how the lower hoop
ring releases during hooping. For thick jackets, move this clip to the shorter slot
position.
This change allows the bottom ring of the hoop to easily attach to the top ring
when hooping.
Using the blue clip in this position is recommended for any garment heavier than
a basic sweatshirt, including canvas, denim, quilted linings, and Carhartt-style
workwear.
This position keeps the bottom ring from getting stuck in the Fixture when you
remove the hoop.
This small adjustment is one of the easiest ways to avoid frustration when hooping thick
materials.
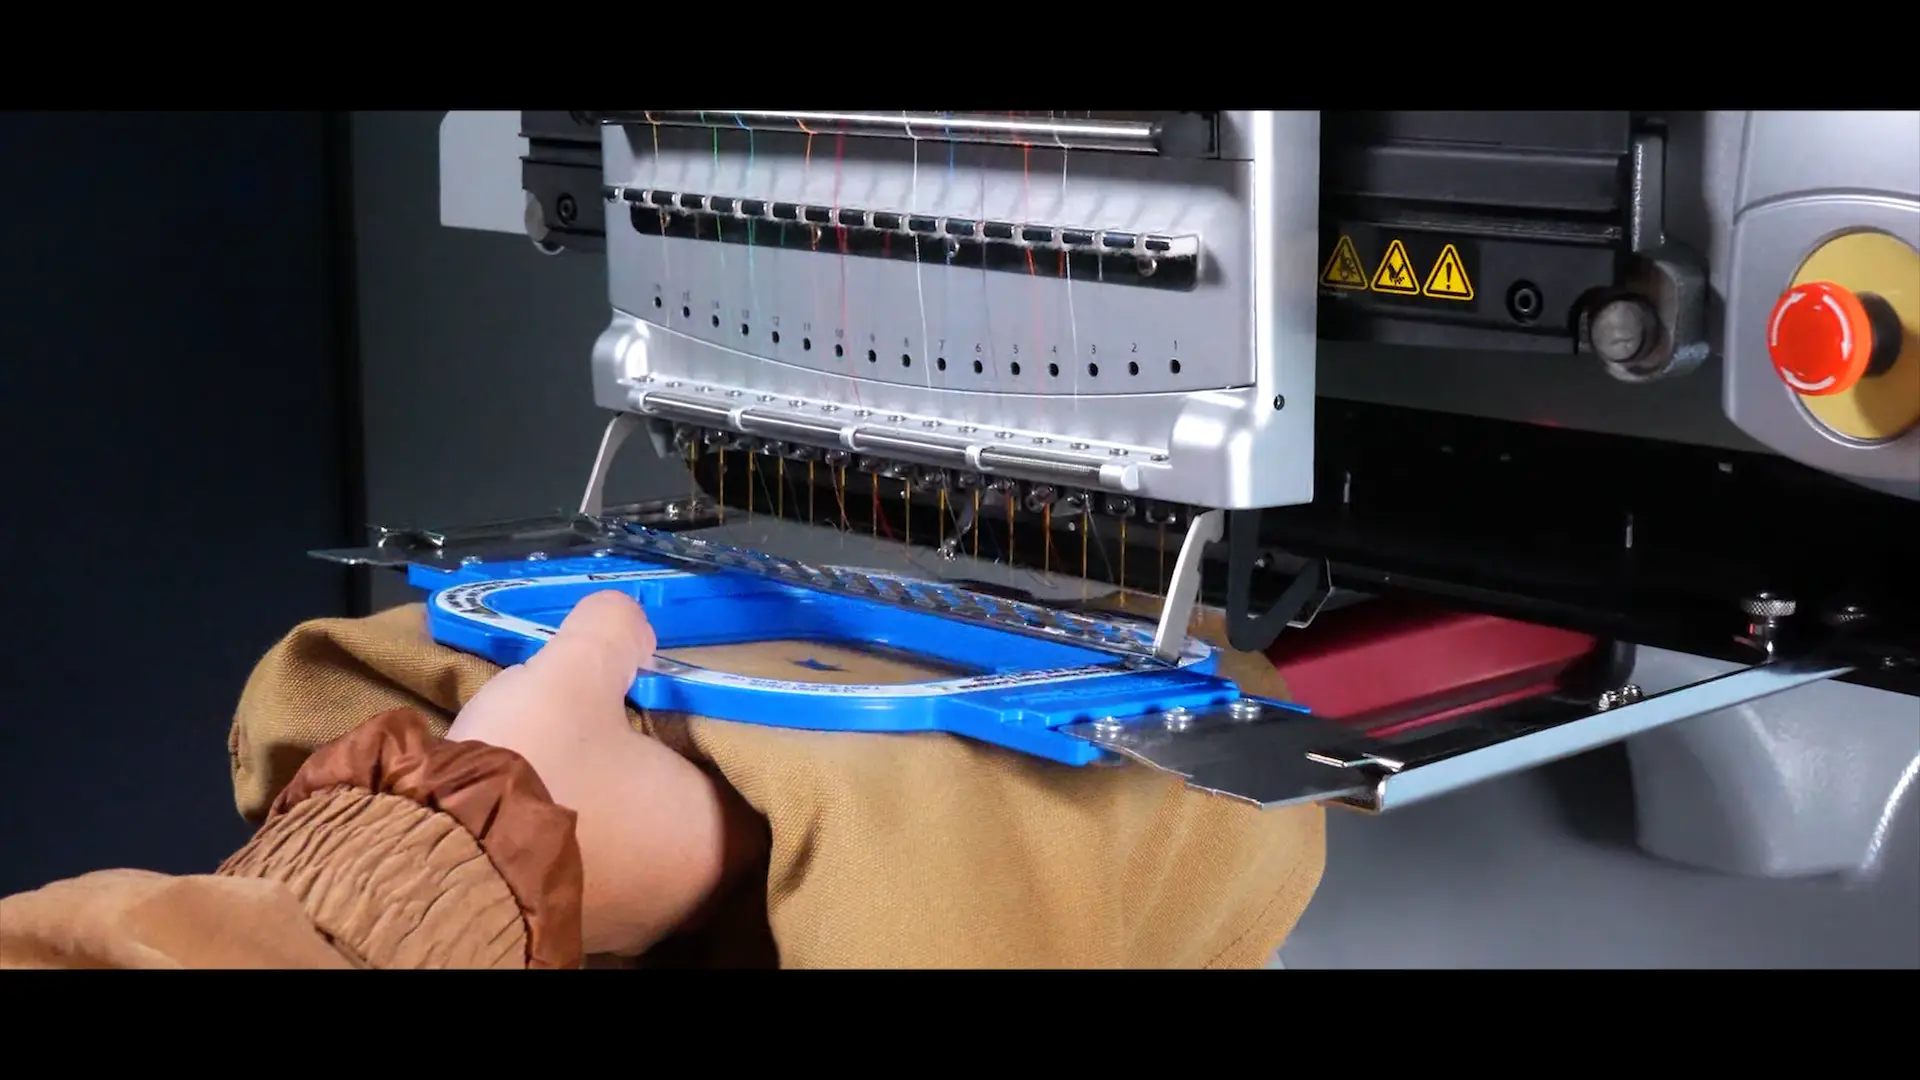
Step 3: Hooping the Jacket
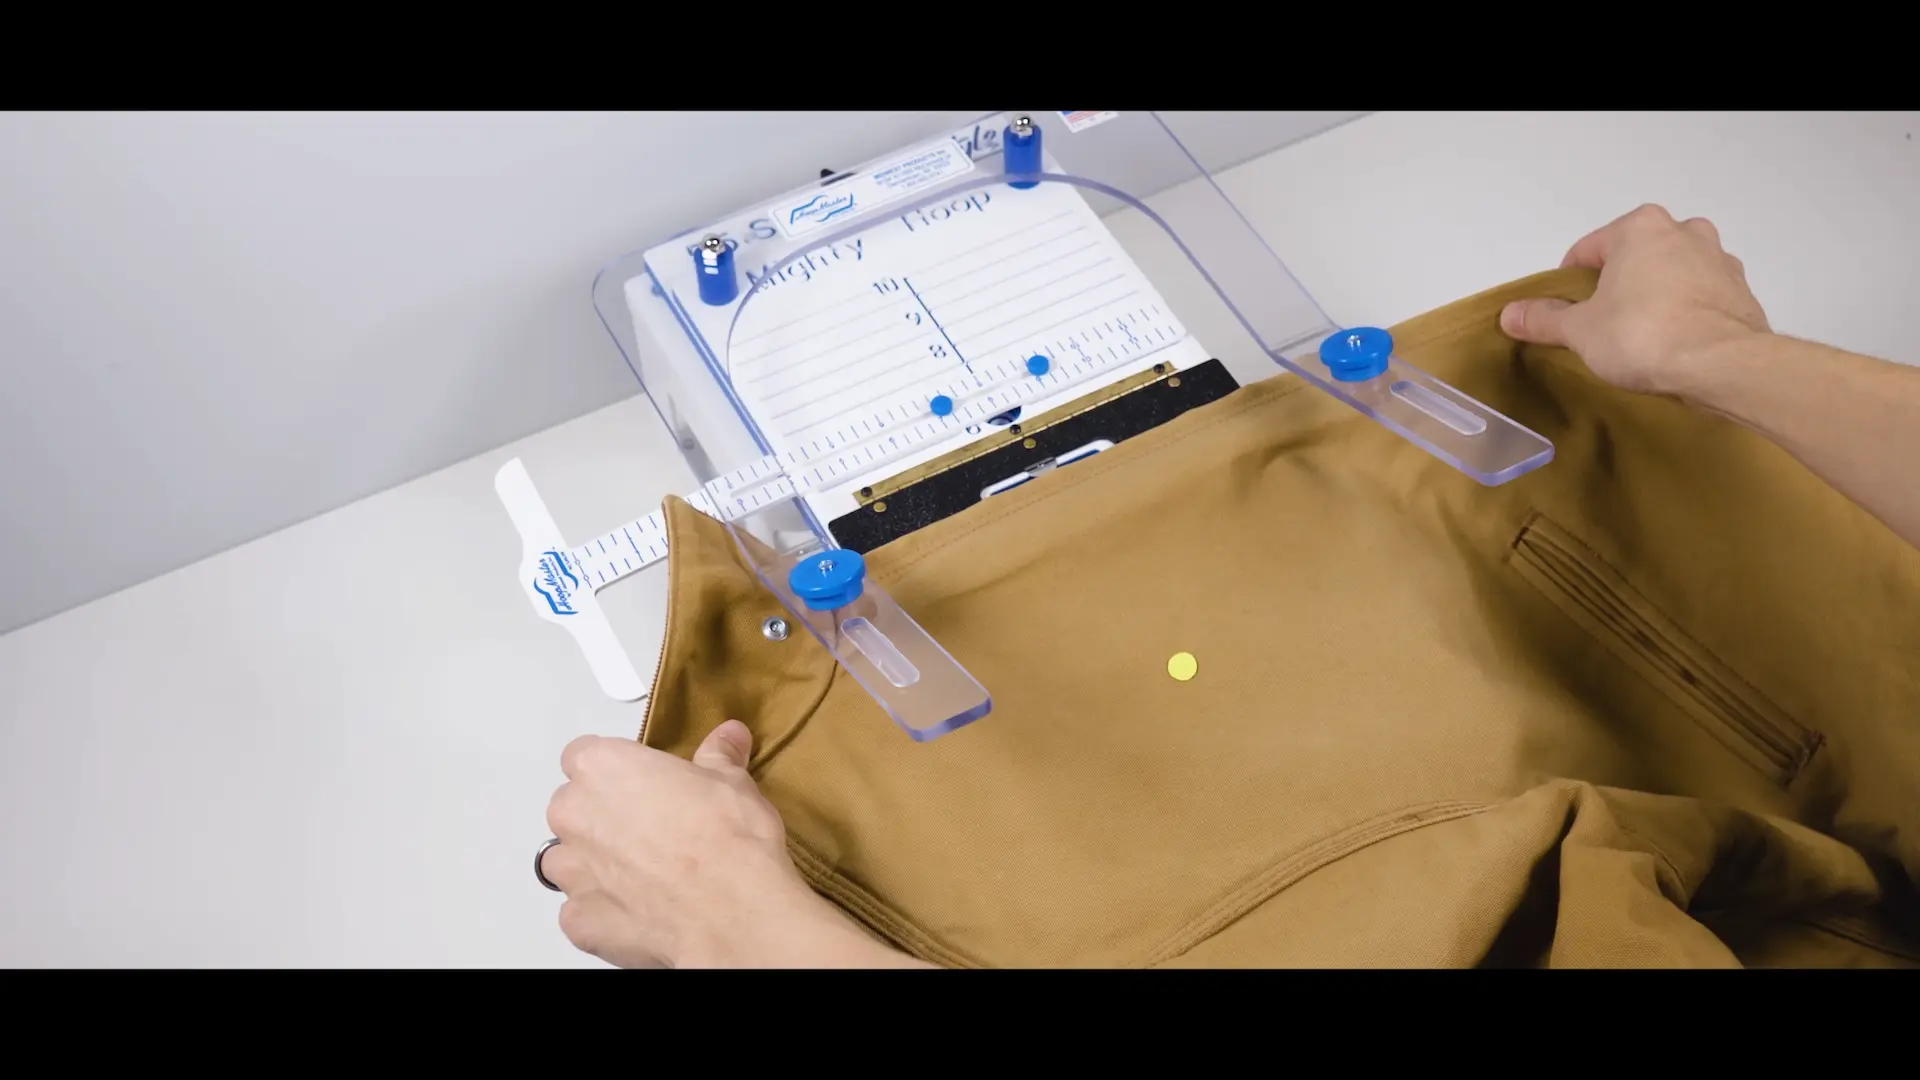
With your placement marked and your fixture adjusted; it’s time to hoop the jacket:
- Place the lower ring of the Mighty Hoop into the fixture. Make sure the warning
labels are facing down. - Lay the jacket on top, positioning the placement mark roughly in the center of
where the hoop will go. - Align your reference points:
o Horizontal: Match the jacket edge with a known edge like the backing
material holder.
o Vertical: Use the zero point of the T-square and line it up with a fixed
part of the jacket (e.g., the collar seam). - Attach the top hoop ring to the Fixture arms and press down to engage the
magnets.
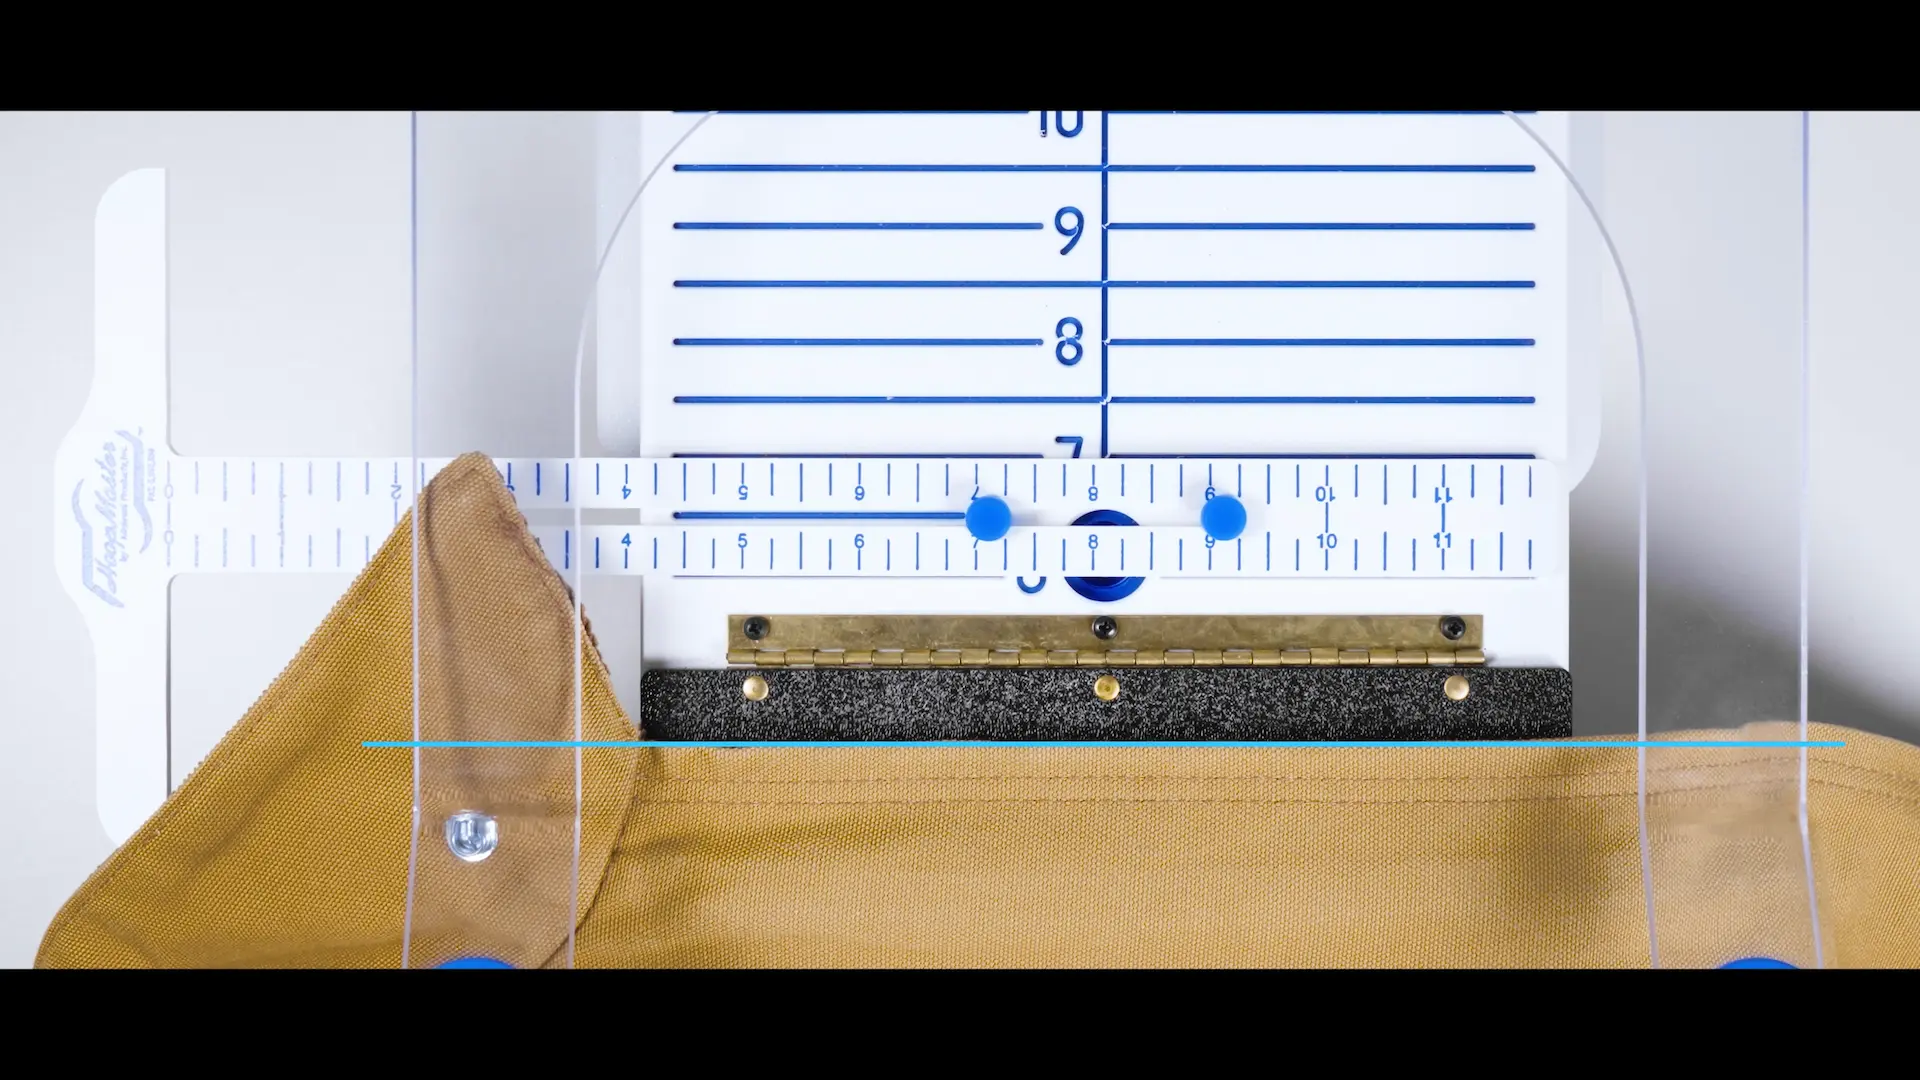
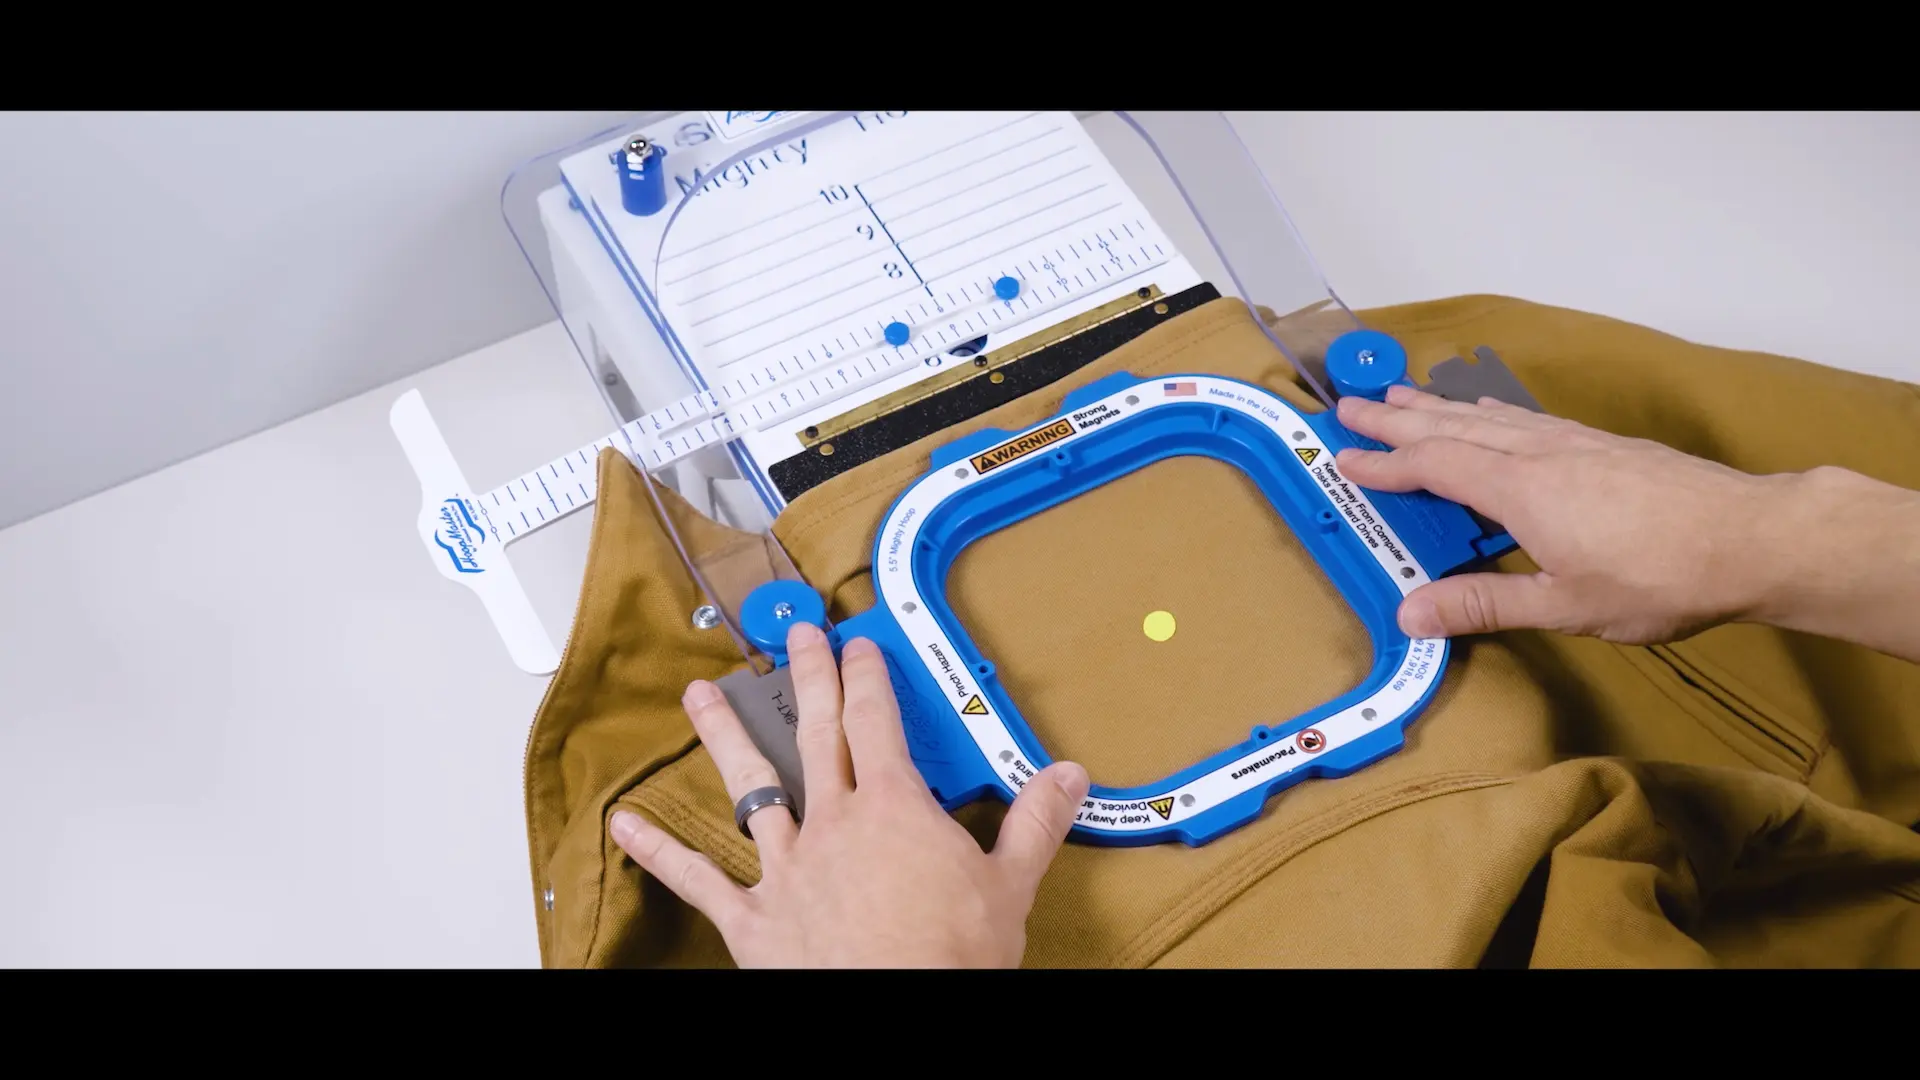
**Pro Tip: Don’t stress if your jacket doesn’t align with one of the printed ruler lines. Just use a straight edge, like the inner edge of the backing holder, to create a custom measurement you can replicate.
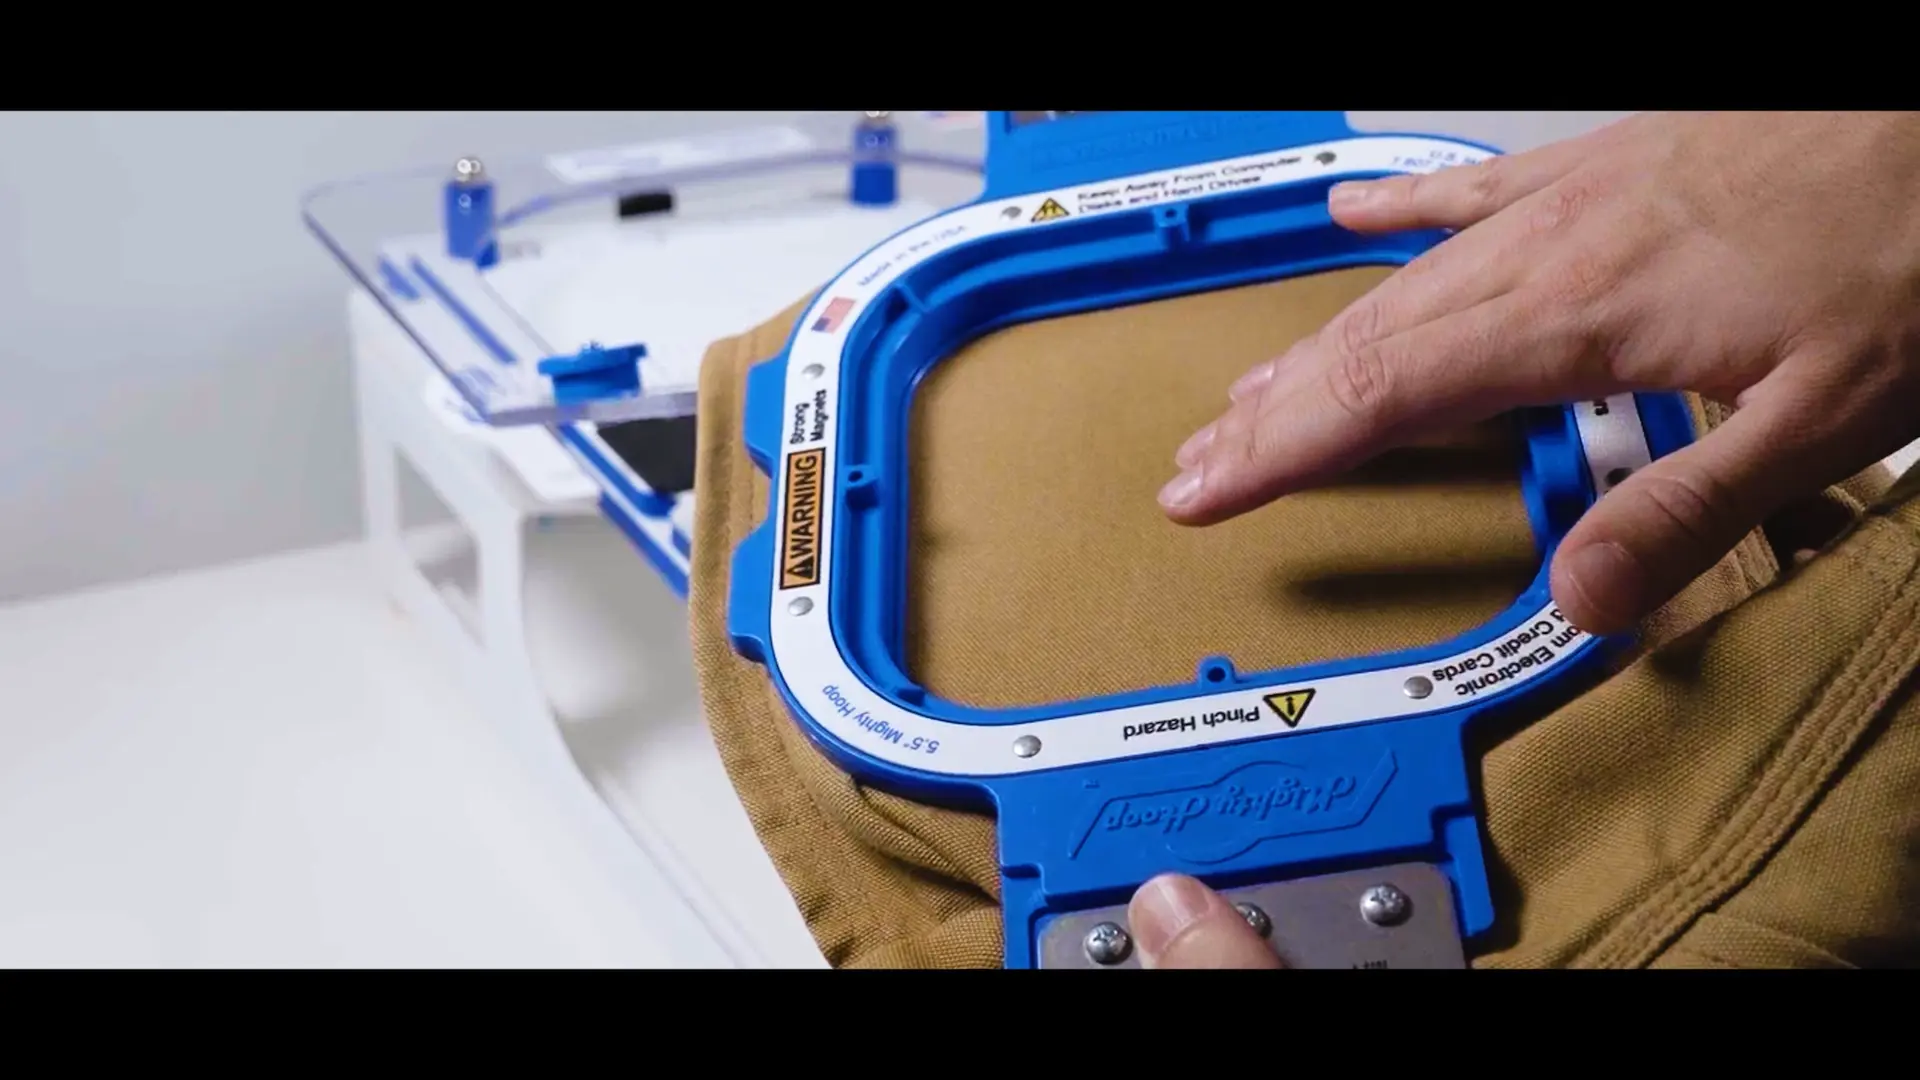
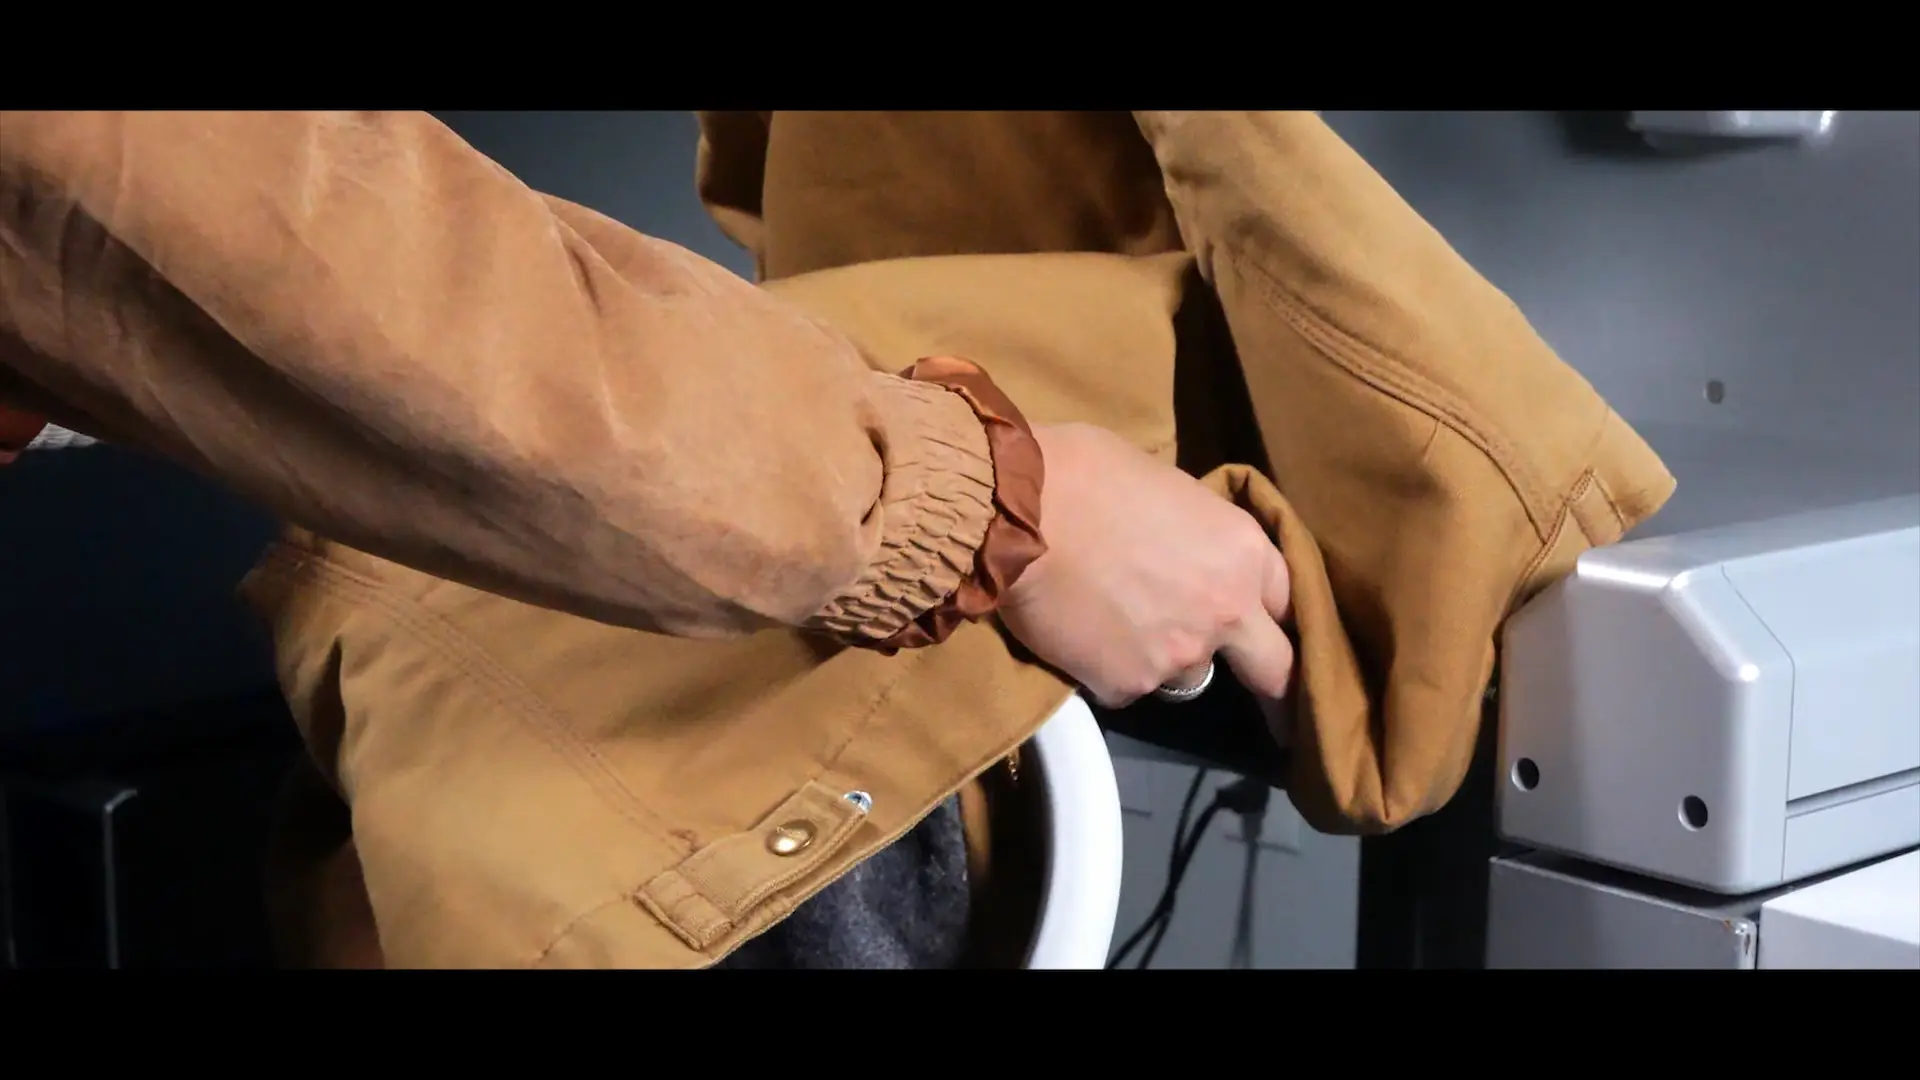
Step 4: Removing the Hooped Jacket Safely
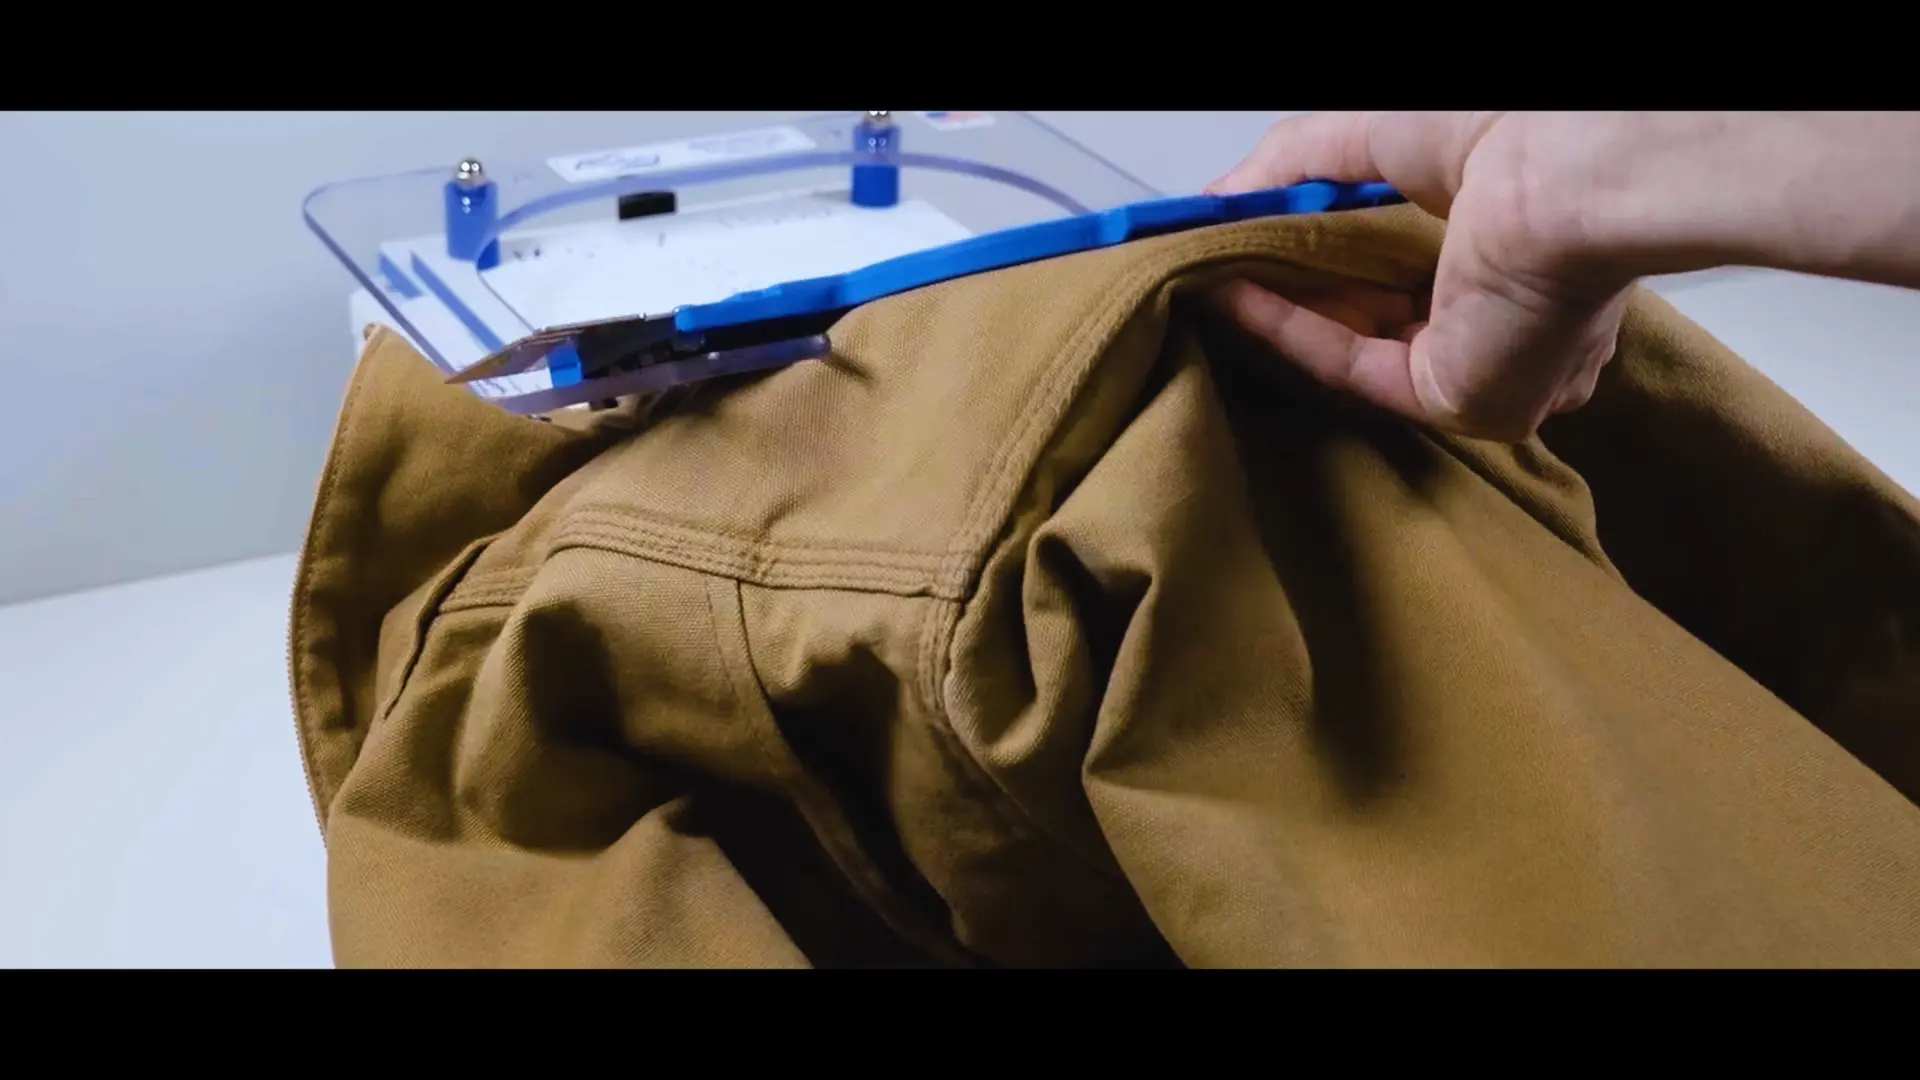
Thick garments can put stress on the hoop, so it’s critical to remove the jacket without damaging the hoop or shifting the garment inside it.
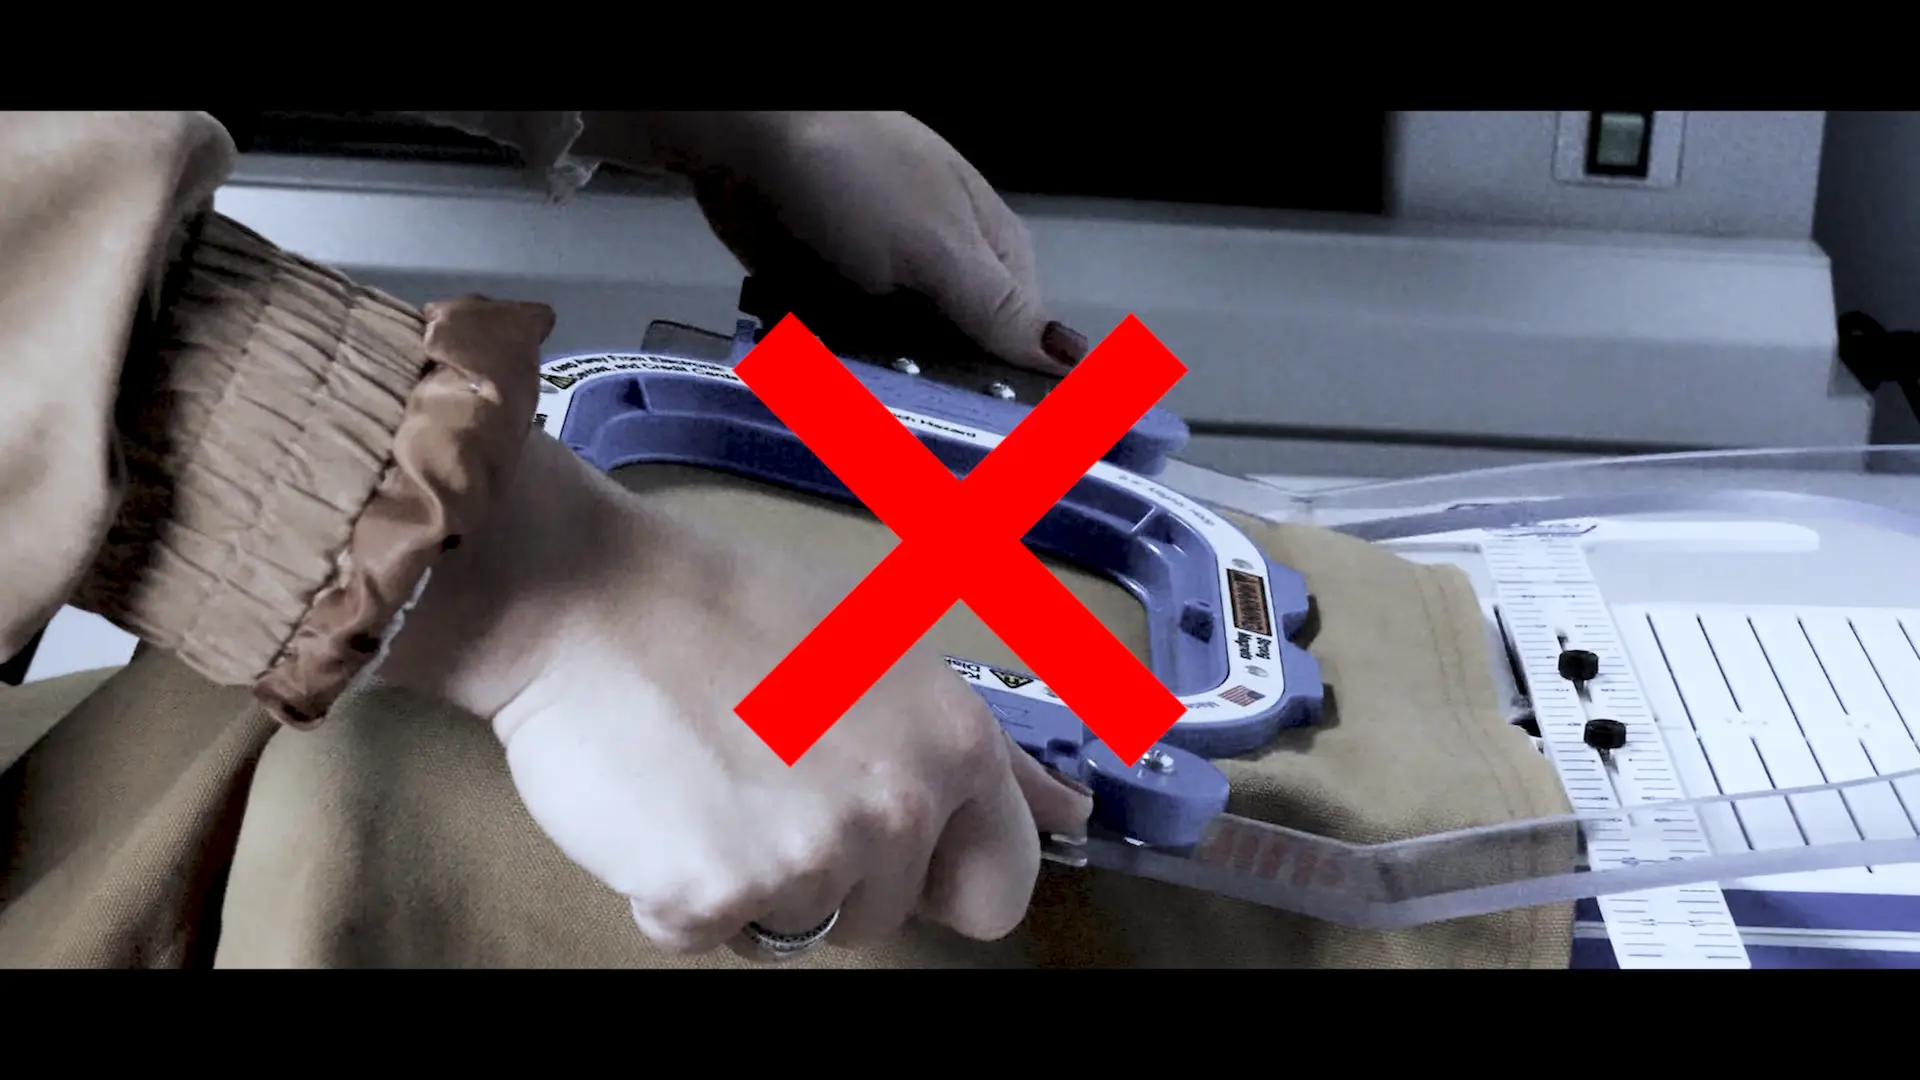
Follow these steps:
- Never pull from the top ring alone—the jacket’s weight can cause the bottom ring to fall off.
- Instead, reach under the hoop, grab the bottom ring, and lift both rings up and out together.
- Once off the fixture, flip the jacket over and check the back for any puckering or bubbles in the lining.
If the lining looks loose or uneven, it’s best to rehoop the item for a cleaner result.
Step 5: Prepare for the Embroidery Machine
Before stitching, make a few final checks:
- Hold the top and bottom of the hoop firmly when transporting to the machine.
- Rotate your design 90° in your embroidery software to match the sideways hoop orientation.
Support the weight of the jacket once hooped—don’t let it drag during stitching. Too much pull can cause the bottom ring to come loose, especially if embroidering close to an edge or seam.
Investing in a proper hooping setup and following these best practices ensures your stitch-outs are clean, centered, and securely hooped.
What About Tricky Areas Like Zippers or Pockets?
Some designs require placement near challenging features like:
- Chest pockets
- Heavy seams
- Metal zippers
- Multi-layer panels
Thanks to the strength of the Mighty Hoop® magnets, these problem spots are usually not a problem at all.
- You can hoop over most seams and zippers with no issue.
- The magnetic pressure adjusts evenly, reducing risk of damage or misalignment.
- The HoopMaster system gives you enough control to work around features while keeping alignment consistent.
Final Thoughts
Hooping thick jackets doesn’t have to be a challenge. With the right equipment, repeatable measurement techniques, and a few smart adjustments, you can dramatically speed up your production and reduce embroidery headaches.
If you’re ready to take the hassle out of hooping heavyweight garments, explore the tools featured in this tutorial:
0 comments
Write a comment