

So, which embroidery product is right for you? We’ve put together this comparison to help guide you to the right solution.

Velveteen Blanket Embroidery Tutorial (Step-by-Step with Mighty Hoop)
May 1, 20250
Looking to embroider a thick, luxurious velveteen blanket with professional results? In this step-by-step tutorial, we’ll show you how to hoop and stitch a blanket using the HoopMaster Station, Adjustable Fixture, and a 4.25×13” Horizontal Mighty Hoop. This method is perfect for thick or delicate materials and tubular embroidery machines.
🎥 Watch the full video tutorial below
Tools Used in This Tutorial
Step 1: Set Up Your HoopMaster Station
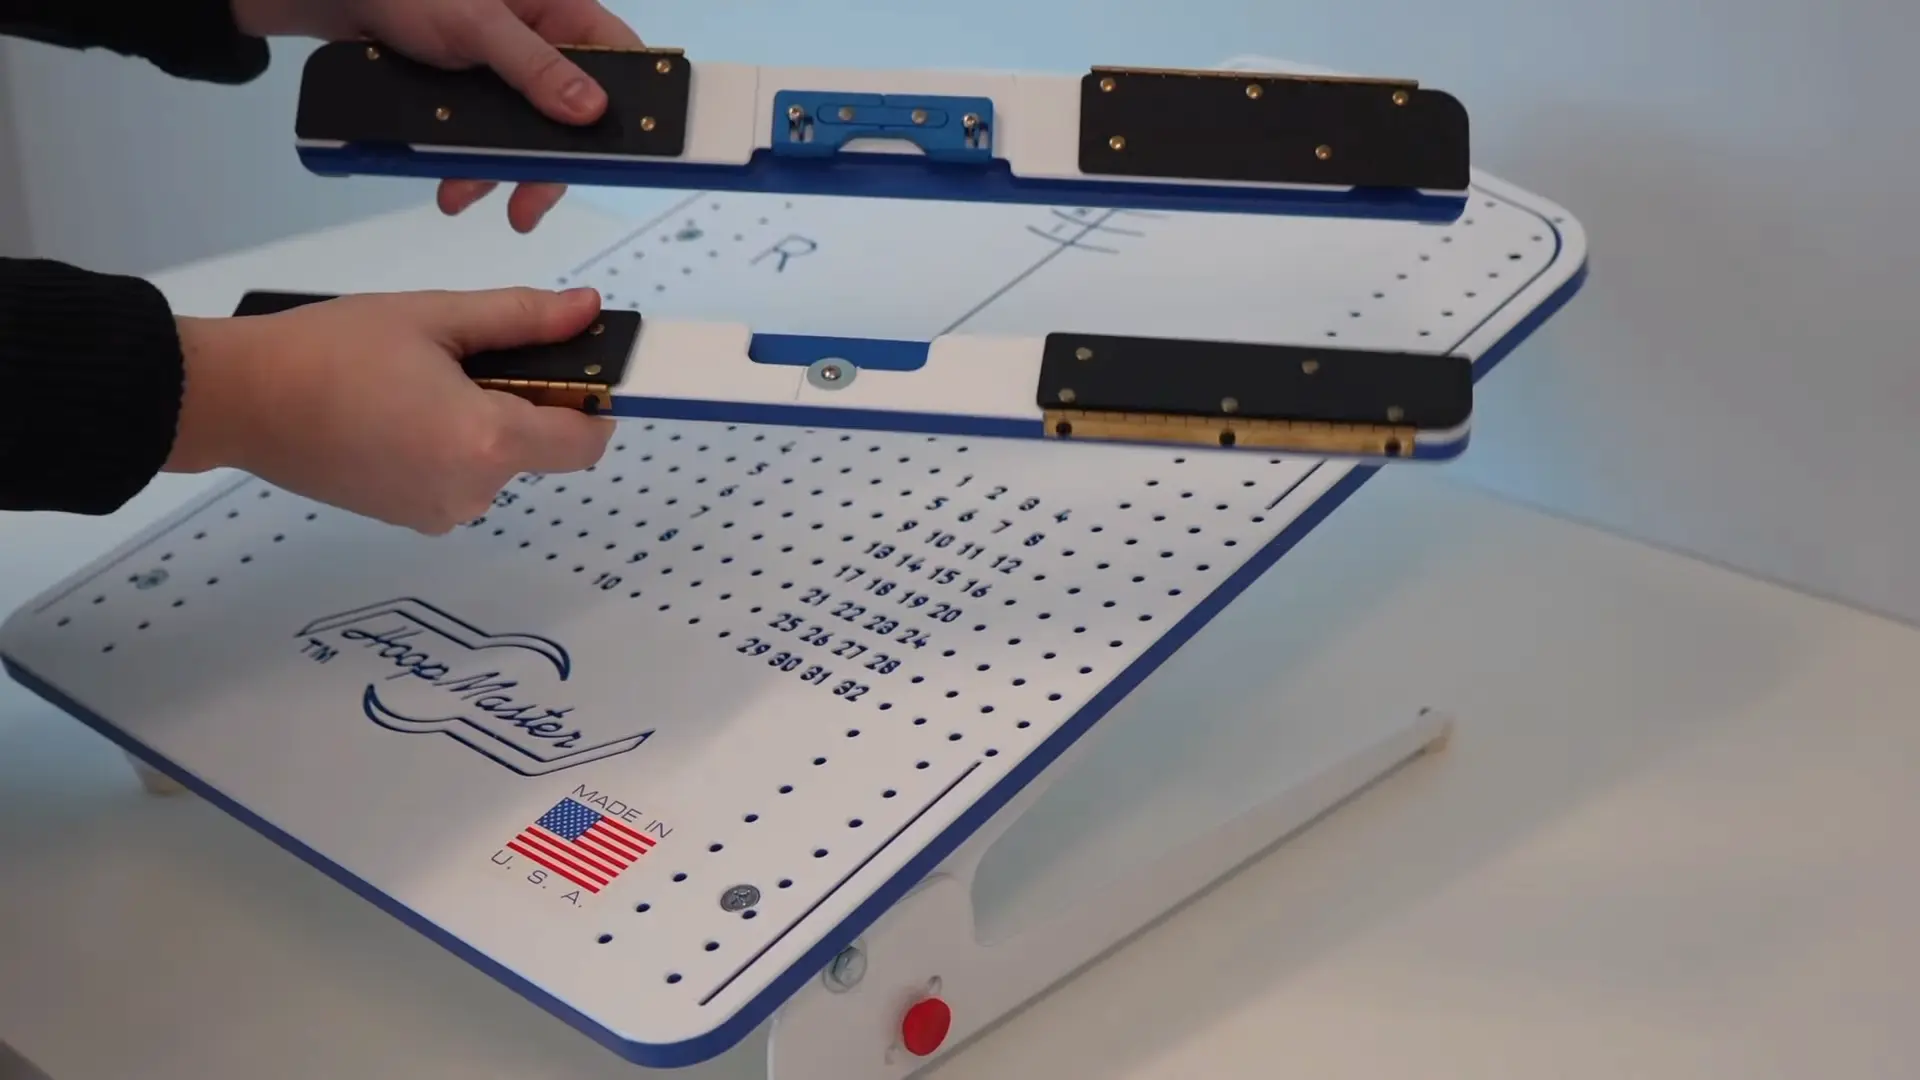
Start by adjusting the HoopMaster Station to lie flat (you can hoop at an angle, but flat is easier for thick fabrics like blankets).
-
Flip the station over.
-
Loosen the thumbscrews and wingnuts.
-
Push the legs down until flat.
-
Tighten everything back in place.
-
Flip the board right-side-up.
Place the Adjustable Fixture on the station. We positioned ours above the number “8” on the board for reference.
Step 2: Secure Your Mighty Hoop
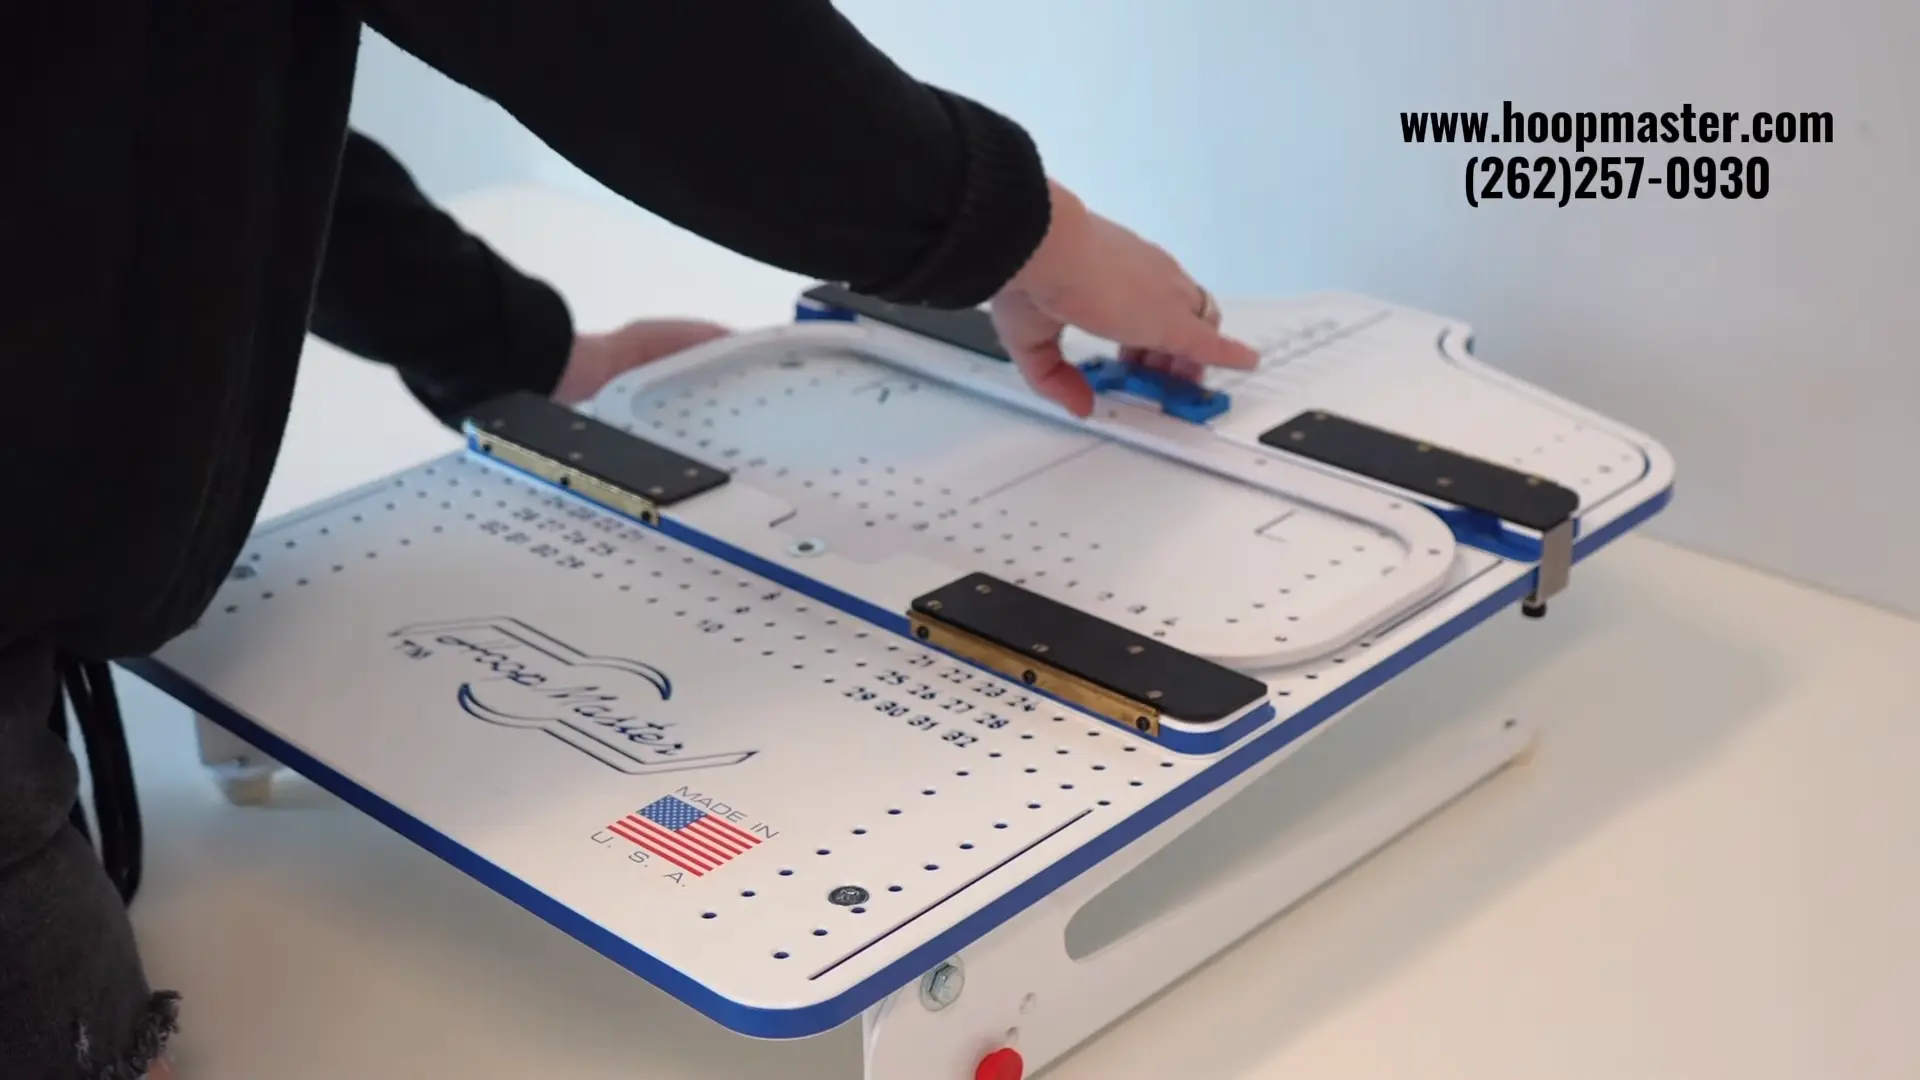
We’re using the 4.25×13” Horizontal Mighty Hoop, ideal for tubular embroidery machines. If you’re unsure whether it fits your machine, check our website or give us a call.
To install:
-
Insert the bottom hoop ring into the lower fixture.
-
Slide the top piece of the fixture down to hold it snugly.
-
Open the magnetic flaps for hooping access.
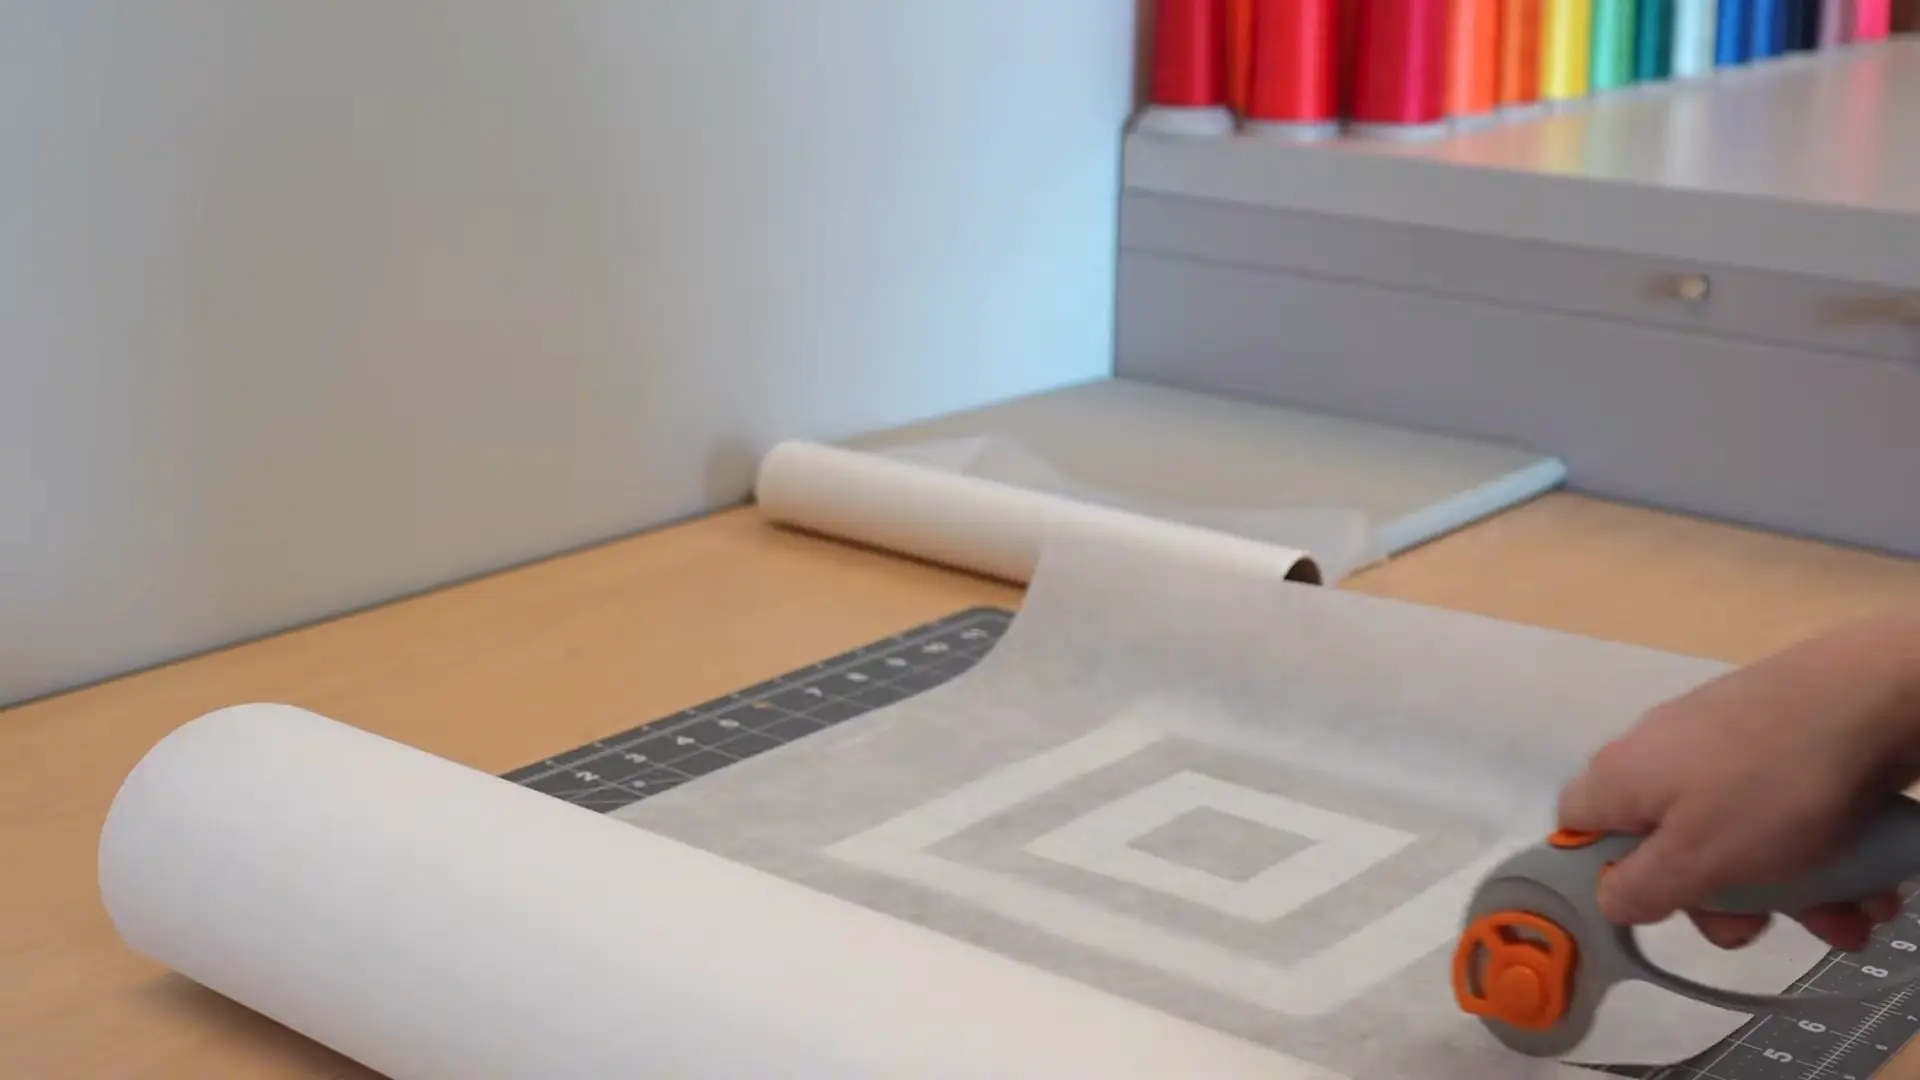
Step 3: Choose the Right Stabilizers
We used:
-
Two layers of tearaway stabilizer (for stability and easy removal).
-
One layer of water-soluble stabilizer on top (prevents stitches from sinking into soft fabric).
Because the back of the blanket will be visible, tearaway gives a cleaner finish than cutaway on this thin material.
Step 4: Mark Your Design Placement
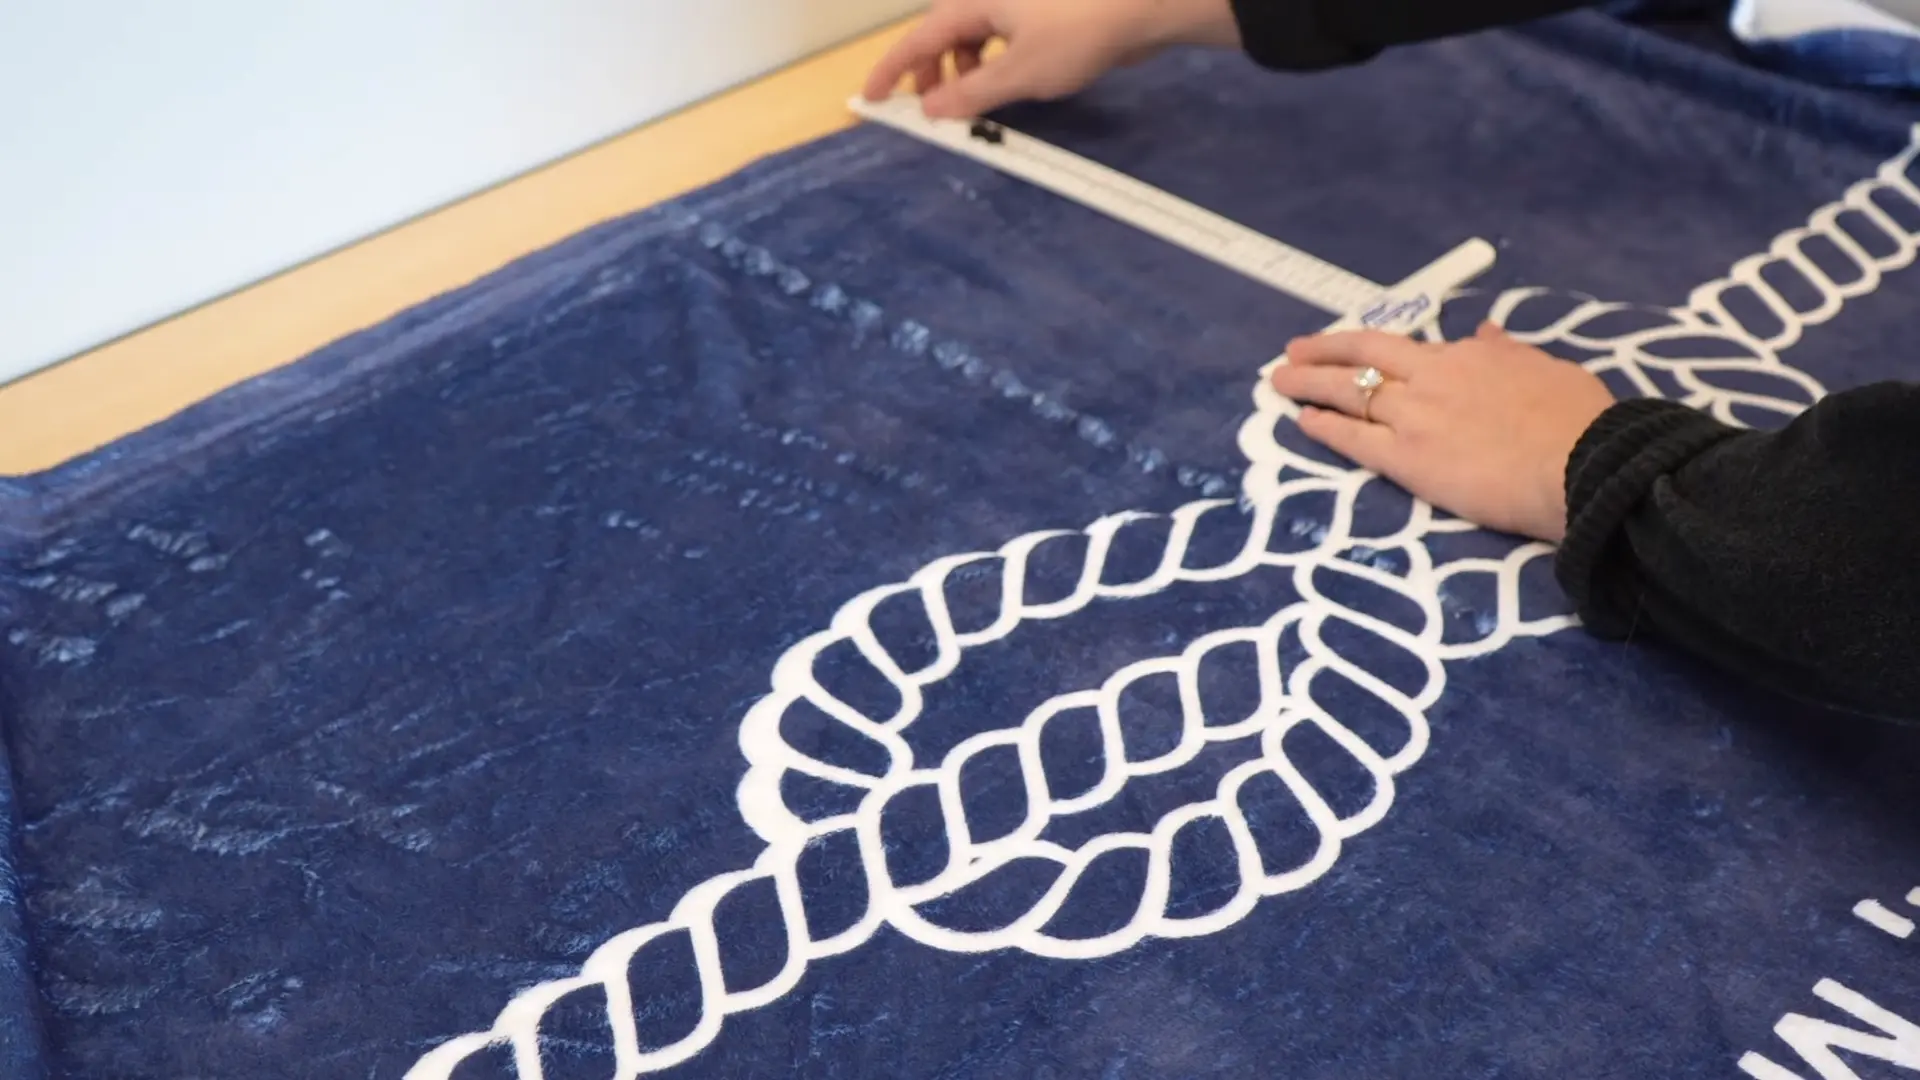
For accurate placement:
-
Use placement dots to mark the center.
-
Measure from the bottom of the rope design to the edge of the blanket (ours was ~11″).
-
Place your center mark at around 5.5″, then adjust it to sit perfectly within the rope’s knot.
-
Align this mark with the centerline of the station.
Step 5: Hooping the Blanket
Once your stabilizers are clipped in:
-
Pull the blanket onto the station.
-
Align the placement mark with the station’s centerline.
-
Feel for the Mighty Hoop’s inner ring to make sure it’s centered.
-
Remove the dot and lay the water-soluble stabilizer over the hoop area.
-
Press the top ring of the Mighty Hoop into place.
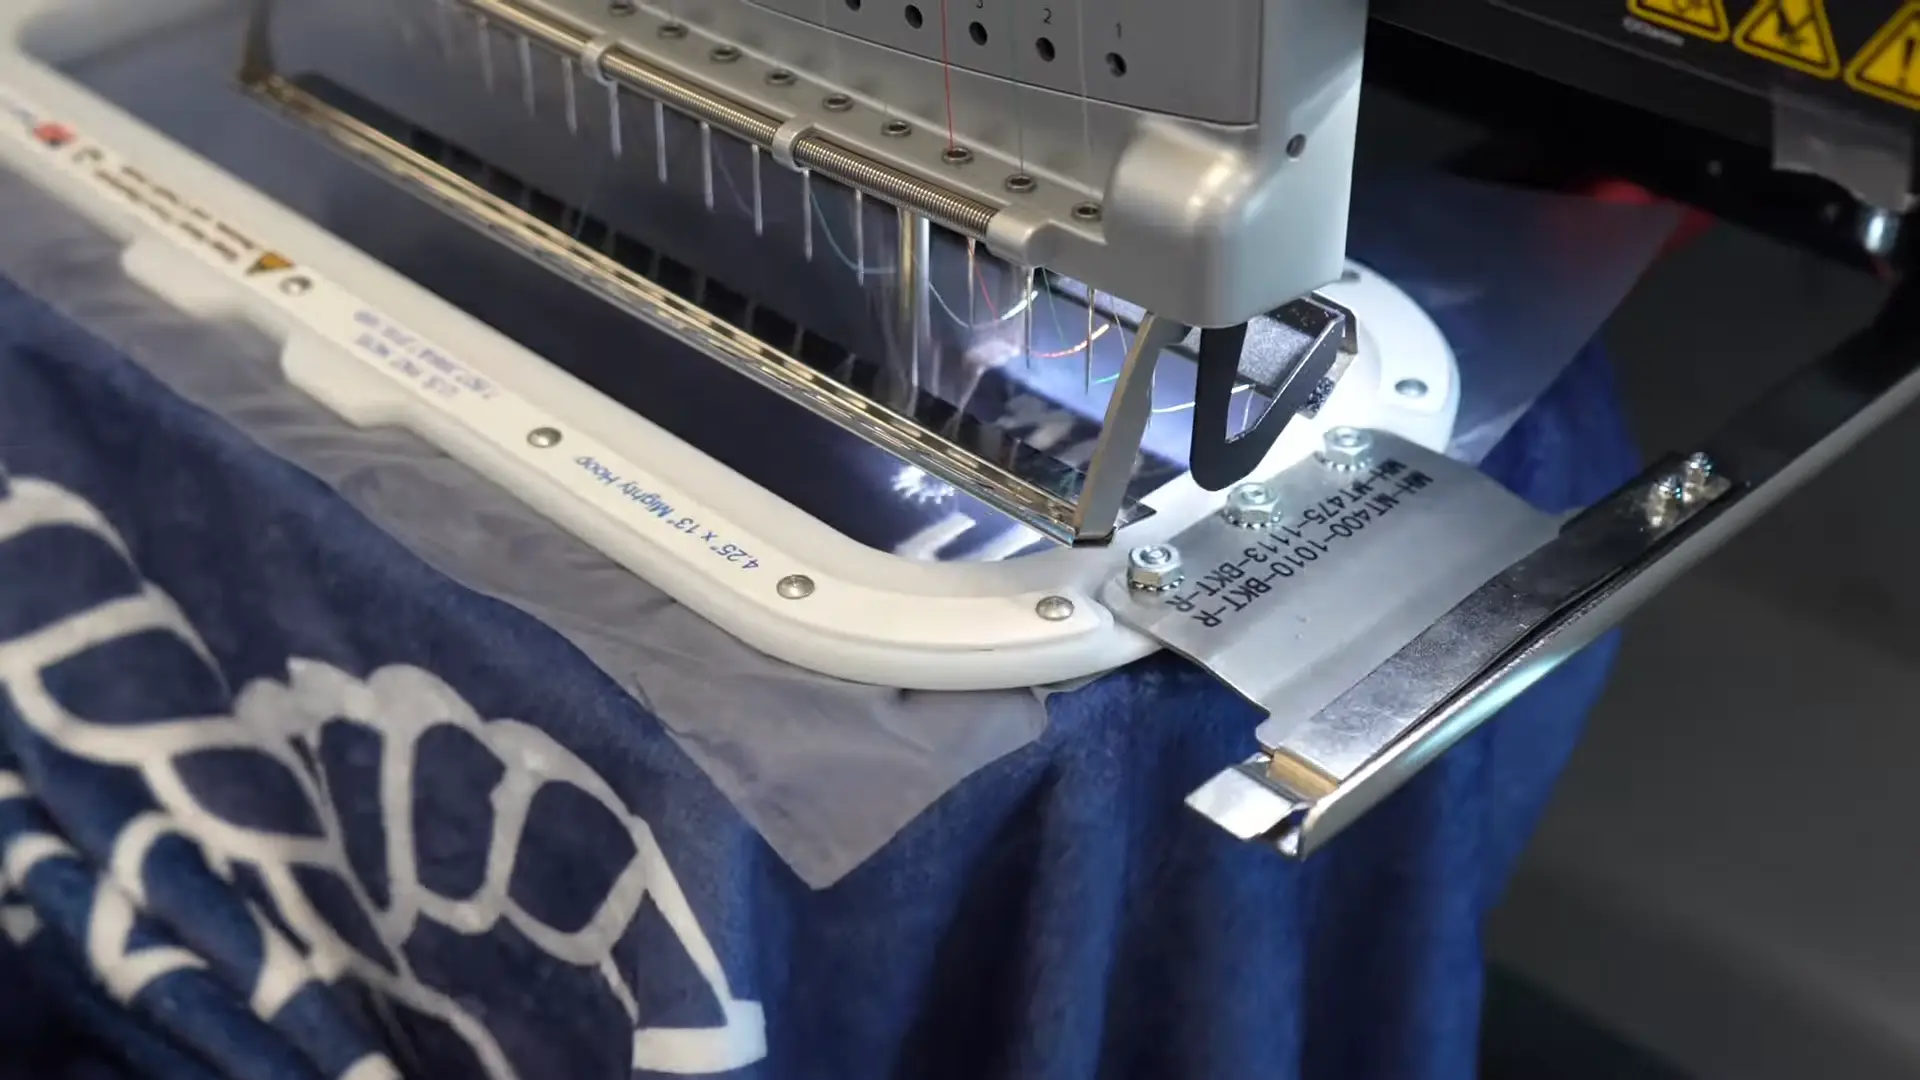
Step 6: Embroidering the Design

-
Mount the hooped blanket onto your machine.
-
Drape the rest of the blanket over a chair to relieve arm weight.
-
Flip your design 180° before stitching (since it’s hooped upside-down).
-
Always run a trace to ensure your design fits inside the hoop.
Step 7: Cleanup and Finishing Touches
Once embroidery is complete:
-
Remove the hoop from your machine.
-
Tear away the water-soluble stabilizer.
-
Use tweezers or steam to remove any small bits stuck between letters.
-
Tear away the stabilizer on the back.
-
Trim any loose threads.
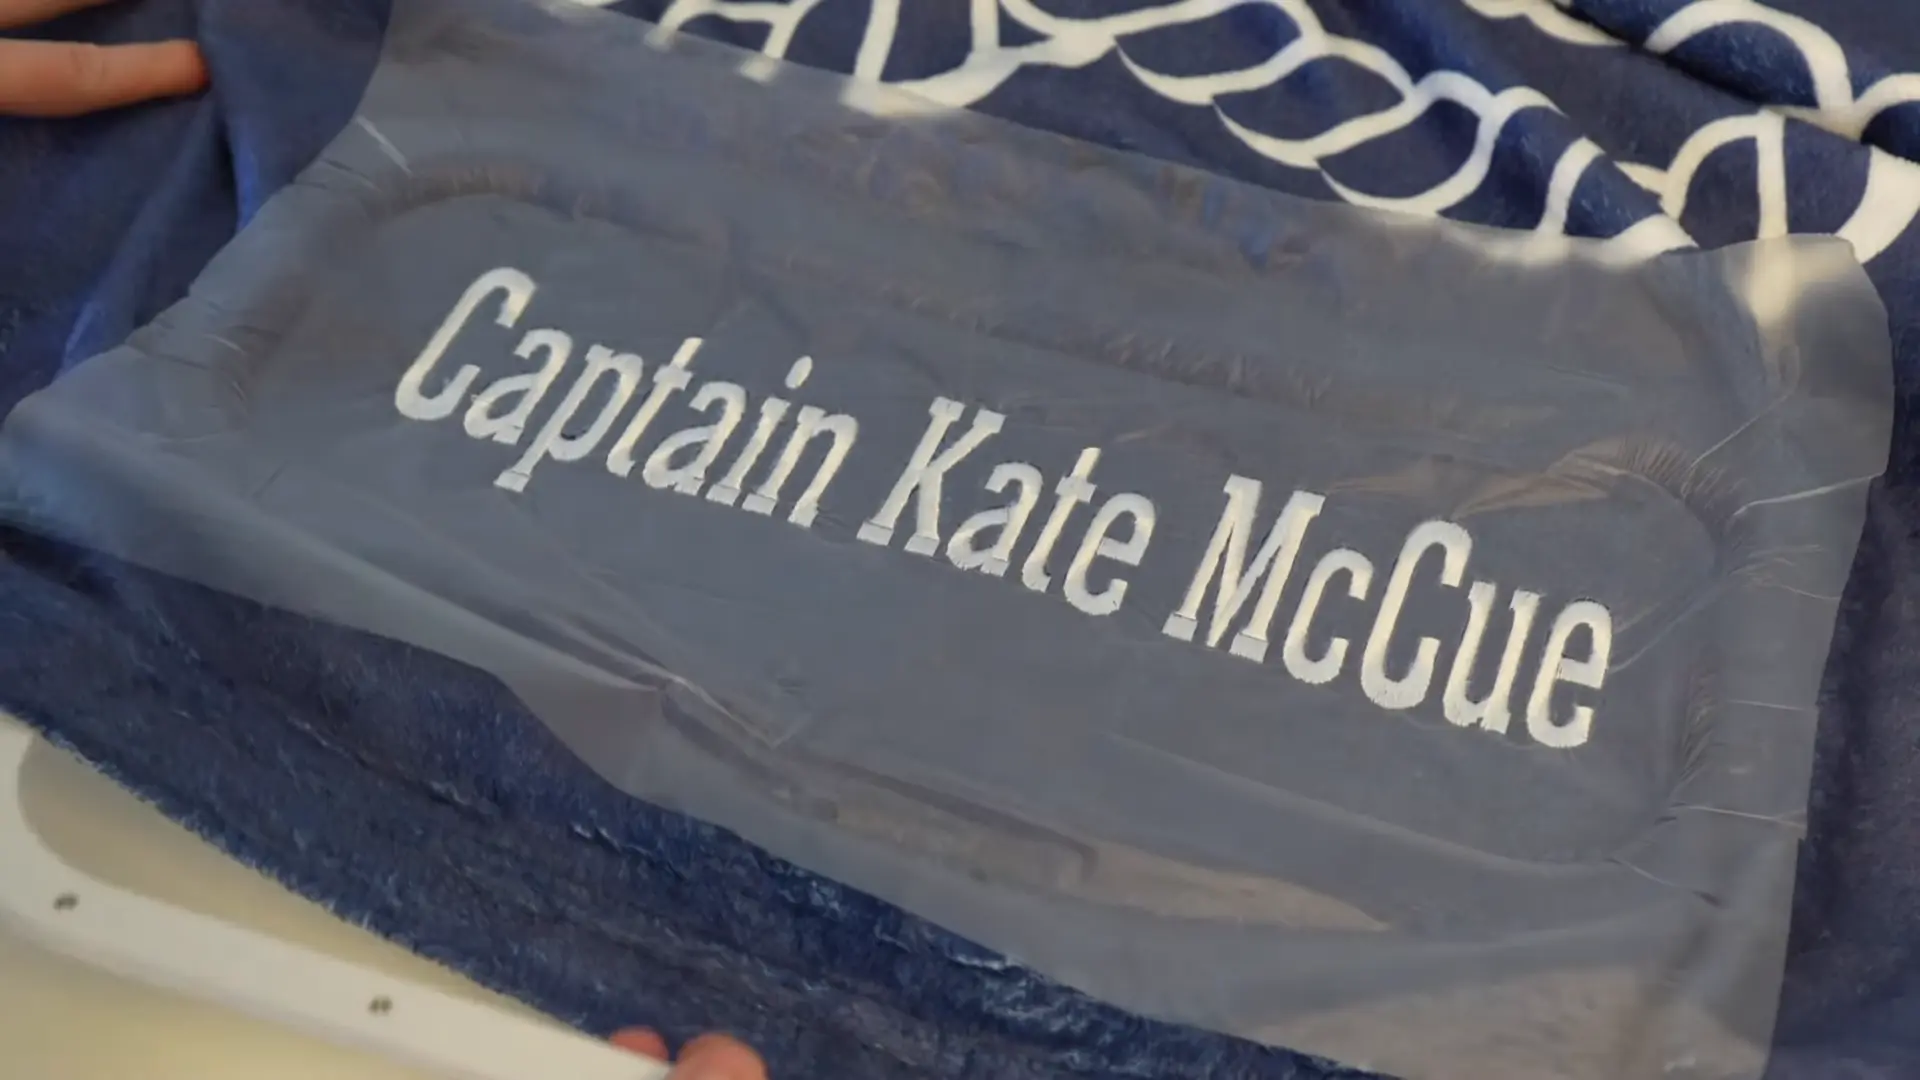
And that’s it — your embroidered velveteen blanket is complete!
Whether you’re personalizing a gift or tackling a thick fabric project, the HoopMaster and Mighty Hoop system makes the hooping process fast, clean, and frustration-free. This tutorial featured a special gift for Captain Kate McCue, but the techniques apply to any embroidery project involving dense designs and soft materials.
🛳️ Going on a cruise? A custom embroidered blanket makes a fantastic gift!
Need Help or Want to Order?
📞 Call us: (262) 257-0930 (Mon–Fri, 8:00am–4:30pm CST)
🌐 Shop all HoopMaster & Mighty Hoop products

0 comments
Write a comment